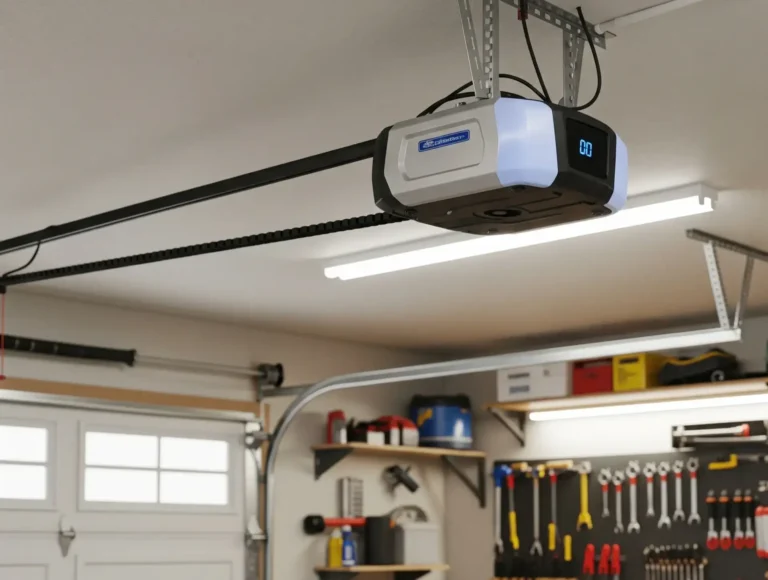
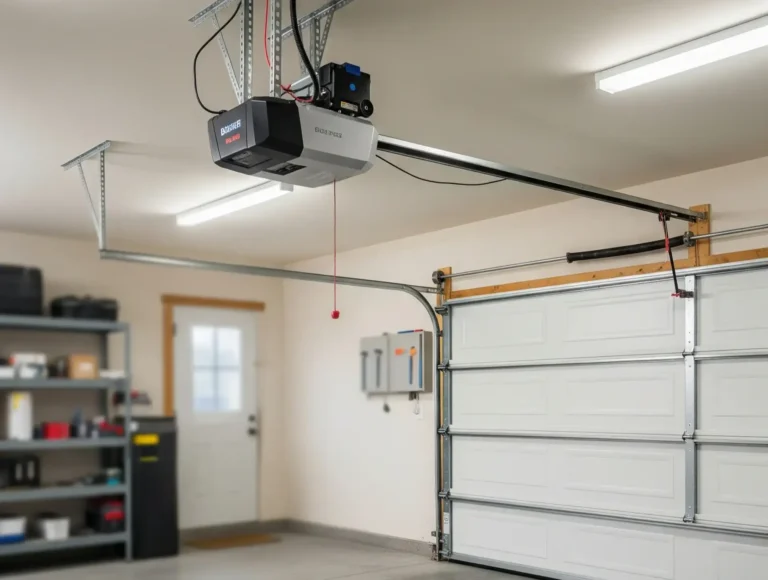
A garage door that refuses to close creates an immediate security and safety concern. When you trigger the closing sequence, only to watch the door reverse prematurely, frustration sets in. According to industry data, approximately 90% of all automatic garage door reversing issues are caused by safety sensor misalignment, dirty lenses, or broken sensor wiring rather than actual motor failure. Understanding how do garage door safety sensors work is the first step toward reclaiming control of your garage security.
Diagnosing And Troubleshooting Garage Door Safety Sensor Issues
Published: Aug 6, 2026
Emergency Quick-Fix: How to Close Your Door Right Now
If your garage door won’t close and you need to secure your home immediately, you do not have to wait for a technician. You can bypass the sensors temporarily using two methods:
- The Wall Console Override: Press and hold the physical wall button continuously. Do not let go until the door is fully shut on the ground. If you release the button mid-travel, the door will reverse.
- The Manual Release: Locate the red emergency cord hanging from the opener carriage. Pull the garage door emergency release cord down and back toward the motor to disengage the trolley. You can now manually slide the door closed. Once things are safe, you can reconnect garage door opener mechanisms to return to automatic mode.
The Universal Sensor Diagnostic Matrix
To resolve the root issue, you must diagnose your LED indicators. Modern safety sensors communicate system health through solid or blinking lights. If you own a Chamberlain or LiftMaster unit, a circuit failure or misalignment triggers a distinct 10-blink warning light on the overhead motor unit, often accompanied by clicking. Here is how to decode the sensor eyes across major brands:
| Brand | Sensor Eye A | Sensor Eye B | State Indicated | Action Required |
|---|---|---|---|---|
| Chamberlain / LiftMaster | Solid Amber (Sender) | Solid Green (Receiver) | Healthy & Aligned | System functioning perfectly. Look for physical track obstructions. |
| Chamberlain / LiftMaster | Solid Amber (Sender) | Off / Blinking Green | Misaligned / Blocked | Clean lenses; adjust receiver bracket until green is solid. |
| Chamberlain / LiftMaster | Off | Off | No Power | Check wiring terminals at motor head or look for pinched wires. |
| Genie (Safe-T-Beam) | Solid Red (Transmitter) | Solid Green (Receiver) | Healthy & Aligned | System functioning perfectly. |
| Genie (Safe-T-Beam) | Blinking Red | Off / Blinking Green | Malfunction | Sensor failure, source interference, or bad wiring terminal. |
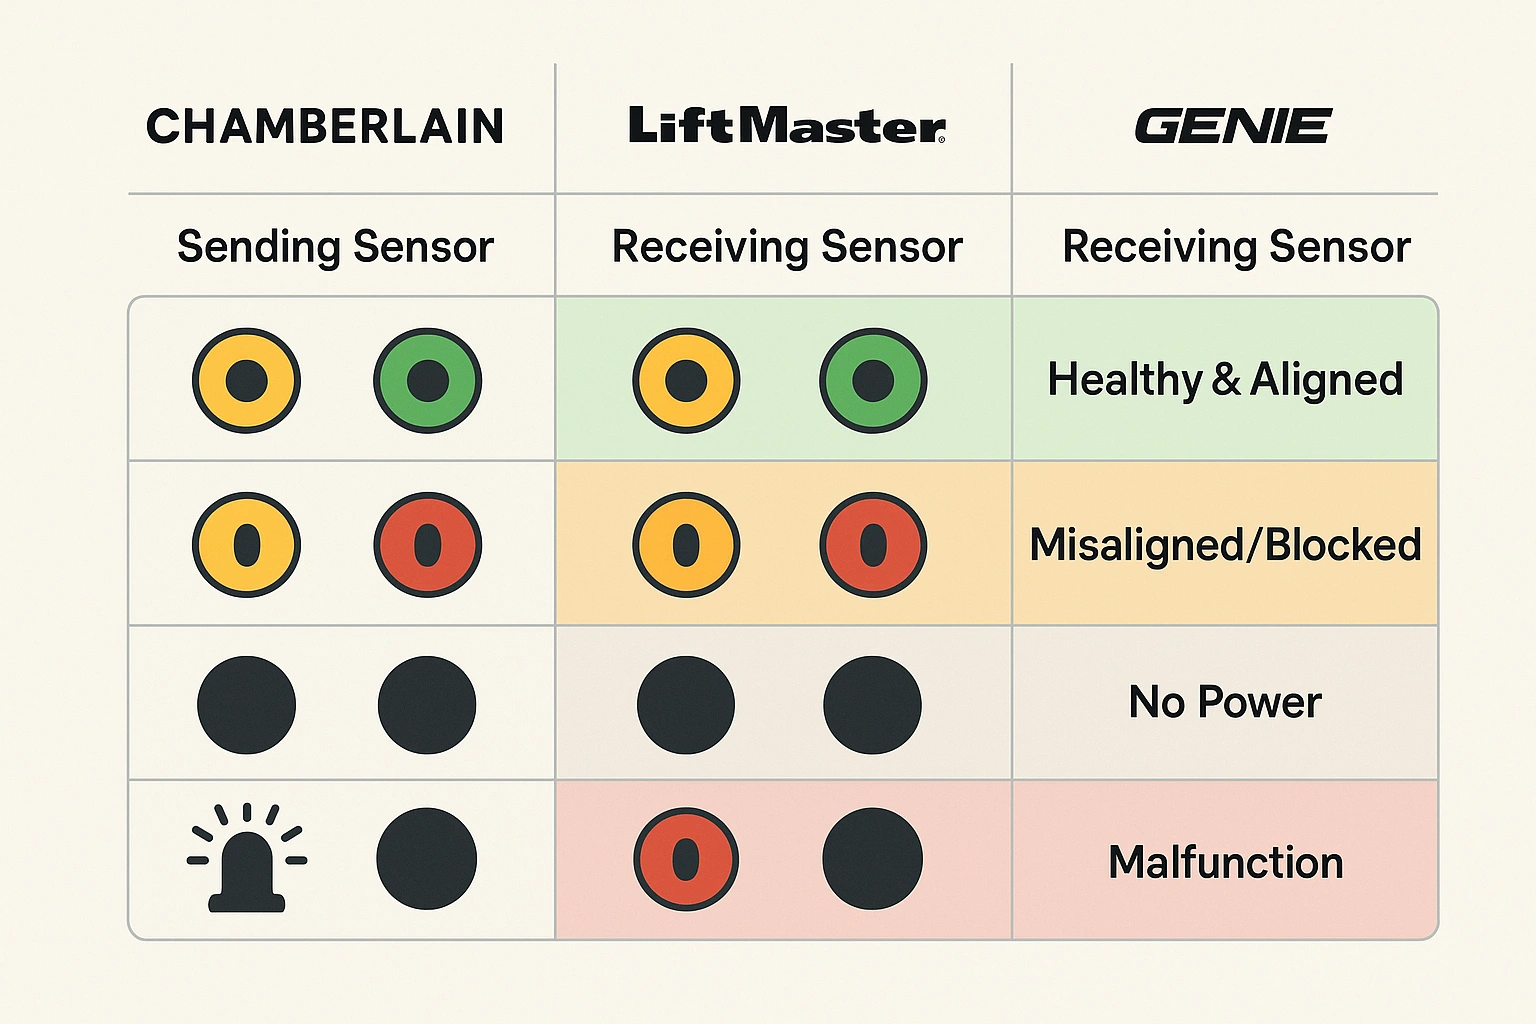
This diagnostic chart visually explains how to interpret the LED signals on garage door safety sensors from leading brands. Recognizing these signals helps users quickly identify sensor health and alignment issues preventing door closure.
Step-by-Step Sensor Realignment Protocol
To correct misalignment and stop false triggers, follow this systematic realignment protocol:
- The Cleanse: Use a clean microfiber cloth to gently wipe away spiderwebs, dust, or condensation on the optical lenses.
- The Alignment: Loosen the wingnut on the receiving bracket to slide the eye. A quick trick is using a string line or laser level across the opening to match the path of the sensors. You can read our comprehensive guide on how to align garage door sensors for advanced mounting and alignment techniques.
- The Tightening: Carefully hand-tighten the wingnut without vibrating the bracket out of place. Verify the LEDs remain solid on both sides.
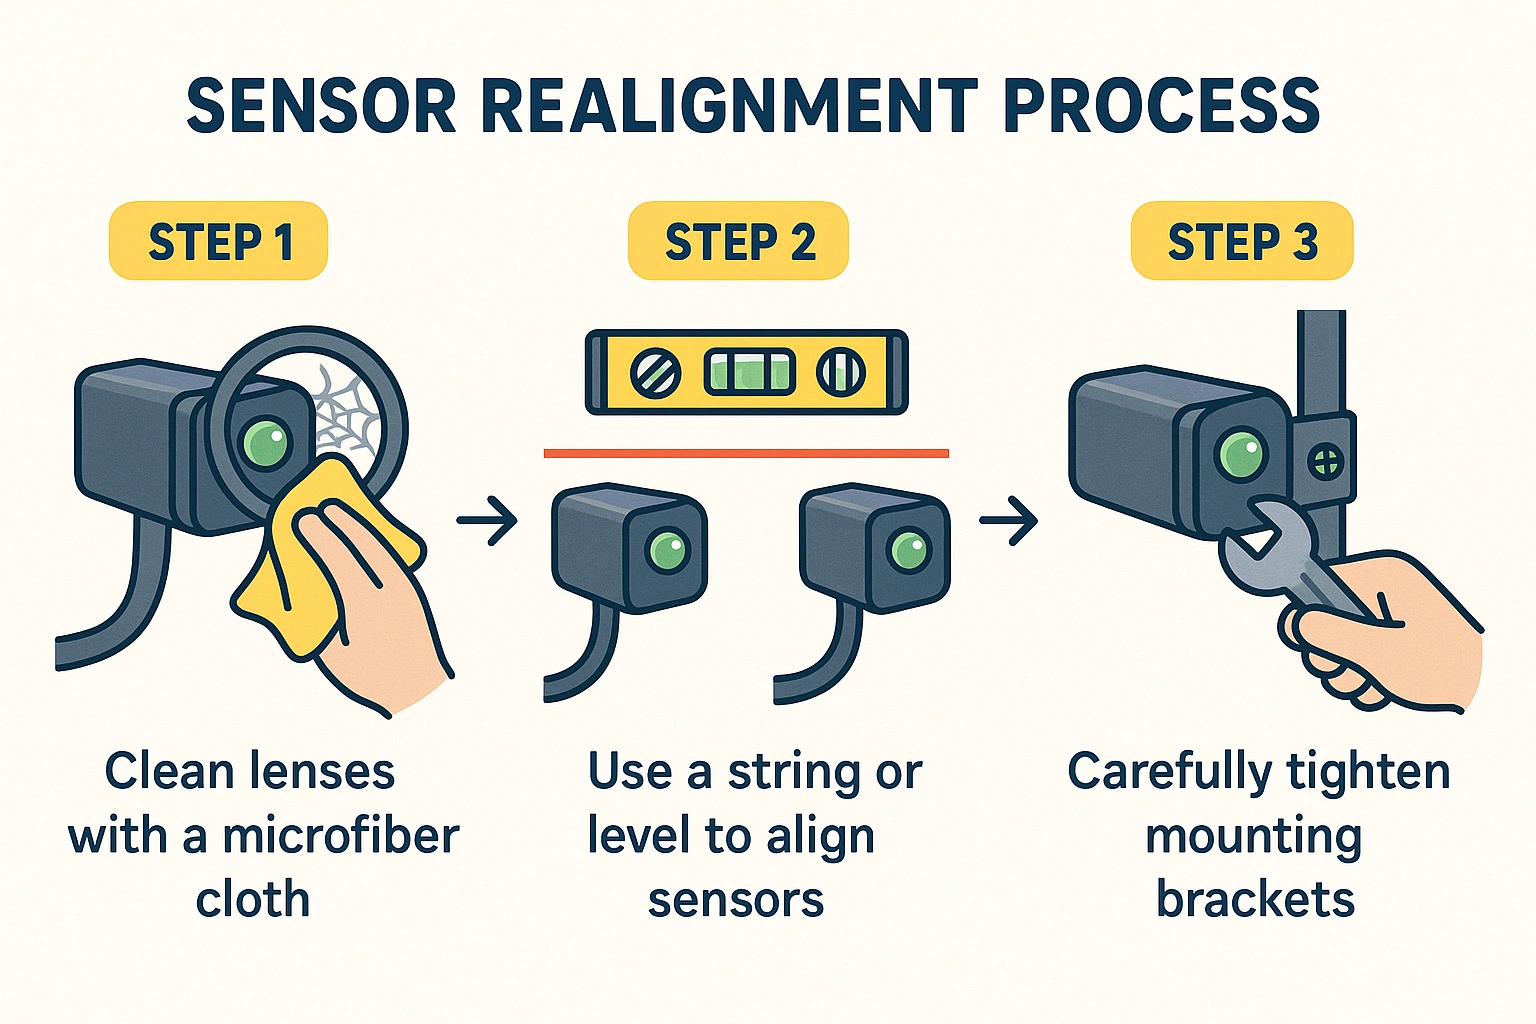
Follow these simple steps to clean, align, and secure your garage door safety sensors to ensure proper operation and eliminate premature door reversals caused by misalignment or dirt.
Advanced Troubleshooting - The Sunlight Blindness Hack
Sometimes, sensors are perfectly aligned but still fail to close during specific times of the day. This is caused by sunlight saturation, where direct infrared rays blind the receiving sensor eye.
- The Sensor Swapping Hack: Identify which side of your garage door receives direct sunlight during sunrise or sunset. The receiving sensor (usually green) is the one that gets blinded. Swap the physical positions of the sending (amber) and receiving (green) sensors, placing the receiving eye on the shaded side of the garage frame.
- The Staple Pinch & Bench Test: If your sensors refuse to light up at all, check for power issues. Use our guide to electric garage door openers troubleshooting to isolate the issue. To prove whether the sensor itself is broken or if there is a pinch in your pre-wired walls, perform a “bench test”: snip the sensors leaving 6 inches of wire, hook them directly to the overhead motor terminal screws, and check if the LEDs light up. If they do, your in-wall wiring is compromised (often due to a wire staple pinching the wire insulation).
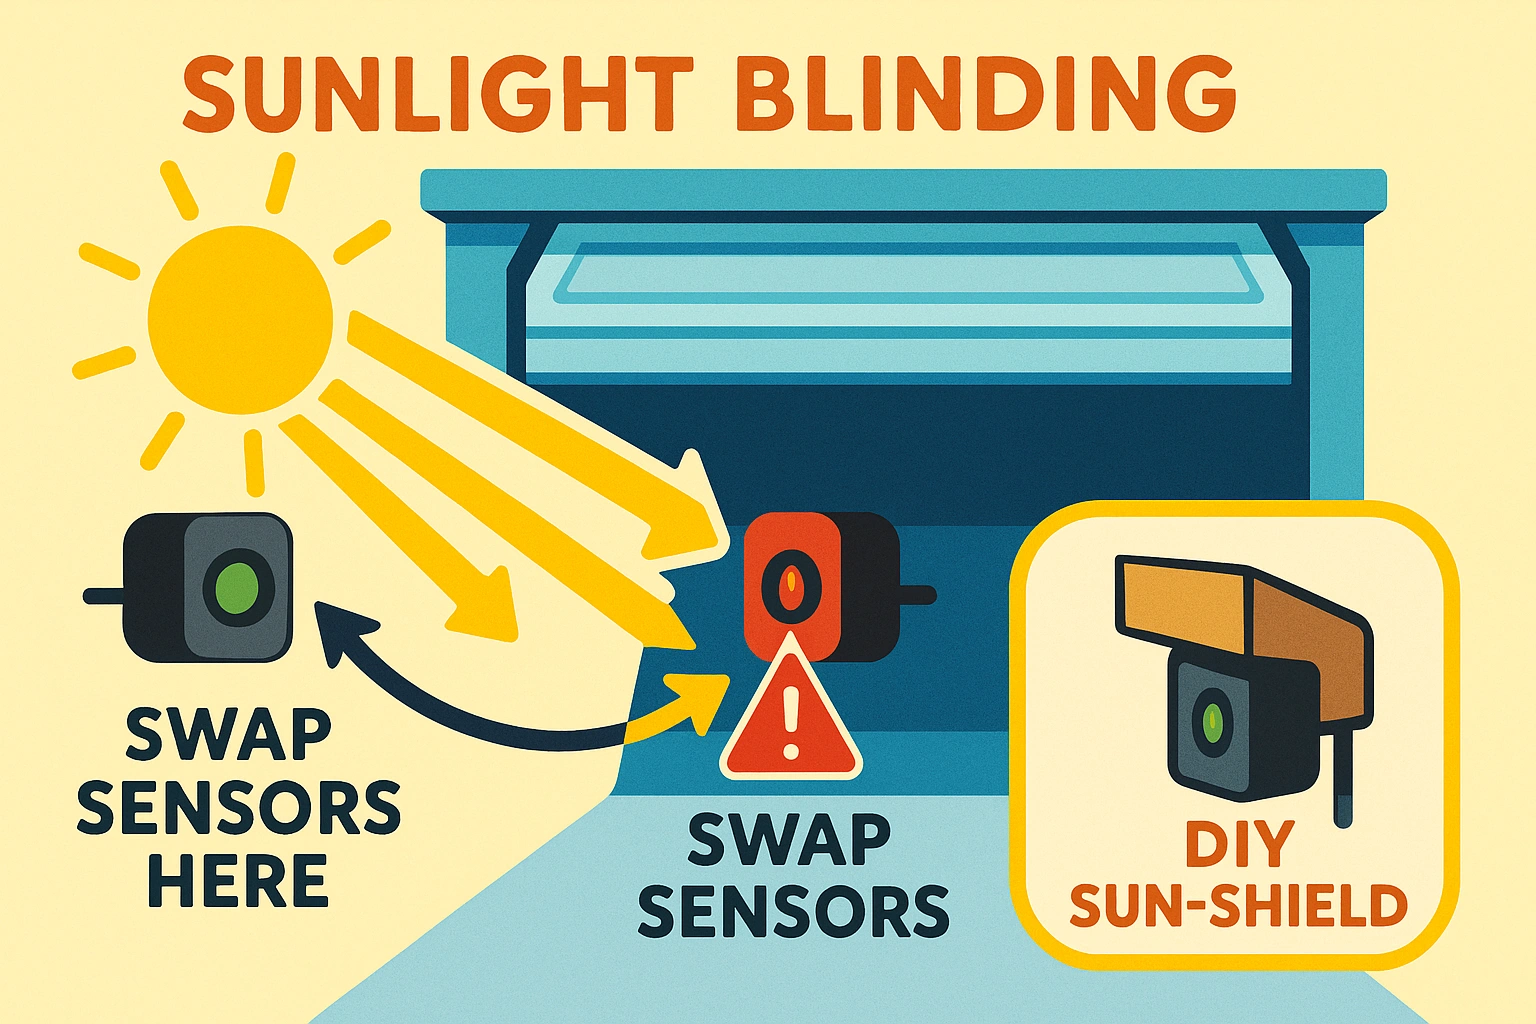
This visual metaphor helps users remember how direct sunlight can block garage door sensors and how swapping sensors or adding a DIY sun shield effectively resolves false door reversals.
When to Replace vs. When to Call a Pro
Most sensor issues are manageable DIY projects. Sourcing an OEM replacement sensor kit costs around $25 and takes less than 30 minutes to install.
However, if you notice the door is physically heavy, lopsided, or if the opener is straining despite aligned sensors, you may need to adjust garage door pressure sensor settings or look deeper into structural elements. If you suspect structural damage, frayed cables, or broken torsion springs, DIY attempts can be fatal. In these instances, professional garage door cable and spring repair or a dedicated garage door opener repair service is required.
Frequently Asked Questions
Can I permanently bypass safety sensors?
No. Federal law (UL 325) requires safety reversing systems on all residential garage door openers manufactured after 1993. It is a critical safety feature that protects children, pets, and vehicles.
Why does my Chamberlain motor light blink 10 times?
This is the official diagnostic code indicating a safety sensor block, misalignment, or open wire circuit. Refer to the diagnostic matrix above to identify the specific eye showing issues.
Can dirt on the lens cause the door to reverse?
Yes. A thin layer of dust, moisture condensation, or a spiderweb can scatter the infrared beam, tricking the opener into thinking an object is blocking the path. Regular cleaning prevents these false reversals.