main logo

The Importance of Regular Force Setting Tests for Garage Door Opener


Published: May 14, 2026

Your garage door is likely the largest and heaviest moving object in your home. We trust it to open and close on command, day after day, without giving it a second thought. But what if that reliable convenience was masking a hidden danger? A modern garage door can weigh over 150 pounds and exert significant force as it closes. Without properly calibrated safety features, that force can be disastrous.

The good news is, there's a simple, 30-second test you can perform monthly to ensure your door is operating safely. It requires no special tools—just a standard piece of a 2x4. This guide will walk you through not just how to perform this crucial test, but why it's one of the most important things you can do for your family's safety.

The "What & Why" of Garage Door Force Settings


Before we get to the test, let's have a quick chat about what's happening inside that motor unit hanging from your ceiling. Every automatic garage door opener has a "force setting" or "force adjustment." Think of it as the opener's sensitivity level. It tells the motor how much resistance it should expect to encounter before it stops and reverses.
Set correctly, it allows the door to close firmly but will immediately reverse if it contacts an obstruction—like a bike, a car, or, most importantly, a person. Set incorrectly, and it can become a serious hazard. This feature isn't just a good idea; it's part of a federally mandated safety standard (UL 325) that all openers must meet.
To truly understand its importance, it helps to see it as one part of a three-tiered safety system we call the "Triangle of Safety."
Garage door safety systems that support UL 325 protection

  1. Photo-Eye Sensors: These are your first line of defense. Located near the bottom of the track, they shoot an invisible beam across the opening. If anything breaks that beam while the door is closing, the door instantly reverses.
  2. Force Setting (Contact Reversal): This is your essential backup. If the photo-eyes fail or an object is too small or positioned in a way that doesn't break the beam, the contact reversal system is what prevents an accident. This is what we're testing today.
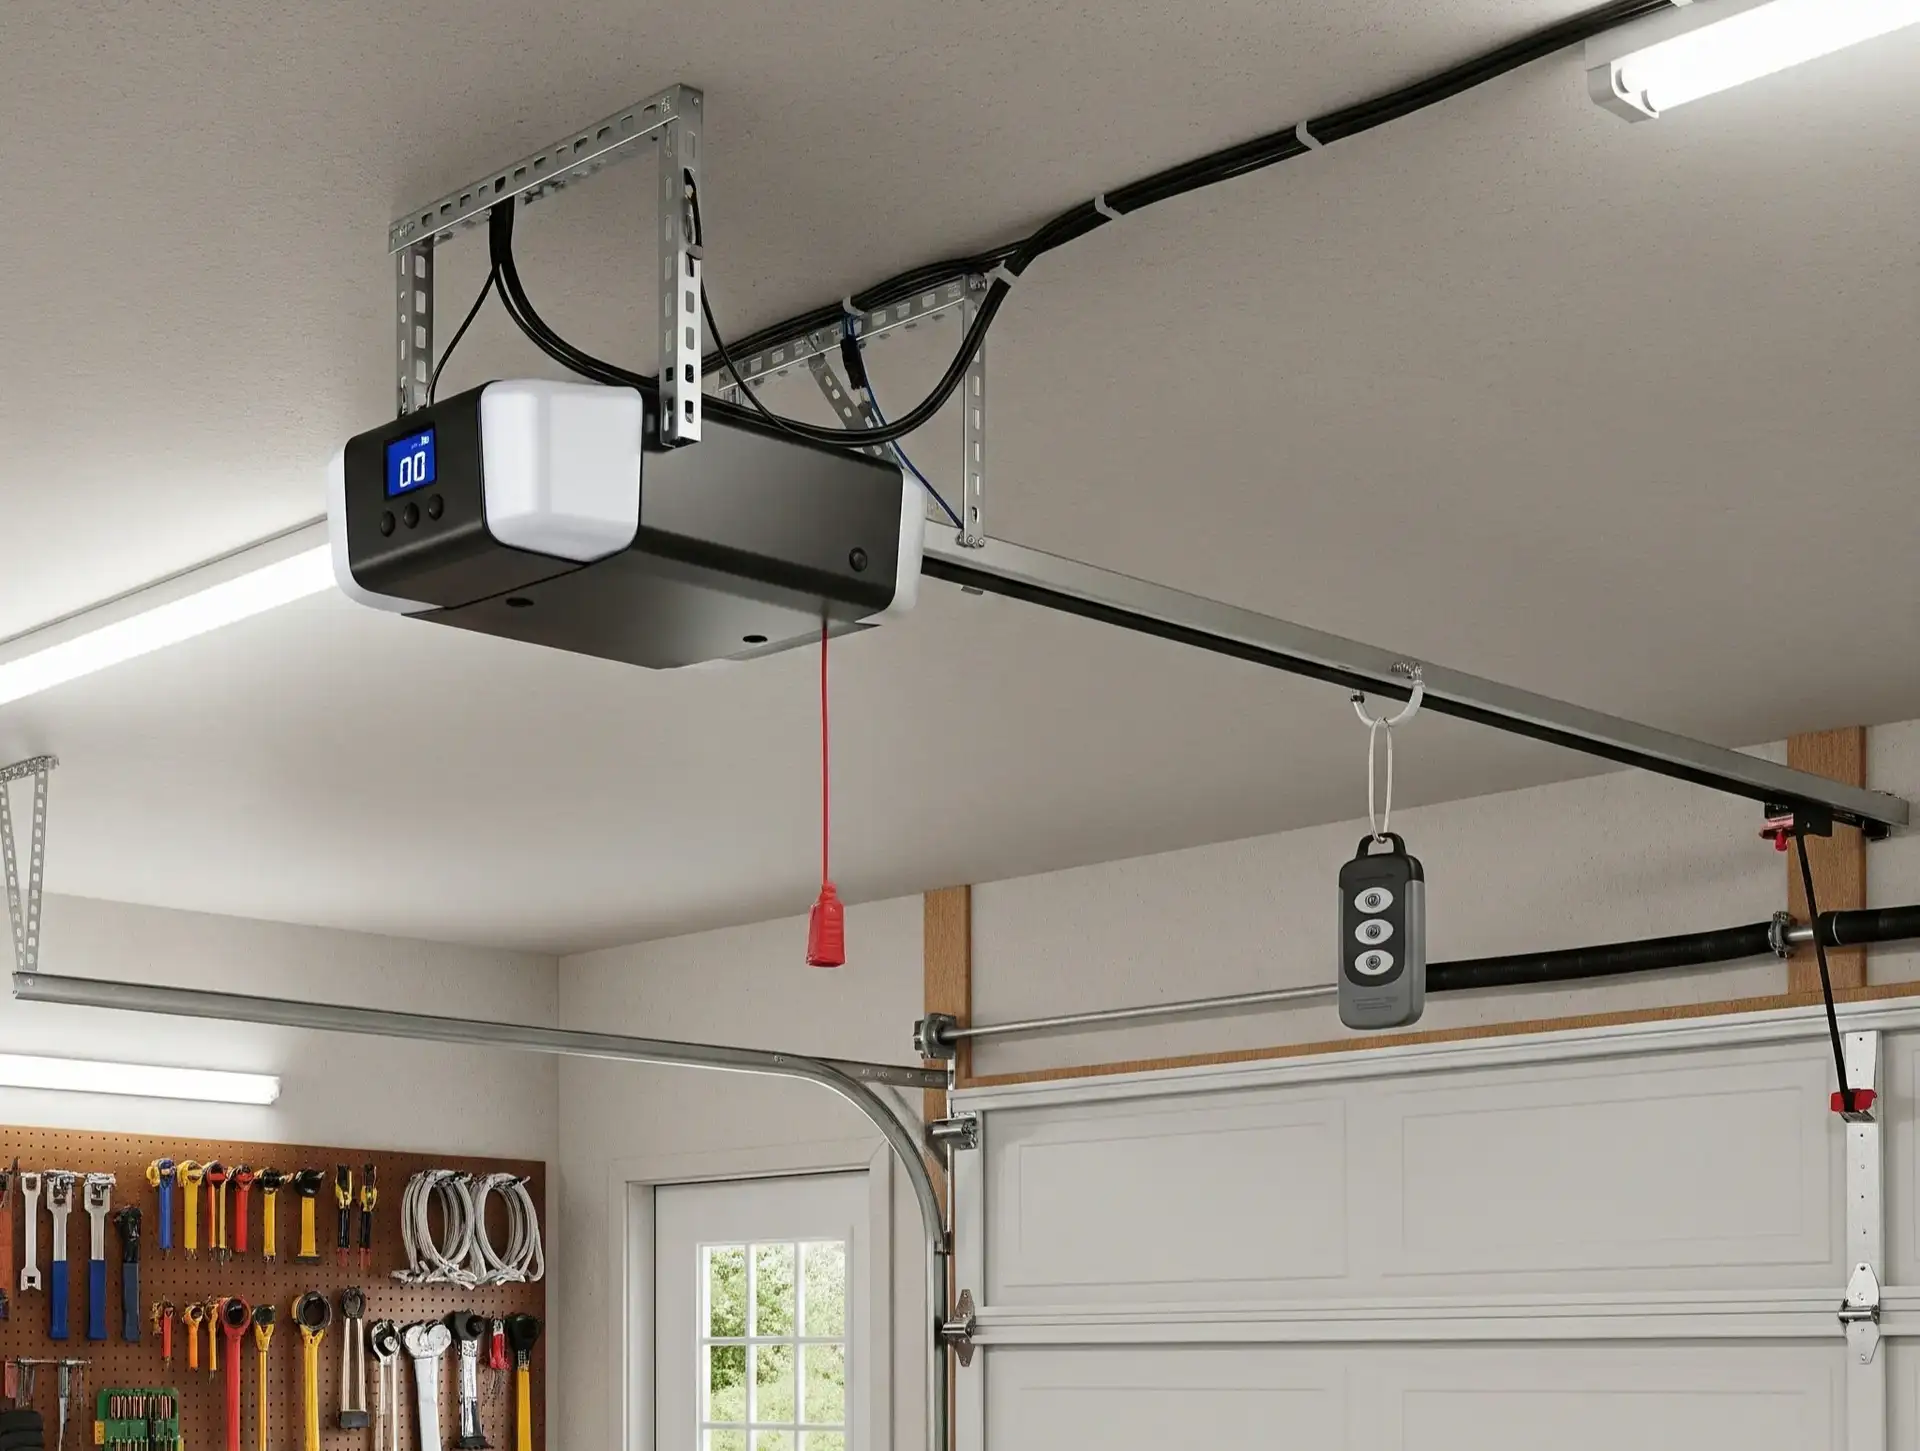
  3. Manual Release: The red cord hanging from your opener is the final failsafe, allowing you to disconnect the door from the motor and lift it by hand in an emergency.
Each of these works together to create a comprehensive system of garage door safety features that protect your home. But like any system, it needs to be checked.
Garage door safety systems that support UL 325 protection

The "2x4 Safety Test": A Step-by-Step Visual Guide


This simple test mimics the door hitting an unexpected object. It’s easy, quick, and gives you immediate peace of mind.
What You'll Need:
A standard 2x4 piece of wood.
2x4 safety test guide for checking garage door force settings
The Steps:

  1. Open the Door Fully: Start with your garage door in the completely open position.
  2. Place the 2x4: Lay the 2x4 flat on the ground in the center of the garage door opening, where the door would make contact with the floor.
  3. Close the Door: Use your remote or wall button to close the door as you normally would.
  4. Observe Closely: Watch what happens the moment the door touches the 2x4.
The Expected Result: The instant the door makes contact with the wood, it should immediately stop and reverse back to the open position. According to safety standards, this reversal should happen within 2 seconds of contact.
If your door reverses, congratulations! Your force setting is likely calibrated correctly. If it doesn't—if it hesitates, tries to push through the board, or stops without reversing—it has failed the test and needs immediate attention.
2x4 safety test guide for checking garage door force settings

What to Do If It Fails: A Homeowner's Diagnostic Guide


A failed test can be alarming, but don't panic. In many cases, it's a fixable issue. Follow this diagnostic flow to identify the problem.

Step 1: Check Your Photo-Eye Sensors First

Before touching any force settings, make sure your primary safety system is working. The small sensors at the bottom of the door tracks can get knocked out of alignment or have their lenses blocked by dirt or cobwebs.
  • Check for Solid Lights: Most sensors have an LED light. Both should be lit steadily. If one is blinking or off, they are misaligned.
  • Clean the Lenses: Wipe both sensor "eyes" with a soft, dry cloth.
  • Align Them: Gently adjust the sensors until both lights are solid. Sometimes modern smart garage door sensors can even help notify you of an issue.
Garage door force setting guide for quick safety checks
Once the sensors are confirmed to be working, perform the 2x4 test again.

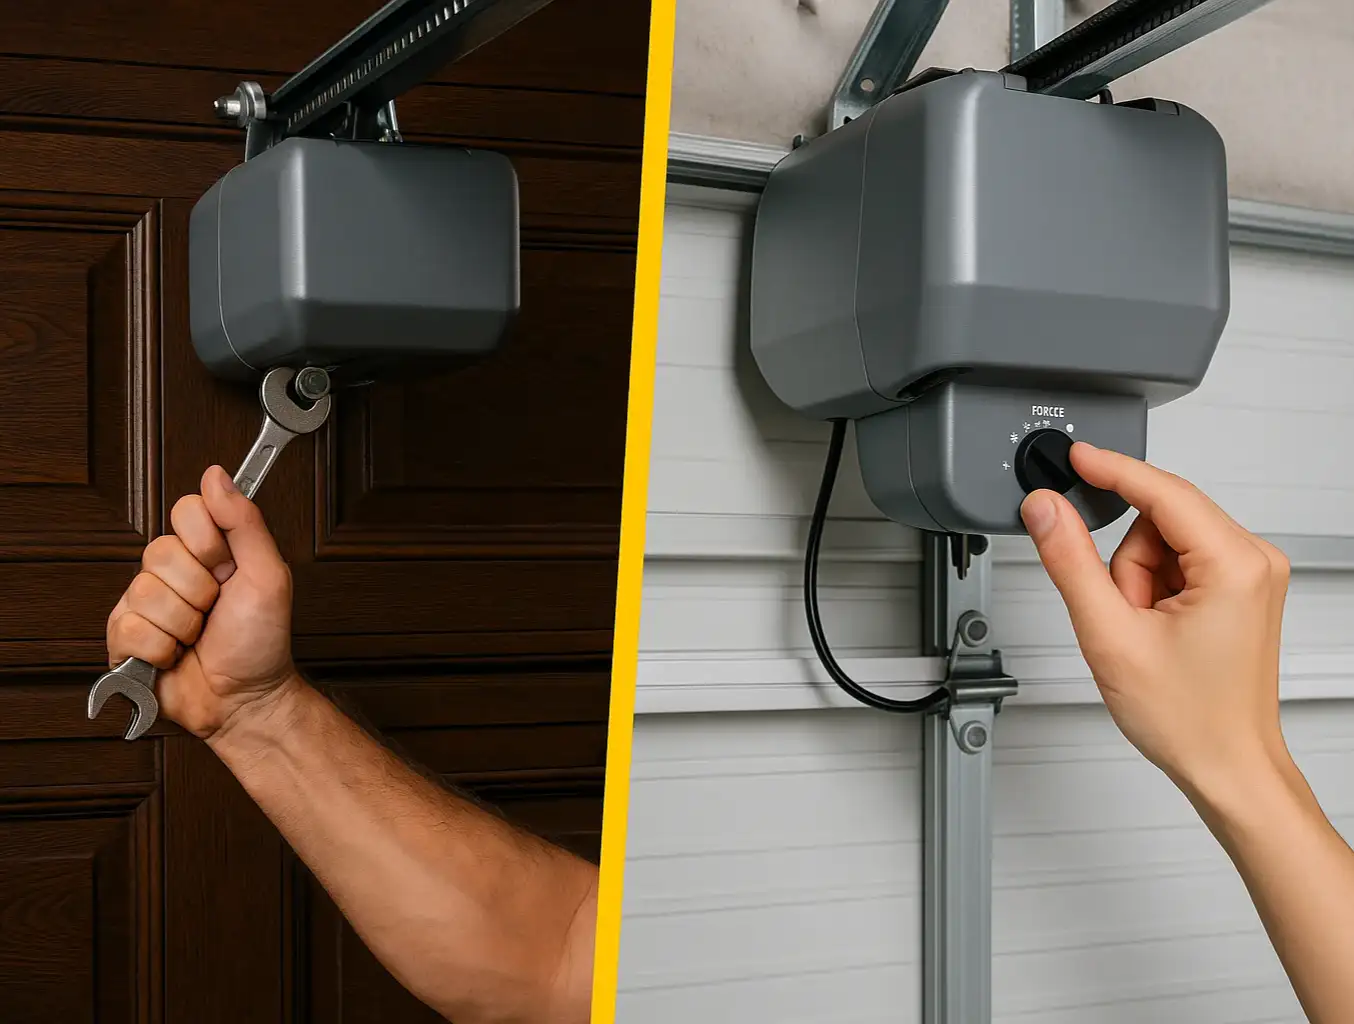
Step 2: Adjust the "Down" Force

If the sensors are fine, the next step is a minor force adjustment. On the back or side of your motor unit, you will typically find two small dials or buttons, often labeled "Up Force" and "Down Force."

  • Locate the "Down Force" Control: Refer to your owner's manual if you can't find it. It's usually a plastic screw that can be turned with a flathead screwdriver.
  • Make a Small Adjustment: Turn the "Down Force" dial counter-clockwise just a tiny amount (about an 1/8 of a turn). This decreases the closing force, making it more sensitive.
  • Retest: Run the 2x4 test again.
Repeat this process with very small adjustments until the door reverses properly. For more detailed instructions, see our guide on adjusting force on garage door opener units.
CRITICAL WARNING: Never set the force to the maximum level. While this might stop the door from reversing unexpectedly, it effectively disables the safety feature. The goal is to find the minimum force needed to close the door reliably.

Step 3: Check for Physical Obstructions

Sometimes the problem isn't the opener, but the door itself. If the door is struggling to move, the opener's logic may interpret that as normal resistance.
  • Inspect Tracks: Look for dents, debris, or bends in the metal tracks.
  • Check Rollers: Ensure the rollers are spinning freely in the tracks and aren't worn out or broken.
Garage door force setting guide for quick safety checks

Step 4: Know When to Call a Professional

If you've checked the sensors, made minor force adjustments, and see no obvious physical blockages, it's time to call for help. A deeper mechanical or electrical issue could be at play, and continuing to make adjustments could make the problem worse. A professional garage door tune up can diagnose the root cause and ensure all components are working in harmony.

Make it a Habit: Your Monthly Garage Door Safety Checklist


Monthly garage door safety checklist for force and sensors
Just like you test your smoke detectors, you should test your garage door safety systems. It only takes a minute and is one of the easiest ways to prevent accidents.
This is just the start. A complete garage door safety checklist includes visually inspecting springs and cables, but the force test is a vital monthly task.

Monthly garage door safety checklist for force and sensors

Frequently Asked Questions


What is the UL 325 standard?

UL 325 is a safety standard for door and gate operators. For residential garage doors, it mandates that openers include both a non-contact sensor (the photo-eyes) and a contact-reversal system (the force setting) to prevent entrapment.

How often should I test the force setting?

The U.S. Consumer Product Safety Commission (CPSC) recommends testing the reversal mechanism monthly.

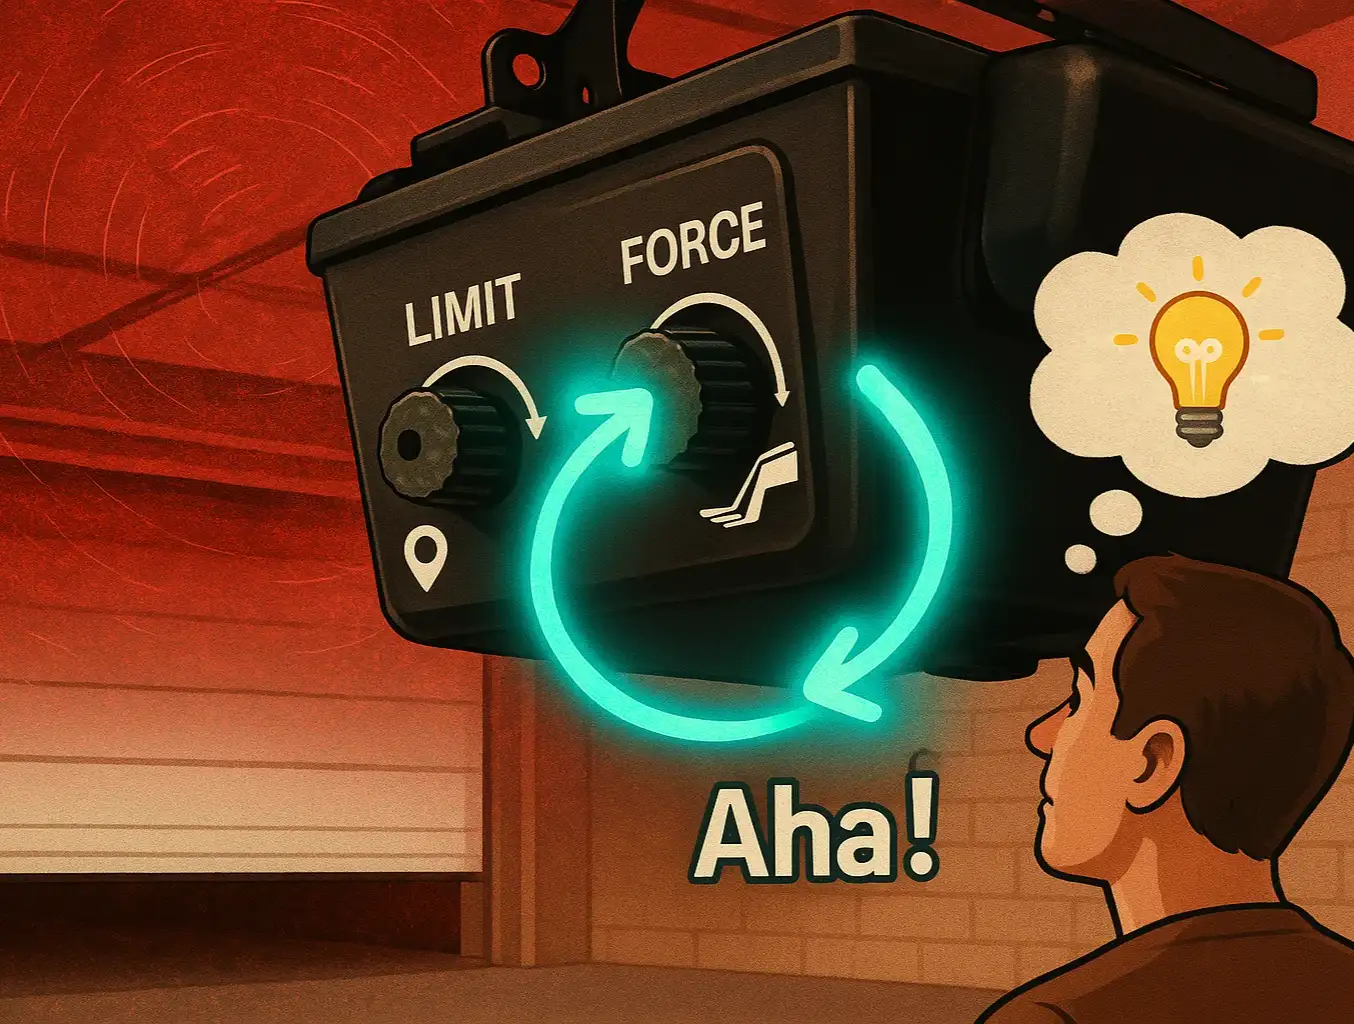
What's the difference between force settings and travel limits?

Force settings control the opener's sensitivity to obstacles. Travel limits control the stopping points for the door when it's fully open or fully closed. While both are important, a proper garage door opener adjustment involves calibrating them separately.

Can I set the force too high?

Absolutely, and it's extremely dangerous. Setting the force too high can cause the door to ignore an obstruction, creating a serious crushing hazard. Always use the minimum force necessary.

Why would my force settings change on their own?

Changes in temperature can cause the door and its components to expand or contract, requiring more or less force. Additionally, as parts like rollers and springs wear out, the opener may need to work harder, which can necessitate a slight adjustment over time.

Your Partner in Home Safety


Your garage door is a complex piece of machinery that requires regular attention to remain safe and reliable. By performing the 30-second 2x4 test every month, you are taking a powerful and proactive step toward protecting your home and family. Understanding how these systems work not only empowers you as a homeowner but also helps you know when to seek professional help.
Regular maintenance is the key to safety and can help you prevent garage door repairs down the line. If your door ever fails a safety test and you don't feel comfortable making adjustments, our team of experienced technicians is here to help ensure your door operates safely and correctly.

You may also like


blog photo

Adjusting Garage Door Opener Settings for Wood vs. Aluminum Doors

Have you ever noticed how a heavy, solid wood garage door closes with a commanding thud, while a sleek aluminum one glides to a whisper-quiet stop? You might think it's just the door, but the secret is in the fine-tuning of the garage door opener. Using the same "one-size-fits-all" settings for these two very different doors is a recipe for disaster—leading to everything from annoying operational quirks to costly damage. Generic online guides show you which screw to turn, but they miss the most important part: why and how your door’s material dictates those adjustments. This guide is different. We're going to pull back the curtain on how professionals think, turning you from a "how-to" follower into an informed diagnostician of your own garage door system.