Troubleshooting Garage Door Opener Force Reversal Issues
Published: Apr 20, 2026
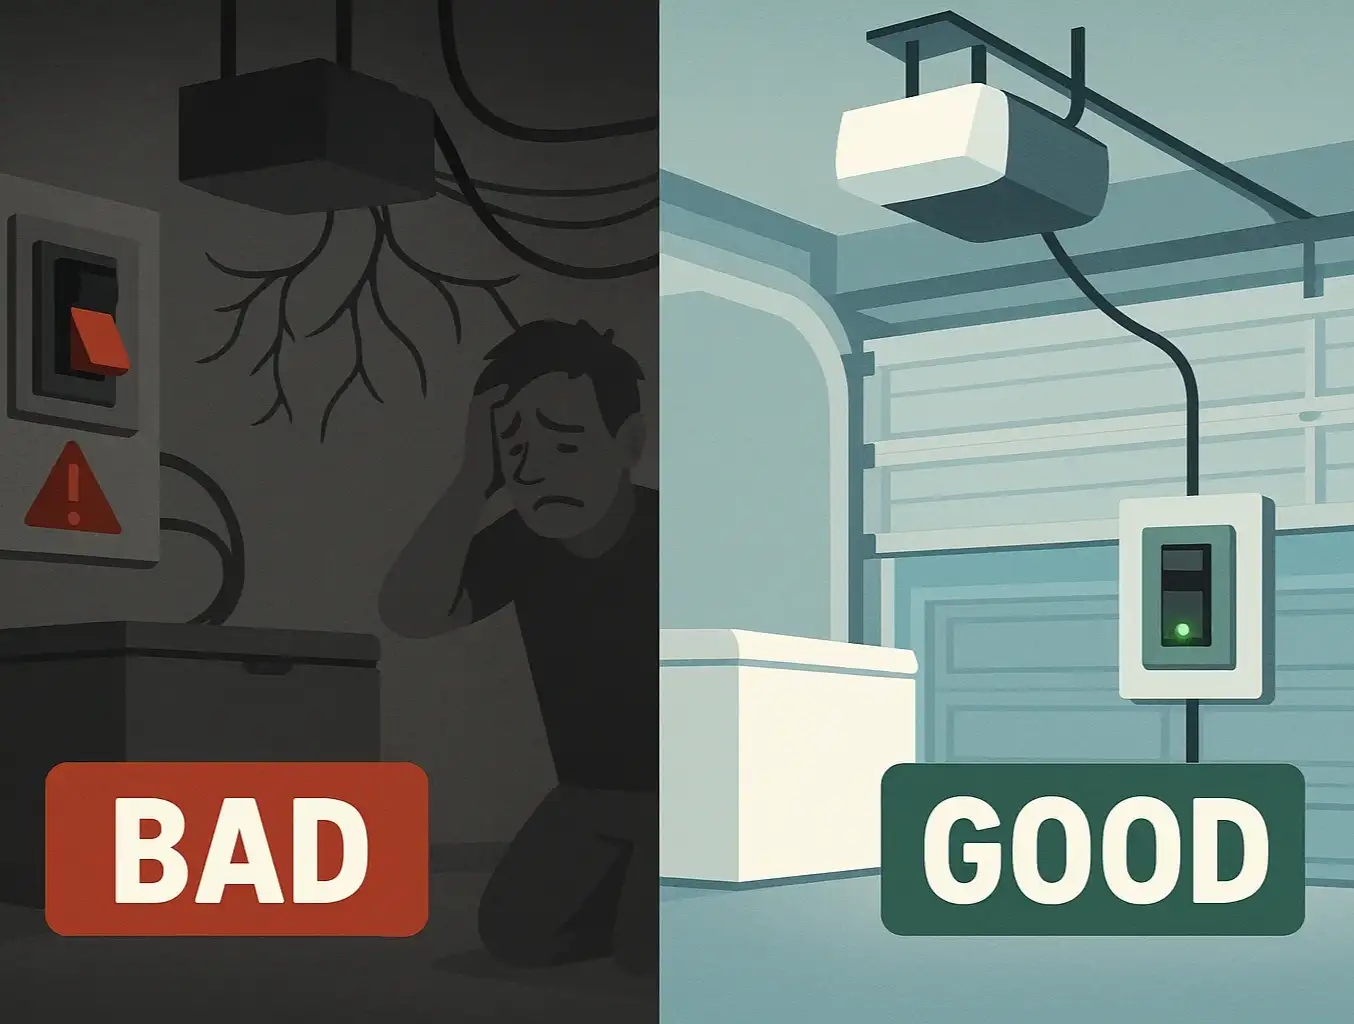
You did everything right. You looked up a guide, grabbed a screwdriver, and tweaked the settings on your garage door opener. But instead of fixing the problem, you made it worse. Now, the door hits the floor and immediately reverses, or it struggles and gives up halfway. It’s a frustrating scenario that leaves many homeowners feeling stuck.
If this sounds familiar, take a deep breath. You’re not alone, and you haven’t broken anything. You’ve just stumbled upon one of the most misunderstood aspects of garage door mechanics. The problem isn’t that you didn't adjust it enough—it’s that you likely adjusted it in the wrong direction.
This guide is for you. It’s the next chapter for when the basic fixes fail. We’ll walk through why this happens and how to perform a simple recalibration that solves the problem for good.
Foundation: The 3-Way Relationship: Travel, Force, and Obstructions
- Down Travel Limit: This setting tells the door where to stop. It defines the fully closed position.
- Close Force: This setting tells the door how hard to push before it decides it has hit an obstruction and needs to reverse for safety.

Building: The 2-Minute Diagnostic Test
The "Hold the Wall Button" Test:
- The motor and mechanical parts are working correctly.
- The problem lies within the safety reversal system—either the photo-eye sensors or, more likely in this case, the force and travel settings.
Mastery: The Step-by-Step Recalibration Process
Step 1: Reset the Baseline (Go Up Before You Go Down)
- Turn the "Down" travel screw counter-clockwise for several full rotations. This reduces the travel distance.
- Run the opener. The door should now stop several inches, or even a foot, above the floor.

Step 2: The Art of the Quarter-Turn
- Turn the "Down" travel screw clockwise just a quarter of a turn.
- Run the door through a full open-and-close cycle. It will close a little bit lower than before.
- Repeat this process: a quarter-turn, then a full cycle.
Step 3: Observe and Listen for the Perfect Seal
- Look: The rubber gasket at the bottom should compress slightly, creating a firm seal against the floor without the door panel buckling or bowing.
- Sound: The motor should sound consistent and then stop without any final grunting or straining. A straining sound is a clear sign the travel is still set too low.
Step 4: The Final Safety Test
Need more information?
Get a free quote
When It's Still Not Working: Advanced Scenarios & Calling a Pro

- Uneven Floor: If your garage floor is cracked or sloped, the door may seal on one side but not the other, confusing the opener.
- Warped or Damaged Door: An older wooden door that has warped or a metal door with a bent panel can create resistance that triggers the force sensor.
- Binding or Friction: Worn-out rollers, dry hinges, or misaligned tracks can prevent the door from moving smoothly, mimicking an obstruction.
- Incorrect Spring Tension: The door springs do the heavy lifting. If they are worn out or improperly tensioned, the opener has to work much harder, leading to force issues. Investigating this requires understanding garage door spring safety, as springs are under extreme tension and can be very dangerous.
Frequently Asked Questions
What's the difference between the travel limit and the force setting?
Why does my garage door close if I hold the button down?
Could my safety sensors still be the problem?
My opener is making a beeping noise now. What does that mean?
What happens if I've disengaged my garage door from the opener?
You may also like