main logo

Diagnosing Intermittent Garage Door Opener Malfunctions


Published: May 8, 2026

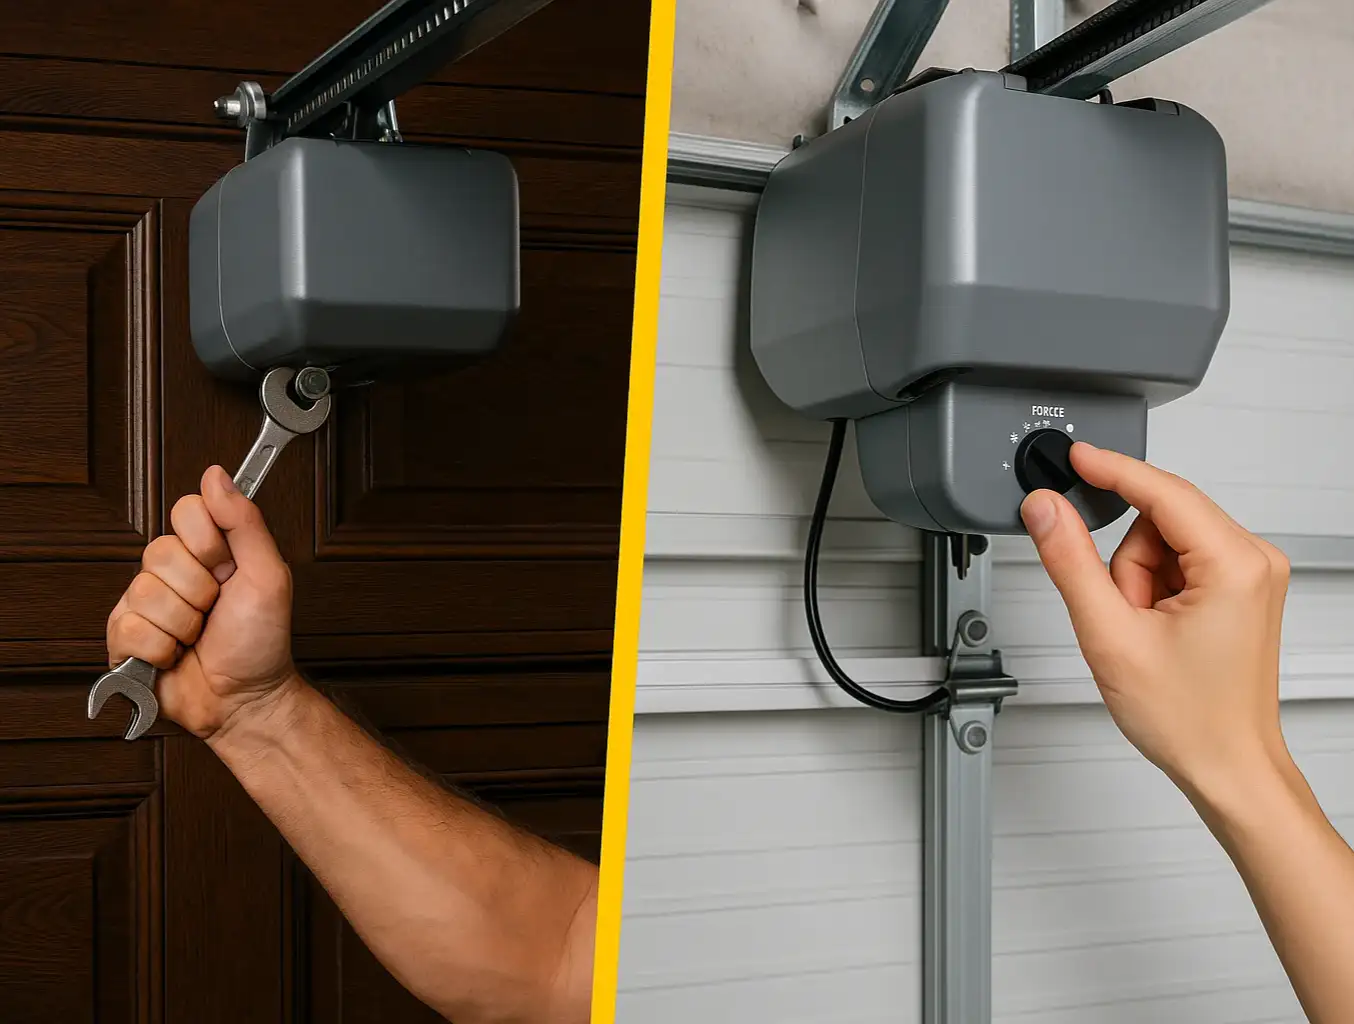
So, you did everything right. Your garage door wasn’t closing properly, you grabbed a ladder, found the adjustment screws, and carefully tweaked the travel limits. You felt that flicker of DIY satisfaction.

But now, it’s worse.

The door closes, hits the floor, and immediately reverses. Or maybe it stops halfway down for no reason at all. It’s a frustratingly common scenario that leaves many homeowners scratching their heads. You fixed the initial problem, but now you have a new, more unpredictable one.

You’re not alone, and you haven’t broken it. You’ve just uncovered the single most misunderstood relationship in every garage door opener: the dance between Travel Limits and Force Settings.

The “Aha” Moment: Your Opener’s GPS vs. Its Gas Pedal


Diagram explaining travel limit vs force screw differences
The core of the problem is that most people—and most guides—treat these two settings as separate issues. In reality, they are deeply connected. Confusing them is the number one reason for post-adjustment headaches.
Let’s clear it up for good with a simple analogy.

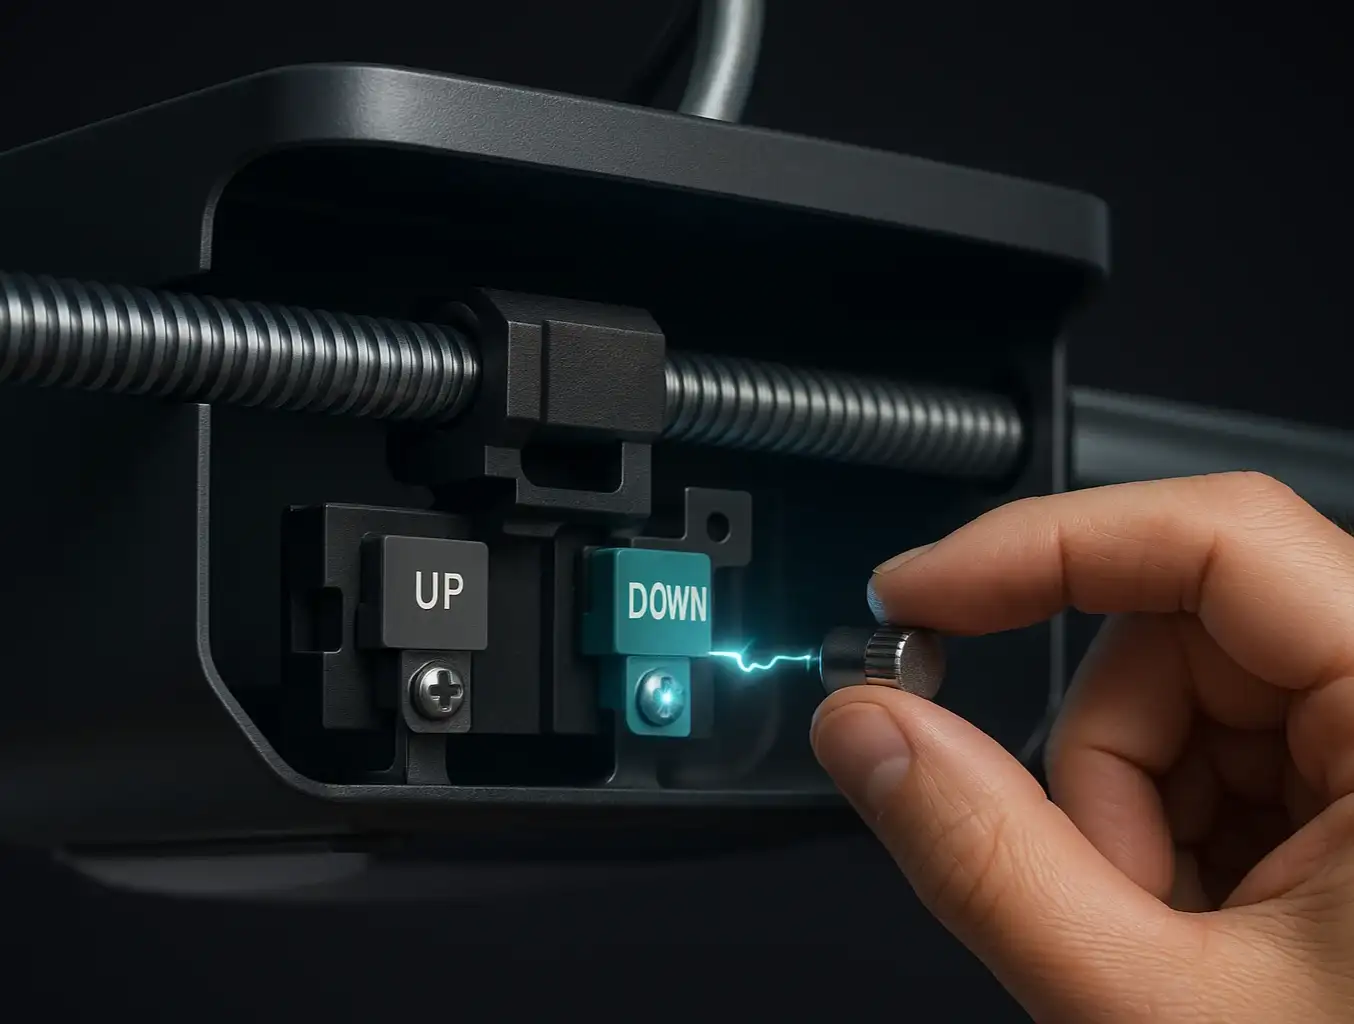
  • Travel Limit: This is your opener’s GPS. It tells the door exactly WHERE to stop at the top (up-limit) and bottom (down-limit). It defines the start and end points of the journey.
  • Force Setting: This is your opener’s Gas Pedal. It tells the motor HOW MUCH power to use to complete that journey. It needs just enough "gas" to overcome the door's weight and friction, but not so much that it can't detect a real obstruction.
When you adjusted the travel limit to make the door close tighter, you changed the destination. You told the GPS, "Go an extra half-inch." But you never told the car to use a little more gas for that final push against the weather stripping. So, when the door met that tiny bit of extra resistance, the opener's safety system kicked in, mistook the floor for an obstruction, and reversed.
This is the "aha moment." Adjusting the destination (Limit) almost always requires fine-tuning the gas pedal (Force).
Understanding the function of each garage door limit switch is the first step, but knowing how it interacts with the force setting is the key to mastering the adjustment.
Diagram explaining travel limit vs force screw differences

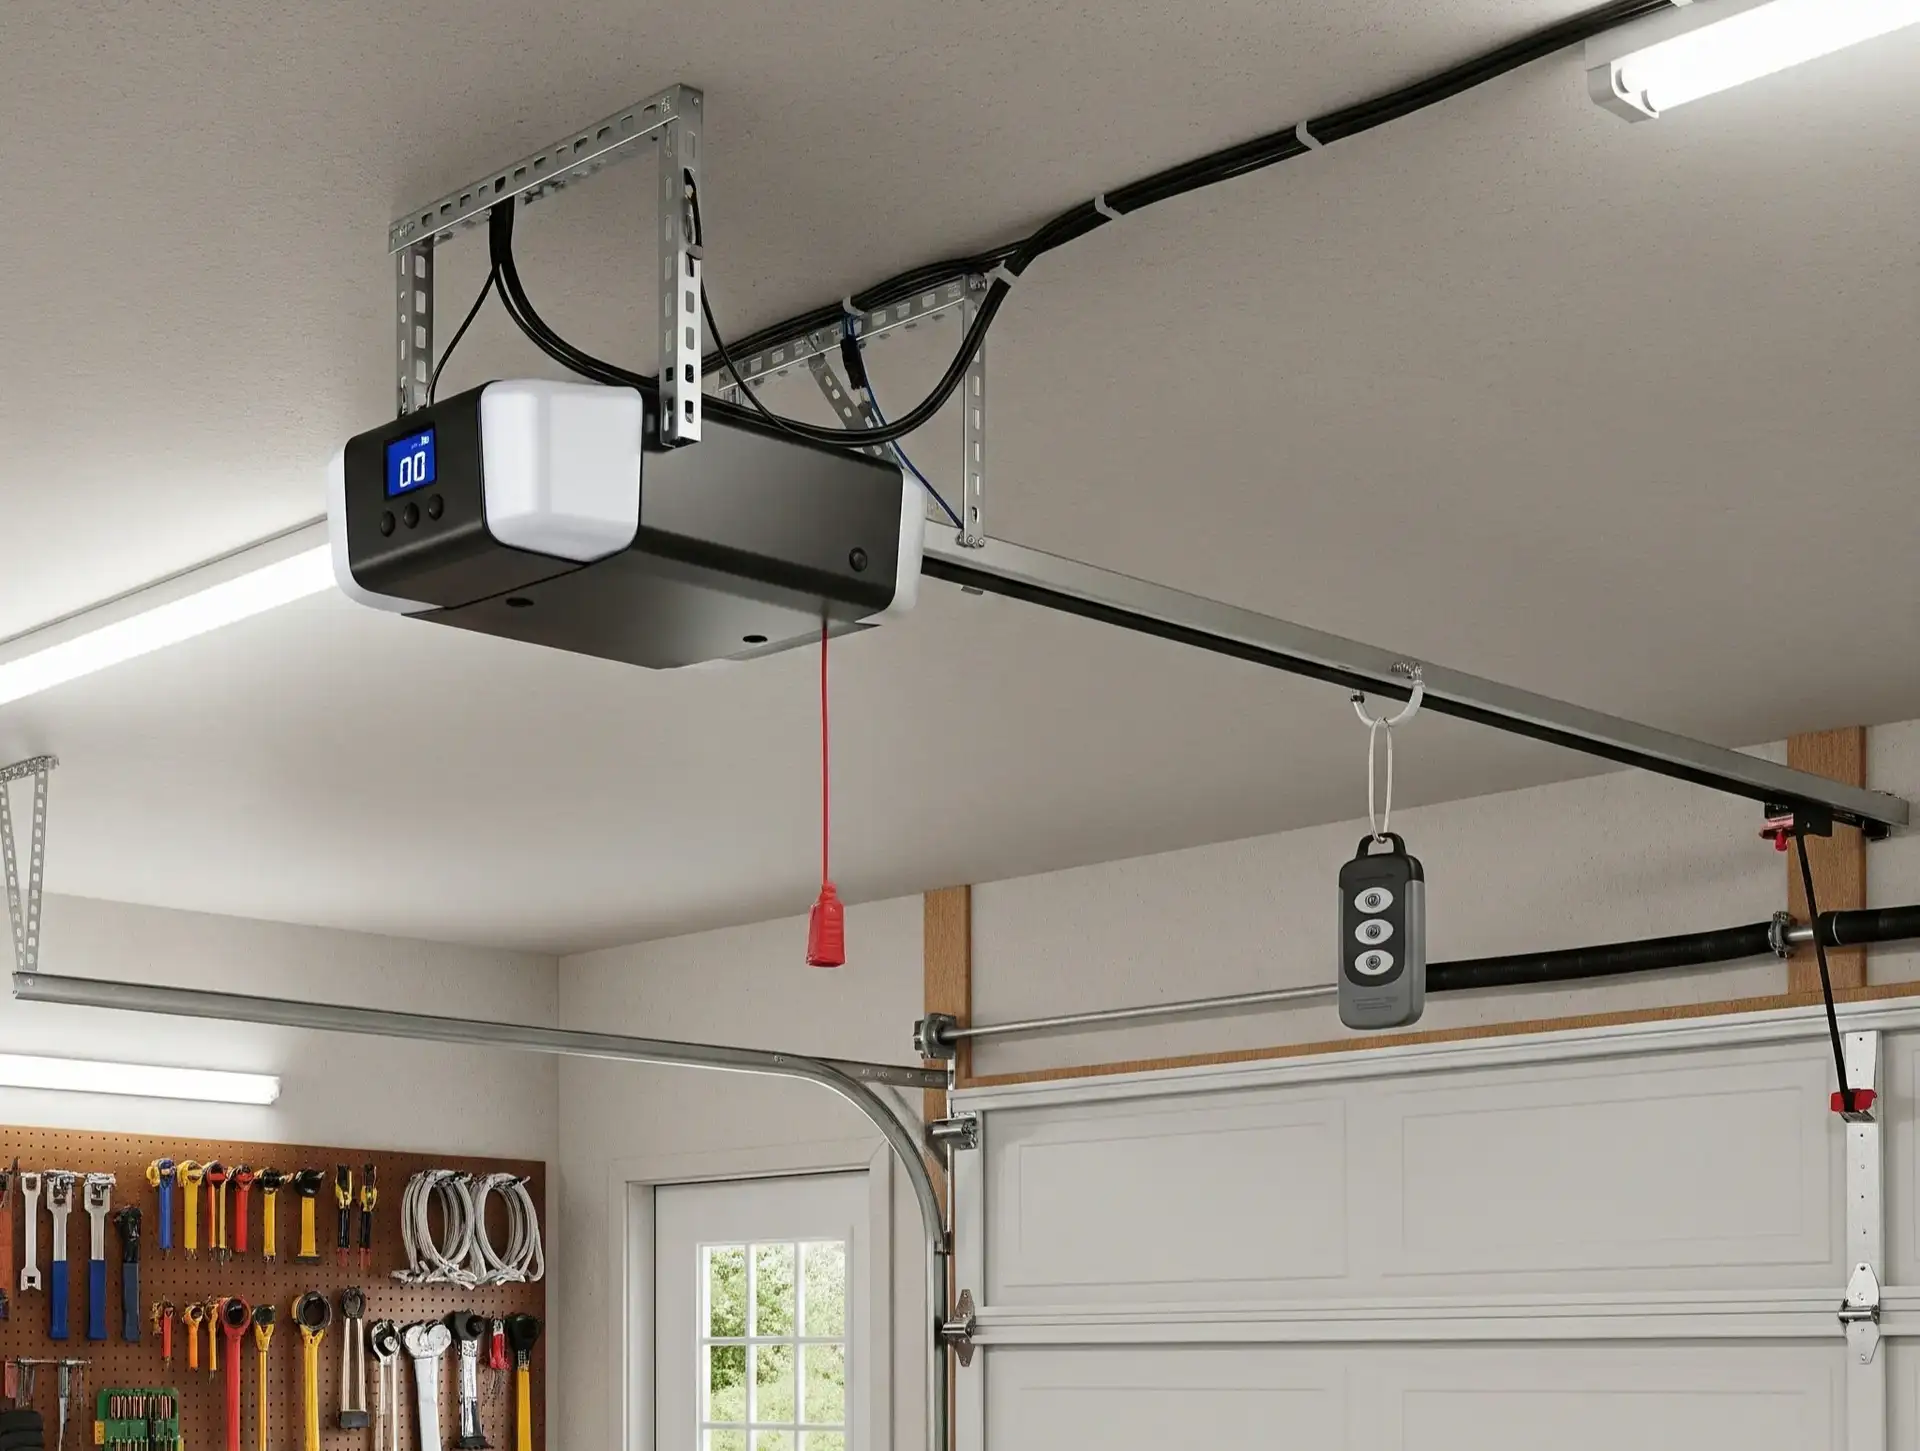
The 5-Step Post-Adjustment Diagnostic


Instead of randomly twisting screws, let's walk through a logical process to get your door working smoothly and safely again. Follow these steps in order.

Step 1: Perform the Essential Safety Reversal Test

Before you make a single adjustment, you must confirm the primary safety feature is working.
  1. Place a 2x4 piece of wood flat on the ground where the door would close.
  2. Press the button to close the door.
  3. The door should touch the wood and immediately reverse.
5-step flowchart to fix garage door issues after limit changes
If it doesn't reverse, stop immediately. The safety system is compromised, and you should seek professional help. If it passes, proceed to the next step.

Step 2: Re-Check Your Down Limit Adjustment

The most common mistake is setting the down limit too far. The goal is for the door to close so the rubber seal on the bottom is lightly compressed, not squashed flat.
Action: Using a screwdriver or the opener's buttons, adjust the down-limit screw a quarter-turn in the "up" direction. This tells the door to stop slightly sooner.
Test: Run the door. Did it close fully without reversing? If so, you're done! Your problem was simply too much compression. If the garage door reverses before hitting the floor or still bounces back up, proceed to Step 3.

Step 3: Fine-Tune the Close Force

This is where we adjust the "gas pedal." You only want to add the minimum amount of force necessary for a smooth close.
Action: Locate the Close Force (or "Down Force") adjustment screw. It is a separate control from the travel limits. Increase the force by making a very small adjustment—about 1/8th of a turn in the "increase" direction.
Test: Run the door again. If it closes smoothly, great! If it still reverses, repeat the 1/8th turn adjustment. It may take two or three tiny adjustments to find the sweet spot.
Crucial Warning: Do NOT just crank the force to maximum. This creates a serious safety hazard, as the door may not reverse when it hits a real obstruction. The goal is the lowest force setting that reliably closes the door.

Step 4: Check for a Bound Door

Sometimes, changing the travel limits reveals an underlying physical problem. The door might be sticking or binding in the tracks.
Action: Pull the red emergency release cord to disconnect the opener. Now, lift the door by hand.
Test: Does it feel smooth? Can you lift it with one hand? Does it stay put when you leave it halfway open? If you feel any sticking points, grinding, or if it feels excessively heavy, the problem isn't with your opener settings—it's with the door's balance or tracks.

Step 5: Perform the Final Safety Test

Once the door is closing perfectly with the new settings, you must repeat the safety test from Step 1.
Action: Place the 2x4 on the ground again.
Test: Close the door. It must reverse upon contact. This confirms that your new force setting is not too high and your door remains safe.

5-step flowchart to fix garage door issues after limit changes

Mastery: Why Does This Even Happen? Understanding Hidden Factors


Temperature changes affect garage door force and performance
You might wonder why you suddenly need more force when you didn't before. Garage doors aren't static systems; they're affected by their environment.
The most common culprit is temperature. As seasons change, the materials of your home and garage door expand and contract. Wood can swell with humidity, and lubricants in the rollers can thicken in the cold. These subtle changes increase resistance, requiring a slight bump in the force setting to compensate. Your recent limit adjustment may have just been the final straw that made this existing tension noticeable.

Temperature changes affect garage door force and performance

Need more information?

Action: Your Troubleshooting Checklist & When to Call for Help


Checklist to troubleshoot safely and know when to call a pro
Feeling confident? Here’s a quick-glance checklist to guide you. If you run through this entire process and the door still malfunctions, it’s a sign of a deeper issue, like a failing logic board or a serious alignment problem.
Your safety is the top priority. If you feel unsure at any point, or if the door behaves aggressively or makes loud noises, it’s always best to stop and contact a qualified technician.

Checklist to troubleshoot safely and know when to call a pro

Frequently Asked Questions


Can I just set the force setting to maximum to solve the problem?

Absolutely not. This is extremely dangerous. The force setting is calibrated to be just strong enough to move the door, but sensitive enough to reverse if it encounters a person, pet, or object. Maxing it out can disable this crucial safety feature.

I’ve adjusted the settings, but now my garage door remote stopped working intermittently. Are these related?

While not directly related, opener malfunctions can sometimes seem connected. If you’ve solved the reversal issue but now find my garage door remote stopped working, it’s likely a separate issue with the remote's battery, signal interference, or the opener's receiver. It's best to troubleshoot it as a distinct problem.

What is the main difference between the travel limit and the force setting again?

Think of it this way: The Travel Limit is the destination. It tells the door where to physically stop. The Force Setting is the engine power. It determines how hard the opener works to get to that destination. You can't change one without considering the other.

What if the garage door wall button is not working either?

If both your remote and wall control are failing after you've been working on the opener, it's possible a wire was inadvertently disconnected or the logic board was affected. If your garage door wall button not working is a new problem, double-check all the wiring connections on the back of the motor unit first.

You may also like


blog photo

Adjusting Garage Door Opener Settings for Wood vs. Aluminum Doors

Have you ever noticed how a heavy, solid wood garage door closes with a commanding thud, while a sleek aluminum one glides to a whisper-quiet stop? You might think it's just the door, but the secret is in the fine-tuning of the garage door opener. Using the same "one-size-fits-all" settings for these two very different doors is a recipe for disaster—leading to everything from annoying operational quirks to costly damage. Generic online guides show you which screw to turn, but they miss the most important part: why and how your door’s material dictates those adjustments. This guide is different. We're going to pull back the curtain on how professionals think, turning you from a "how-to" follower into an informed diagnostician of your own garage door system.

blog photo

Understanding the Role of Up and Down Limit Switches

Have you ever pressed the button for your garage door and watched it stop an inch from the ground, leaving an annoying gap? Or maybe it closes perfectly but the motor keeps humming for a few seconds, sounding like it doesn’t know when to quit. These common frustrations often point to one of the most important yet least understood parts of your opener: the limit switches. Think of limit switches as the silent conductors of your garage door orchestra. Like setting an alarm clock, you tell them exactly when the motor needs to “wake up” (start moving) and “go to sleep” (stop). When these settings are off, the entire performance falls flat. Understanding how they work is the first step to solving some of the most common garage door problems and ensuring your door operates smoothly and safely.