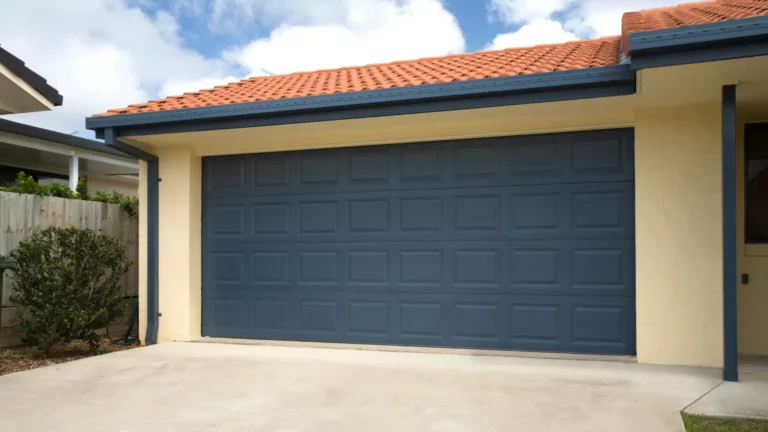
Wall-mounted garage door openers are a popular choice for American homeowners. Their compact design and reliable performance make them a practical addition to any garage. Unlike ceiling-mounted models, these openers save space and offer a clean, modern appearance.
Unfortunately, no mechanical system is perfect, so even the best wall-mounted garage door opener can experience small glitches or more serious malfunctions over time. The good news is that many common issues are easy to resolve with some basic troubleshooting and regular care.
In this guide, we’ll share practical tips and straightforward maintenance advice to help get your garage door back in optimal condition. If tackling repairs on your own feels overwhelming, 24H Garage Doors is just a call away, ready to handle the job for you!
Troubleshooting Wall-Mounted Garage Door Controls
Published: Feb 21, 2025 | Updated: Jul 28, 2026
Common Issues with Wall-Mounted Garage Door Controls and Their Causes
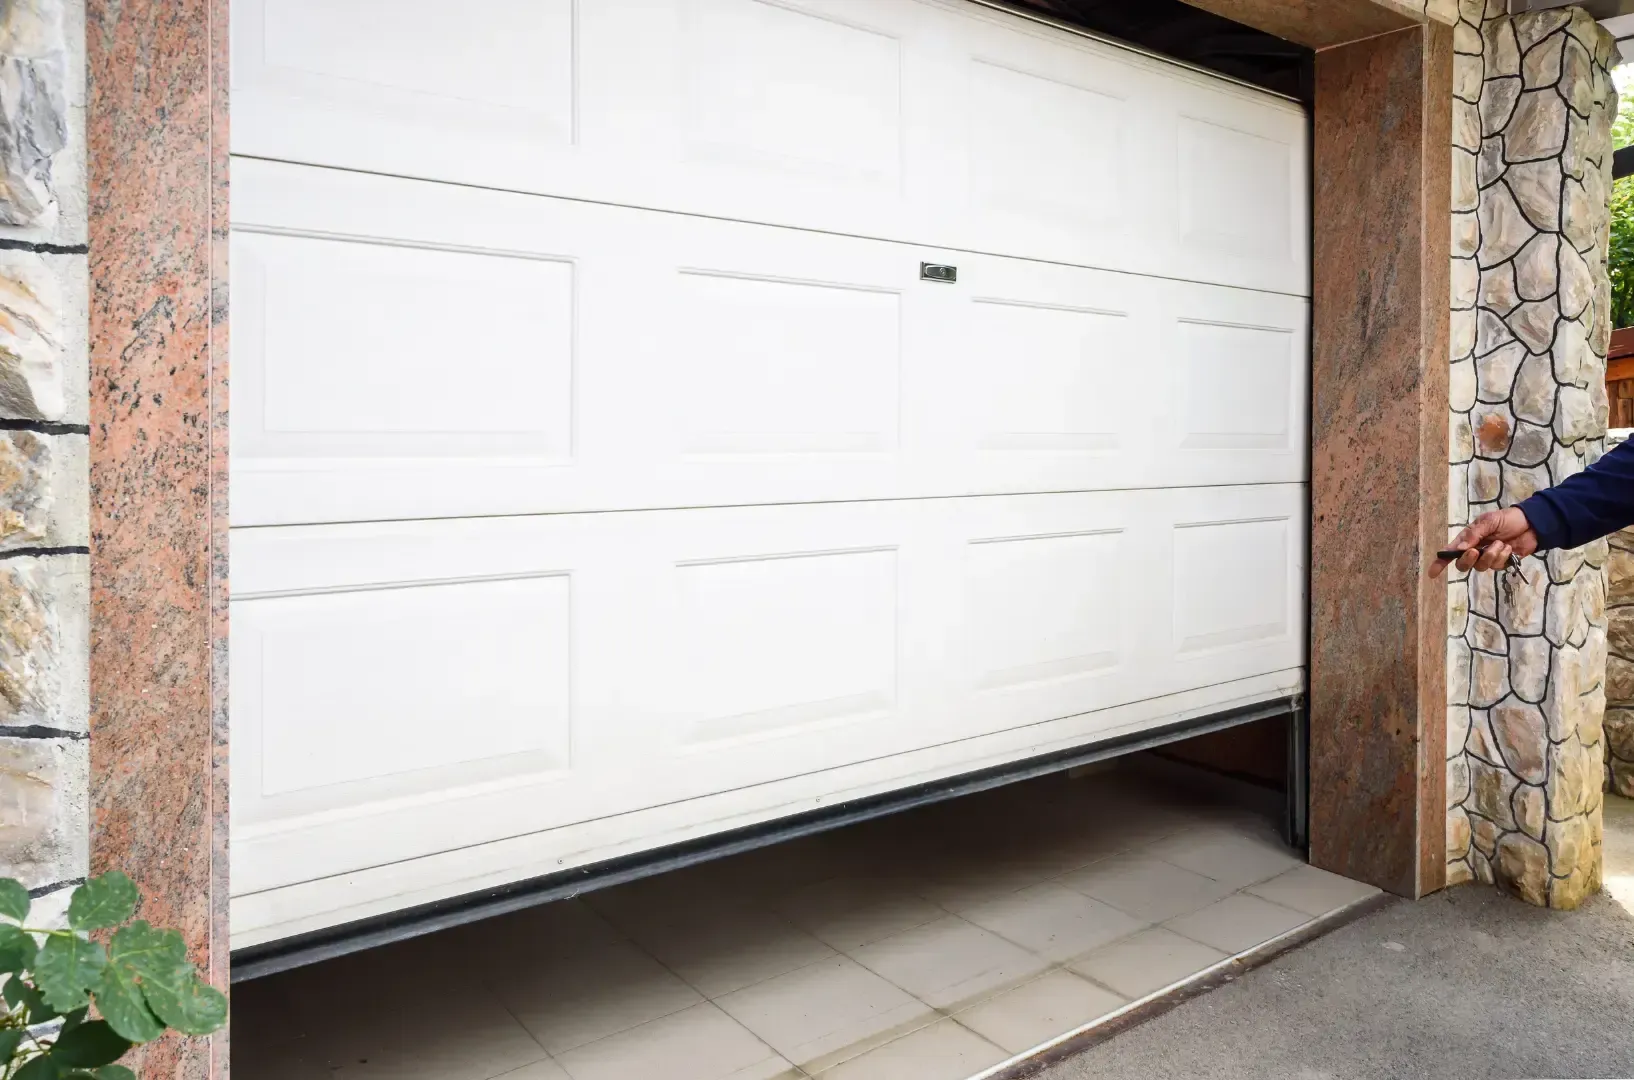
Wall-mounted garage door openers are built to last but can still run into issues over time. Everyday wear, accidental damage, improper maintenance, and many other factors can cause them to fail unexpectedly. Here are some of the most common problems with wall-mounted garage door controls and their potential causes:
Understanding these common problems can help you identify the issue and choose the best solution. If you’re unsure where to start or prefer expert assistance, professional garage door services can provide reliable and efficient support.
Pre-Troubleshooting Checklist: Quick Steps to Try First
Before you do any repairs, there are a few things that are worth checking out. Many small problems can be resolved quickly without extra tools and expenses. First, make sure your garage door opener is plugged in tightly and that the breaker hasn’t tripped. If your opener is powered by a remote, try replacing the batteries. It’s a good idea to keep spare batteries in your car or in your garage.
Inspect the wall mounts, too. Check if they’re dusty or if any buttons are stuck due to infrequent use. You may need to clean the mounts and reattach any loose wires. Also, do not forget about the garage door tracks. Gently clean the panel and check for loose wires. Regular garage door track maintenance is important to keep the entire system in optimal working condition.
These straightforward checks can fix minor problems, restoring your garage door’s functionality and saving you from costly repairs.
Inspect the wall mounts, too. Check if they’re dusty or if any buttons are stuck due to infrequent use. You may need to clean the mounts and reattach any loose wires. Also, do not forget about the garage door tracks. Gently clean the panel and check for loose wires. Regular garage door track maintenance is important to keep the entire system in optimal working condition.
These straightforward checks can fix minor problems, restoring your garage door’s functionality and saving you from costly repairs.
Solutions for Non-Functional Garage Door Controls
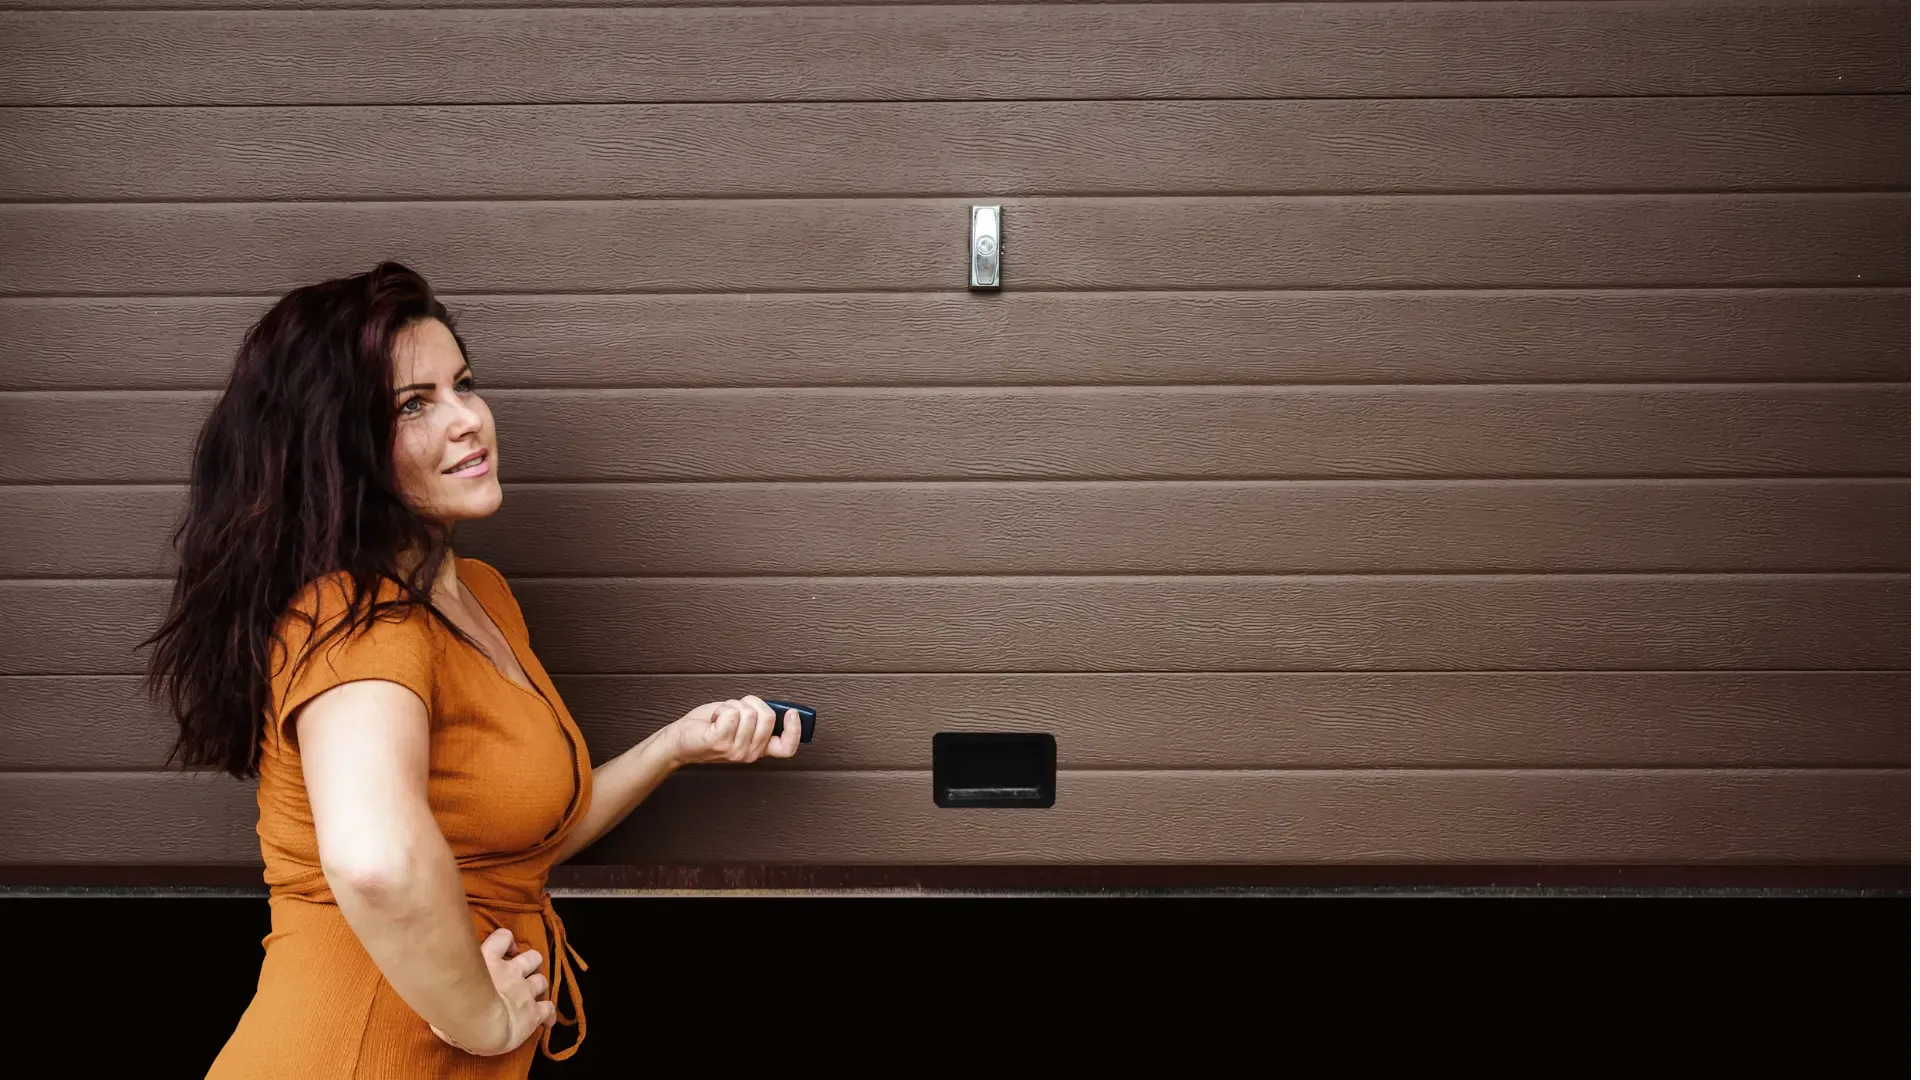
When basic fixes don’t resolve the issue, it’s time to get more serious. Persistent problems with wall-mounted garage door controls may stem from hidden system issues. While it seems complicated, most solutions are simpler than you think. Here’s what to try next.
Sync the Opener and the Controls
It’s frustrating when your garage door stops responding after a power outage or system glitch. One common cause is lost synchronization between the wall-mounted controls and the opener itself. Refer to your system’s manual for guidance – it’s your best friend here. Look for instructions on re-syncing. Most systems have a “learn” or “sync” button on the opener unit. Press it, then activate the wall-mounted controls. It might take a couple of tries to get the timing right, so patience is important. If you can’t find the manual, check the manufacturer’s website for specific guidance or video tutorials. They can make the process much easier.
Investigate Sensor Alignment
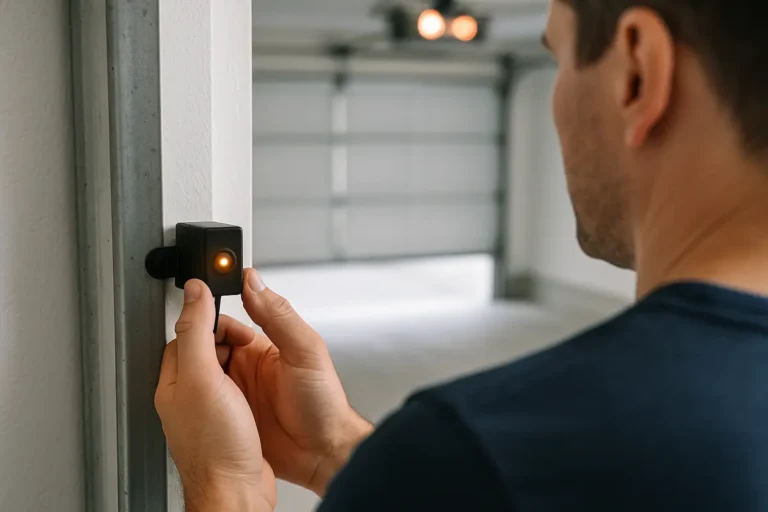
If the sensors at the base of your garage door aren’t perfectly aligned, your system might ignore your commands altogether. Take a close look at the sensors. Are the indicator lights solid or blinking? If they’re blinking, it’s a sign the beam is misaligned. Carefully adjust one sensor at a time until the lights turn solid. While you’re at it, give the sensor lenses a quick clean with a soft cloth. Even a little dust can block the beam and cause problems. Also, tighten any loose sensor brackets to ensure stability.
Inspect the Wall-Mounted Unit
Sometimes, the problem is inside the control panel. Carefully unscrew the unit and look for obvious issues like loose wires, burnt-out components, or corrosion. A little troubleshooting can go a long way here. Tighten any loose connections, but if you spot significant damage, it’s time to replace the unit. Before buying a new one, double-check that it is compatible with your opener.
Keep in mind that accessing the control panel requires basic technical skills, proper tools, and confidence in handling electrical components. If you’re unsure about any of these, it’s best to consult a specialist to avoid further damage or potential injury.
When to Call a Professional Garage Door Technician
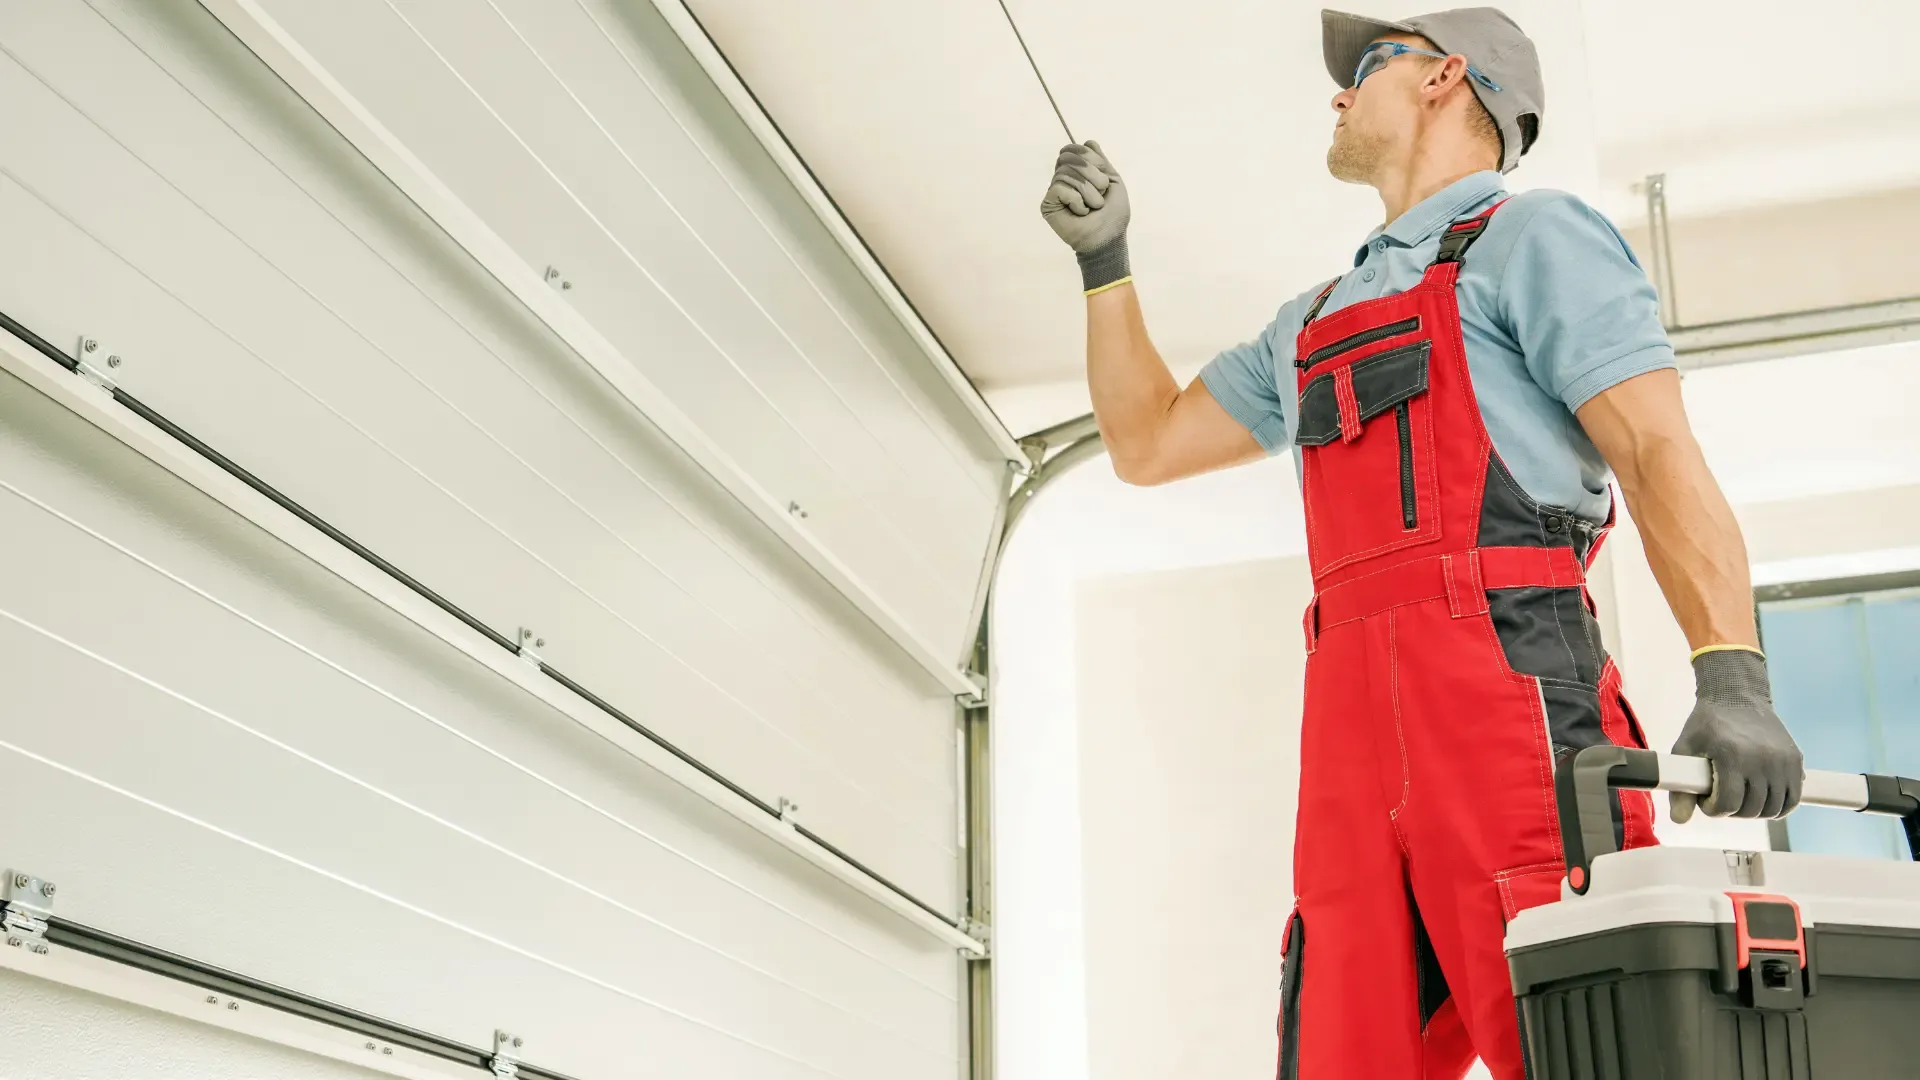
Addressing garage door issues early is essential to avoid serious problems and safety risks. However, taking proactive steps is an even wiser approach to preventing significant issues. With a comprehensive garage door maintenance checklist, you can keep your system performing optimally for years.
Start with regular inspections and basic cleaning. Wipe down the components and apply lubricant to reduce wear and tear. An annual inspection can help catch minor problems, like strange noises or slower operations before they become costly repairs.
Some problems, however, are best handled by professionals. If troubleshooting doesn’t resolve the issue or your system shows signs of serious damage, expert assistance is the safest option. Services like 24H Garage Doors handle everything from realigning tracks to replacing springs. If your system feels outdated, skilled technicians can also suggest upgrades tailored to your needs for smoother and more reliable performance.
Taking small steps now and knowing when to call for help can save you time, money, and effort in the long run.
Some problems, however, are best handled by professionals. If troubleshooting doesn’t resolve the issue or your system shows signs of serious damage, expert assistance is the safest option. Services like 24H Garage Doors handle everything from realigning tracks to replacing springs. If your system feels outdated, skilled technicians can also suggest upgrades tailored to your needs for smoother and more reliable performance.
Taking small steps now and knowing when to call for help can save you time, money, and effort in the long run.
Conclusion
In summary, wall-mounted garage door openers offer a combination of convenience, reliability, and modern functionality. They save space and make daily life easier, which makes them a great addition to any garage. However, regular care is essential to keep these devices functioning properly.
Fixing small issues early and following a basic maintenance routine can help avoid bigger problems later. For more complex repairs, trust the experienced team at 24H Garage Doors. From troubleshooting to system upgrades, we ensure your opener remains dependable for years to come.
Take care of your garage door today – it’s a small effort that delivers lasting benefits.
Fixing small issues early and following a basic maintenance routine can help avoid bigger problems later. For more complex repairs, trust the experienced team at 24H Garage Doors. From troubleshooting to system upgrades, we ensure your opener remains dependable for years to come.
Take care of your garage door today – it’s a small effort that delivers lasting benefits.
Frequently Asked Questions (FAQ)
Why is my wall-mounted garage door control not working when I press the button?
If your wall-mounted control does not respond, first check for a general power disruption by verifying the opener motor head is plugged in and the circuit breaker has not tripped. For hardwired wall consoles, inspect the low-voltage bell wire running from the wall unit to the motor head for breaks, loose staples, or corroded terminals. For wireless wall consoles, test and replace the internal batteries (typically coin-cell or AA/AAA batteries).
Why is the LED light on my wall-mounted garage door control blinking continuously?
A continuous blinking or flashing LED on your wall control usually indicates that the Lock feature (or Vacation Mode) is engaged. This security mode disables remote controls while allowing the wall button to operate the door. It can also point to a safety sensor misalignment or a low-voltage wiring fault. To turn off Lock Mode, press and hold the Lock button on the wall console for 3 to 5 seconds until the indicator light stops flashing.
Why does my garage door open from the wall control but refuse to close?
This issue is most commonly caused by misaligned, dirty, or obstructed safety photo-eye sensors located near the bottom of the garage door tracks. Wipe both sensor lenses with a clean, dry cloth and ensure the receiving sensor’s LED light glows solid green without flickering. To confirm a sensor issue, press and hold the wall control button continuously; holding the button overrides the safety sensors and forces the door to close.
How do I reset or reprogram a wall-mounted garage door control panel?
To reprogram a wireless wall console or reset your system’s connection, locate the Learn button on your ceiling-mounted or jackshaft opener motor head. Press and release the Learn button (the indicator LED will light up solid), then within 30 seconds press the main command button on your wall-mounted control panel. The motor head lights will flash or click to confirm successful programming.
Why does my garage door move a few inches and then reverse when using the wall control?
An immediate reversal or stop after a few inches of movement typically indicates excessive mechanical friction, track obstructions, or worn rollers. With the door closed, pull the emergency release cord and lift the door manually to check for balance and smooth operation. If the door moves freely by hand, the opener’s electronic travel limits or force sensitivity settings may need to be recalibrated following the manufacturer’s manual.
When should I call a professional technician for a wall-mounted garage door control issue?
You should contact a professional garage door technician if you notice burnt or damaged logic boards, persistent electrical faults after checking wiring connections, stripped internal drive gears (indicated by a humming motor without door movement), or if your troubleshooting points to unbalanced torsion springs or high-tension lifting cables.
Frequently Asked Questions
Why is my wall-mounted garage door control not working when I press the button?
If your wall-mounted control does not respond, first check for a general power disruption by verifying the opener motor head is plugged in and the circuit breaker has not tripped. For hardwired wall consoles, inspect the low-voltage bell wire running from the wall unit to the motor head for breaks, loose staples, or corroded terminals. For wireless wall consoles, test and replace the internal batteries (typically coin-cell or AA/AAA batteries).
Why is the LED light on my wall-mounted garage door control blinking continuously?
A continuous blinking or flashing LED on your wall control usually indicates that the Lock feature (or Vacation Mode) is engaged. This security mode disables remote controls while allowing the wall button to operate the door. It can also point to a safety sensor misalignment or a low-voltage wiring fault. To turn off Lock Mode, press and hold the Lock button on the wall console for 3 to 5 seconds until the indicator light stops flashing.
Why does my garage door open from the wall control but refuse to close?
This issue is most commonly caused by misaligned, dirty, or obstructed safety photo-eye sensors located near the bottom of the garage door tracks. Wipe both sensor lenses with a clean, dry cloth and ensure the receiving sensor’s LED light glows solid green without flickering. To confirm a sensor issue, press and hold the wall control button continuously; holding the button overrides the safety sensors and forces the door to close.
How do I reset or reprogram a wall-mounted garage door control panel?
To reprogram a wireless wall console or reset your system’s connection, locate the Learn button on your ceiling-mounted or jackshaft opener motor head. Press and release the Learn button (the indicator LED will light up solid), then within 30 seconds press the main command button on your wall-mounted control panel. The motor head lights will flash or click to confirm successful programming.
Why does my garage door move a few inches and then reverse when using the wall control?
An immediate reversal or stop after a few inches of movement typically indicates excessive mechanical friction, track obstructions, or worn rollers. With the door closed, pull the emergency release cord and lift the door manually to check for balance and smooth operation. If the door moves freely by hand, the opener’s electronic travel limits or force sensitivity settings may need to be recalibrated following the manufacturer’s manual.
When should I call a professional technician for a wall-mounted garage door control issue?
You should contact a professional garage door technician if you notice burnt or damaged logic boards, persistent electrical faults after checking wiring connections, stripped internal drive gears (indicated by a humming motor without door movement), or if your troubleshooting points to unbalanced torsion springs or high-tension lifting cables.