main logo

Garage Door Opener Chain Problems: When to Call a Pro


Published: Jun 16, 2026

That sound. The one you hear right before you leave for work—a sudden grinding noise, a jerky shudder, or an alarming pop from your garage. Your garage door opener is trying to tell you something, but its language is all about chains, gears, and tension. And when the chain is the culprit, it can be tough to know if you're facing a five-minute fix or a serious mechanical failure.

You’re not alone in this. Many homeowners hear that sagging chain or that grinding motor and immediately jump to YouTube, only to find a dozen different videos that don't quite match their problem. The real challenge isn't just fixing the issue; it's correctly diagnosing it in the first place.

This guide is your translator. We'll walk you through the essential anatomy of your opener, help you handle the simple DIY adjustments with confidence, and—most importantly—show you the undeniable red flags that mean it's time to put down the tools and call a professional.

The Anatomy of Your Chain Drive Opener


Before we dive into troubleshooting, let's get acquainted with the main players. Understanding how these parts work together is the first step to figuring out what’s gone wrong. Think of it as a quick peek under the hood.
Understand the inner workings: Key parts of your garage door chain drive opener every homeowner should know before troubleshooting.

  • Motor Unit: This is the powerhouse of the operation, containing the motor, gears, and logic board that receives signals from your remote.
  • Sprocket: Located on top of the motor unit, this toothed wheel is what the chain rides on. A worn-out sprocket is a common source of major problems.
  • Chain: The metal chain runs the length of the rail, connecting the motor to the trolley. Its tension is critical for smooth operation.
  • Rail: The long metal track that houses the chain and guides the trolley.
  • Trolley (or Carriage): This is the component that moves along the rail, pulled by the chain. It's connected to the garage door via the drawbar arm, and it’s what actually pulls the door open and pushes it closed.
Now that you know the key parts, let's look at what you can safely handle yourself.
Understand the inner workings: Key parts of your garage door chain drive opener every homeowner should know before troubleshooting.

The DIY Zone: Safe First Steps for Common Chain Problems


Many common chain issues are simple adjustments that don't require a service call. If your door is noisy or moving unevenly, these checks are your best starting point.

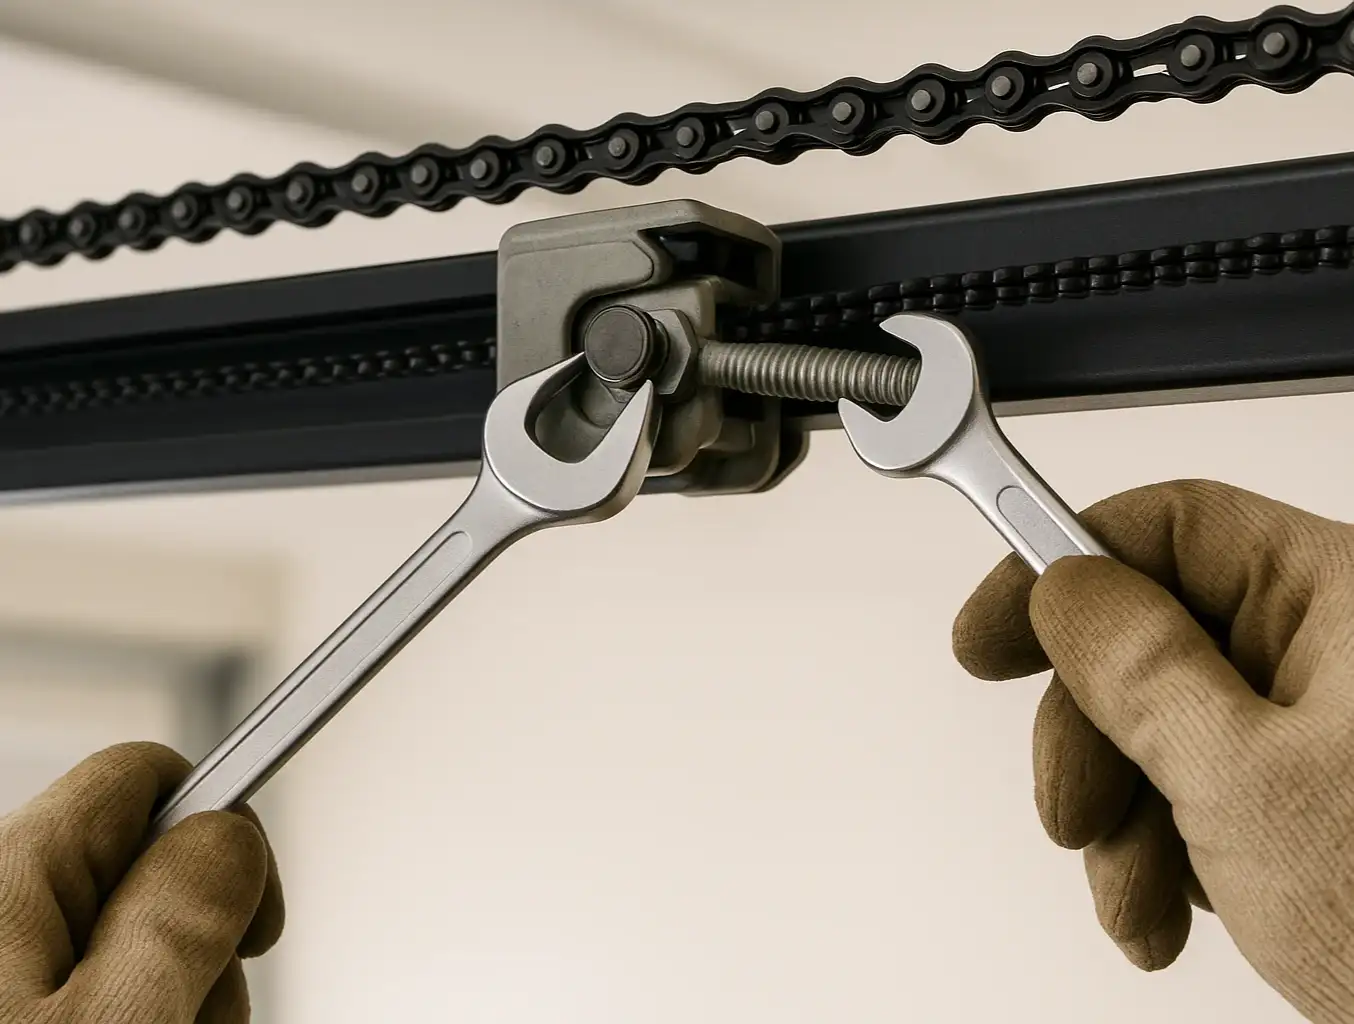
1. The Sagging Chain Check

One of the most frequent issues is a loose chain. Over time, the chain can stretch, causing it to sag and slap against the rail.
  • How to Check: A properly tensioned chain should have a slight amount of slack, but it shouldn't be drooping down more than about half an inch from the bottom of the rail.
  • The Fix: Most openers have a pair of nuts on the trolley that allow you to adjust the tension. A few simple turns with a wrench can often solve the problem of a garage door chain loose. Just be careful not to overtighten it—a chain that's too tight puts immense strain on the sprocket and motor gears.

Start smart: Safely diagnose common chain issues with simple checks before deciding to call a pro.

2. Squeaks and Squeals: A Thirst for Lubrication

A dry, noisy chain isn't just annoying; it's a sign of friction that's causing premature wear and tear.

  • Progress Checkpoint:: Did one of these simple fixes solve your problem? If so, congratulations! You've just saved yourself a service call. If your chain is still acting up, or if you noticed something more serious during your inspection, it’s time to enter the Red Flag Zone.
  • The "Aha" Moment: Many people reach for WD-40, but this is a mistake. WD-40 is a solvent, not a lubricant, and can actually strip away the grease your chain needs.
  • The Fix: The right solution is to lubricate your garage door chain with a high-quality white lithium grease or a silicone-based lubricant designed for garage doors. Apply a small amount and run the door a few times to distribute it evenly.
Start smart: Safely diagnose common chain issues with simple checks before deciding to call a pro.

3. Re-engaging the Trolley

If you've ever used the red emergency release cord, you'll need to reconnect the trolley to the chain. This is a common and easy fix.
Pull the emergency release cord down and back towards the motor. Then, run the garage door opener. The trolley will move along the rail and automatically click back into the carriage, re-engaging the door.

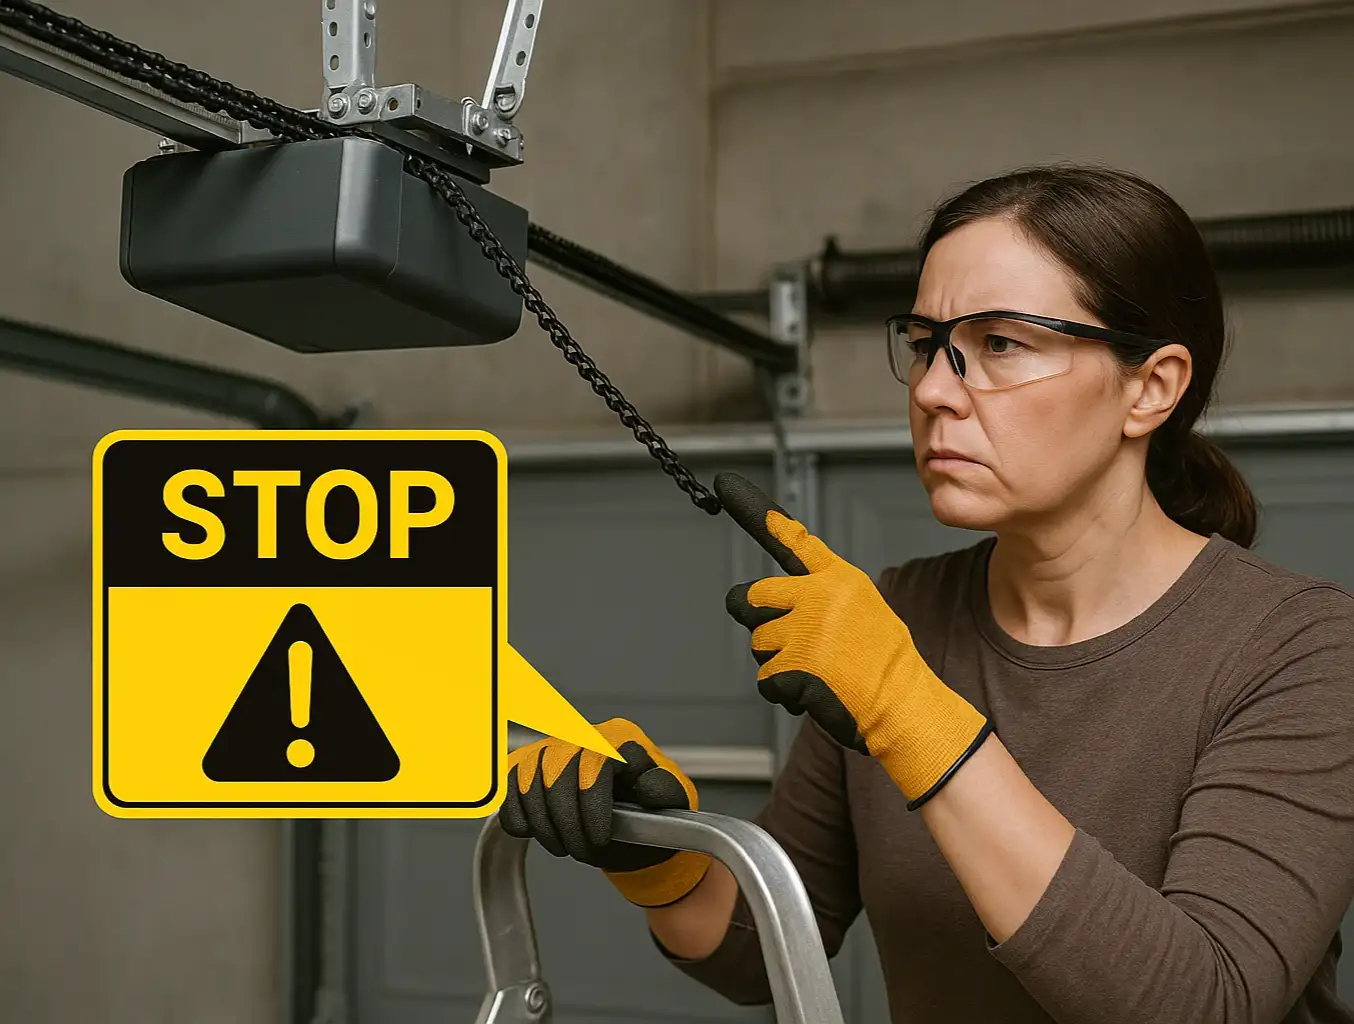
The Red Flag Zone: 5 Signs You MUST Call a Professional


This is the critical part of your diagnosis. Attempting to fix these issues yourself can be ineffective, lead to more expensive damage, or pose a significant safety risk. If you see any of these signs, stop and call for expert help.
At a glance: Understand the critical red flags signaling when DIY attempts will fail, and why calling a professional is the safest and smartest choice.

Sign 1: The Chain Snapped or Derailed Completely

If your garage door off chain is lying on the floor or hanging loosely off the sprockets, this isn't a simple tension issue.

Why It's a Pro Job: A snapped chain is often a symptom of a much larger problem, like a seized trolley, extreme tension from an imbalanced door, or a broken internal gear that caused the chain to bind. Simply replacing the garage door master link won't fix the underlying cause, and the new chain will likely fail again quickly. A technician will diagnose the root cause to ensure a lasting repair.

Sign 2: Grinding, Popping, or Clicking from the Motor Unit

Listen closely to the opener motor itself (not the chain). If you hear loud, rhythmic grinding or popping sounds, you're likely hearing the death rattle of the main drive gear.

Why It's a Pro Job: The gear and sprocket assembly is located inside the sealed motor unit. The teeth on these gears are often made of nylon and can get stripped over years of use or due to excessive strain. Replacing them requires disassembling the motor unit, which is a complex job that requires specialized parts and knowledge. For most homeowners, this is the point where you need to consider a comprehensive repair for your garage door opener.

Sign 3: The Motor Runs, But the Chain Doesn't Move

You press the button, you hear the hum of the motor, but absolutely nothing happens with the chain or the door.

Why It's a Pro Job: This is the most classic symptom of a completely stripped gear and sprocket assembly. The motor is spinning, but the stripped gears can no longer grip and turn the sprocket that moves the chain. It’s an internal failure that a professional needs to resolve. In rare cases, this could also point to a power issue, and a pro can safely diagnose electrical problems from a power surge to your garage door opener.

Sign 4: The Rail is Bent, Warped, or Damaged

Take a look down the length of the metal rail. Does it look straight and true, or is it bent, bowed, or visibly damaged?
Why It's a Pro Job: A bent rail puts enormous stress on the chain, trolley, and motor. It can cause the chain to derail and will eventually lead to catastrophic failure of the drive gears. A professional will need to either replace the entire rail assembly or determine if the damage warrants a full opener replacement.

Sign 5: The Door Itself is Extremely Heavy or Unbalanced

This is the most important safety check of all. With the door closed, pull the red emergency release cord to disconnect the door from the opener. Now, try to lift the door by hand.

Why It's a Pro Job: You should be able to lift the garage door smoothly and with one hand. It should also stay in place when you let go halfway up. If the door feels incredibly heavy or slams shut when you let go, the problem isn't your opener—it's your springs. The springs do the actual lifting; the opener is only meant to guide the door. Trying to force a door with broken or worn-out springs to operate with the opener will destroy the opener's gears in short order. Garage door springs are under extreme tension and are incredibly dangerous to work on. This is always a job for a qualified professional who understands the proper garage door chain safety protocols.

At a glance: Understand the critical red flags signaling when DIY attempts will fail, and why calling a professional is the safest and smartest choice.

Mastery & Action: What to Expect When You Call a Pro


Making the call is the right move when you spot a red flag. Knowing what to expect next can give you peace of mind.

A good technician won't just fix the obvious issue. They will perform a full diagnostic to ensure a safe and reliable repair:
Know what to expect: The professional repair process for complex garage door opener chain issues, made transparent for peace of mind.

  • Full System Inspection: They will inspect the springs, cables, rollers, and door balance to identify the root cause of the chain problem.
  • Diagnosis and Explanation: They will explain exactly what failed and why. For example, they’ll show you the stripped teeth on your old drive gear.
  • Clear Options: They will provide a clear estimate for the repair. If the opener is old or the damage is extensive, they may also recommend a replacement as a more cost-effective long-term solution.
  • Safety Check: After the repair, they will perform a full safety check, including testing the auto-reverse sensors and ensuring the door is properly balanced.
Know what to expect: The professional repair process for complex garage door opener chain issues, made transparent for peace of mind.

Frequently Asked Questions (FAQ)


How tight should my garage door opener chain be?

A properly tensioned chain should not be tight like a guitar string. It should have about ¼ to ½ inch of slack, allowing it to be lifted slightly off the rail at its midpoint. An overly tight chain will cause premature wear on your sprocket and gears.

Why did my garage door chain fall off?

A chain can fall off for several reasons: it's too loose, the sprocket on top of the motor is broken or worn out, or the rail is damaged. While a loose chain is a simple adjustment, a broken sprocket is a red flag that requires professional service.

What does a worn-out sprocket look like?

A healthy sprocket has clearly defined, symmetrical teeth. A worn-out sprocket will have teeth that are sharpened to a point, chipped, or visibly ground down. This wear is a direct cause of chain skipping and eventual failure.

Can I use WD-40 on my garage door chain?

No. WD-40 is a water-displacing solvent and degreaser. It will strip the existing lubricant off your chain, leaving it dry and prone to damage. Always use a dedicated garage door lubricant, such as white lithium grease.

Your Path to a Smooth, Safe Garage Door


Understanding the difference between a simple adjustment and a critical failure empowers you to be a smart homeowner. By handling the minor maintenance yourself and recognizing the red flags that demand professional expertise, you not only save time and money but also ensure your garage door system operates safely and reliably for years to come. Your home's largest moving part deserves that respect—and so does your peace of mind.

You may also like


blog photo

Essential Safety Precautions for Working on Garage Door Opener Chains

That rattling, sagging garage door chain is more than just an annoyance. It’s a sign that your garage door opener needs attention. And while your first instinct might be to grab a wrench and tighten it yourself, it's crucial to pause and understand what you're really dealing with. A garage door isn't just a simple door on a track; it's a complex, counter-balanced system where hundreds of pounds of force are held in check by a few critical components. Working on the opener chain without understanding the risks is like trying to fix a clock without realizing it's connected to a bomb. This guide isn’t about scaring you—it's about empowering you. We’re going to walk through the essential safety precautions that must come before any adjustment. Think of this as the required reading before you even open your toolbox.

blog photo

Step-by-Step Guide to Adjusting Garage Door Opener Chain Tension

So, you did it. You wrestled with that greasy chain, consulted a guide on garage door chain repair, and successfully reattached it to the opener. That moment of triumph when the links click back into place is a great feeling for any homeowner. But before you plug the opener back in and hit the button, there’s one critical step that separates a quick fix from a lasting solution: setting the correct chain tension. Getting this adjustment right is the difference between your door gliding smoothly for years and hearing that dreaded slap-slap-slap of a loose chain against the rail, or worse, causing premature wear on your opener’s motor. This guide picks up right where reattachment leaves off, showing you exactly how to dial in the perfect tension for safe, quiet, and reliable operation.