New Homeowner Garage Door Checklist: Codes, Remotes and a Safety Check


Published: Oct 7, 2026

Moving into a new home brings a long list of priorities, from painting rooms to setting up utilities. Yet, one of the most critical security and safety systems in your entire house is often completely overlooked: the garage door.

According to national pre-purchase inspection data compiled by WIN Home Inspection, over 90% of residential garage door systems fail at least one basic safety check. This is not just a minor operational nuisance; it is a direct physical risk to your family and a glaring security vulnerability. When you inherit a garage door from a previous owner, you also inherit their programming codes, their worn-out hardware, and potentially outdated mechanical components. Taking just fifteen minutes to systematically audit your garage door will secure your perimeter and prevent costly, dangerous failures.
Wiping the Digital Slate: Erasing Inherited Access Codes


The day you receive your keys, you must assume that previous homeowners, real estate agents, contractors, and neighbors still hold wireless access to your home. Securing your perimeter starts with wiping the memory of your garage door receiver and reprogramming your remotes and keypads.

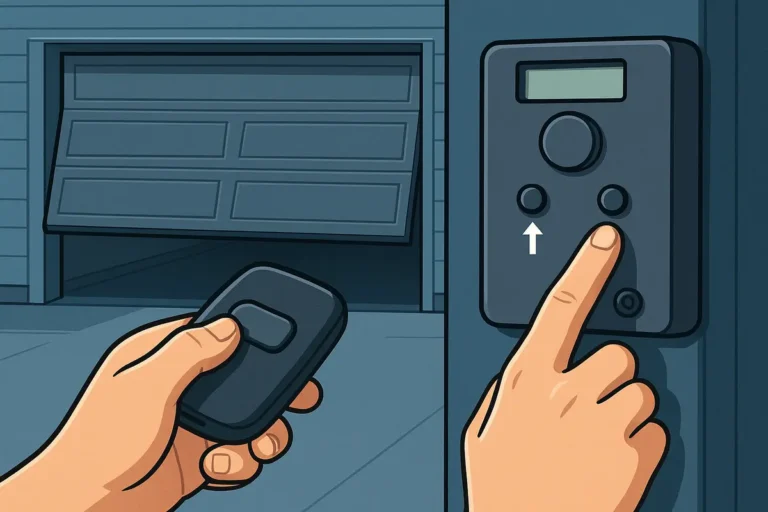
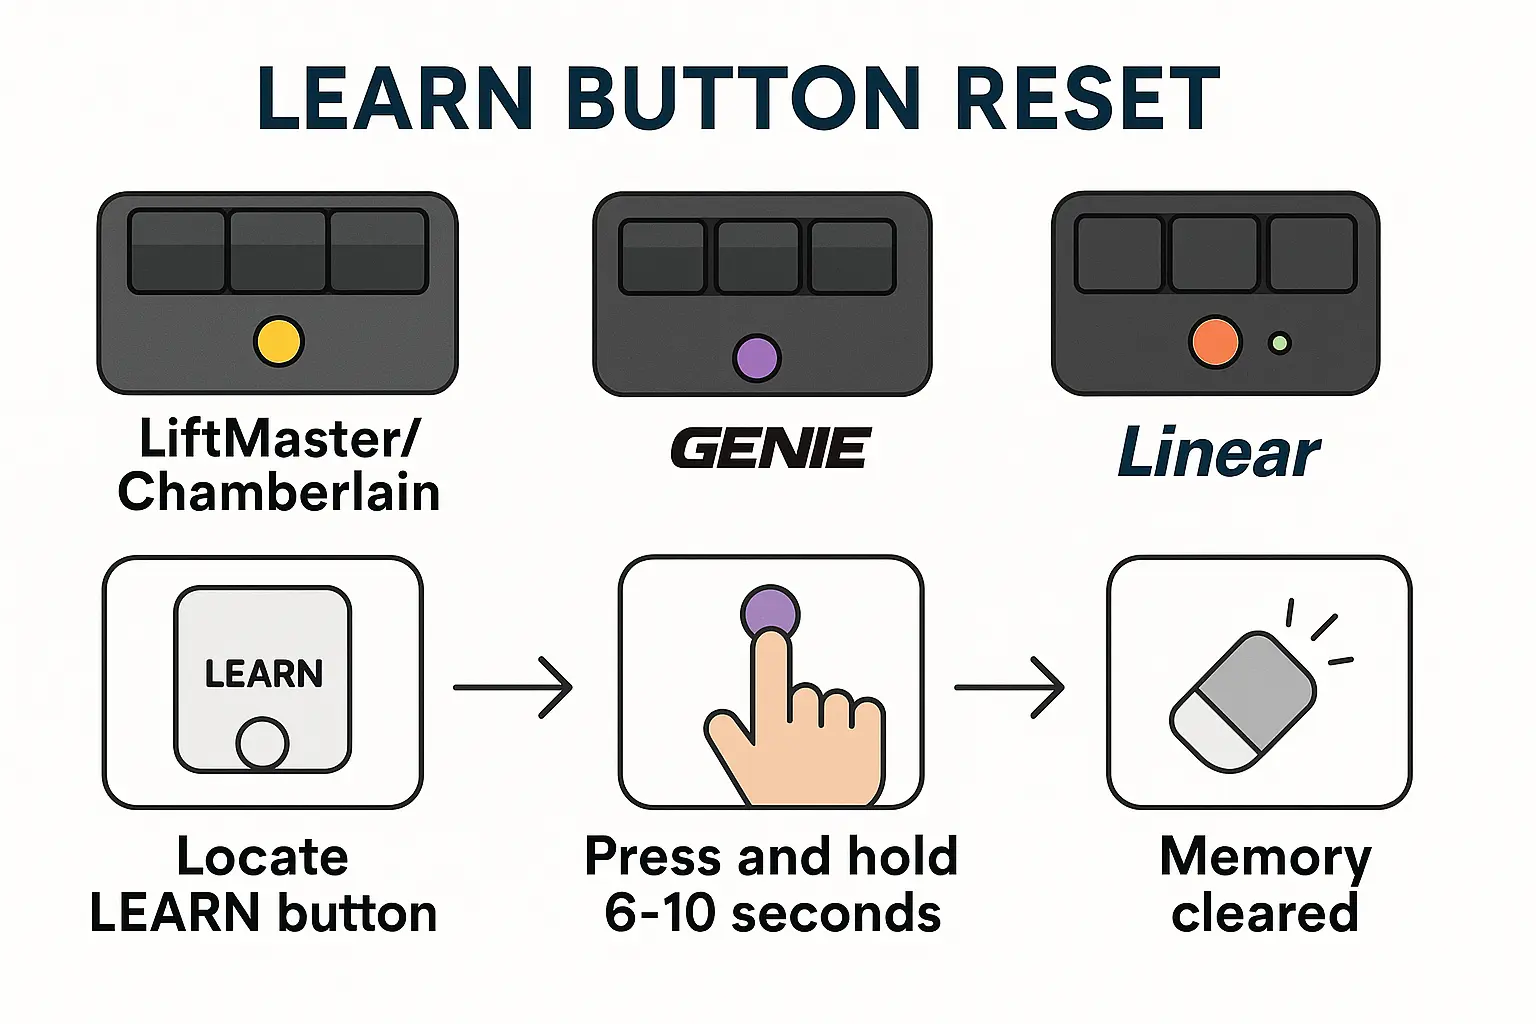
First, locate the motor unit mounted to your garage ceiling. To clear old codes, you need to find the specific button on the housing. Understanding where is the learn button on garage door opener models is key. This button is typically located near the antenna wire and is color-coded (often yellow, purple, red, orange, or green on LiftMaster, Chamberlain, or Genie units).

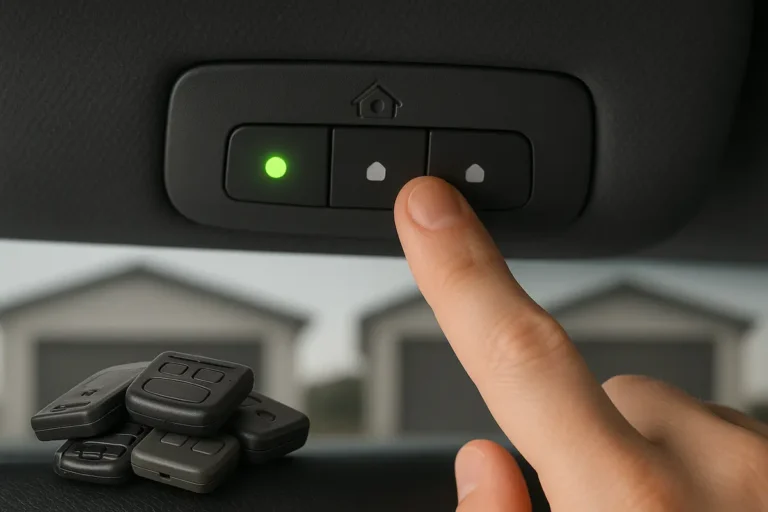
To completely erase the system’s memory, press and hold this button for approximately 6 to 10 seconds until the adjacent LED indicator light turns off. This single action immediately disables every remote, keypad, and smart vehicle link previously paired with your system. Once erased, you can follow the manufacturer’s steps to sync your new remotes, discovering the easiest way to reset a garage door opener without leaving your security to chance.

This infographic clarifies how new homeowners can confidently reset inherited garage door opener codes using the Learn button on major brands like LiftMaster and Genie, ensuring no unauthorized entry.

The Essential Physical Safety Check and UL 325 Standard


Next, you must verify that your system is physically safe. Federal law (codified in UL 325) mandated that all automatic garage door openers manufactured and sold after January 1, 1993, must include redundant safety entrapment protection systems. If your home has an opener built before 1993, it does not meet ul 325 compliance standards and represents a severe liability that requires immediate replacement.

Modern compliance requires two primary safety systems:

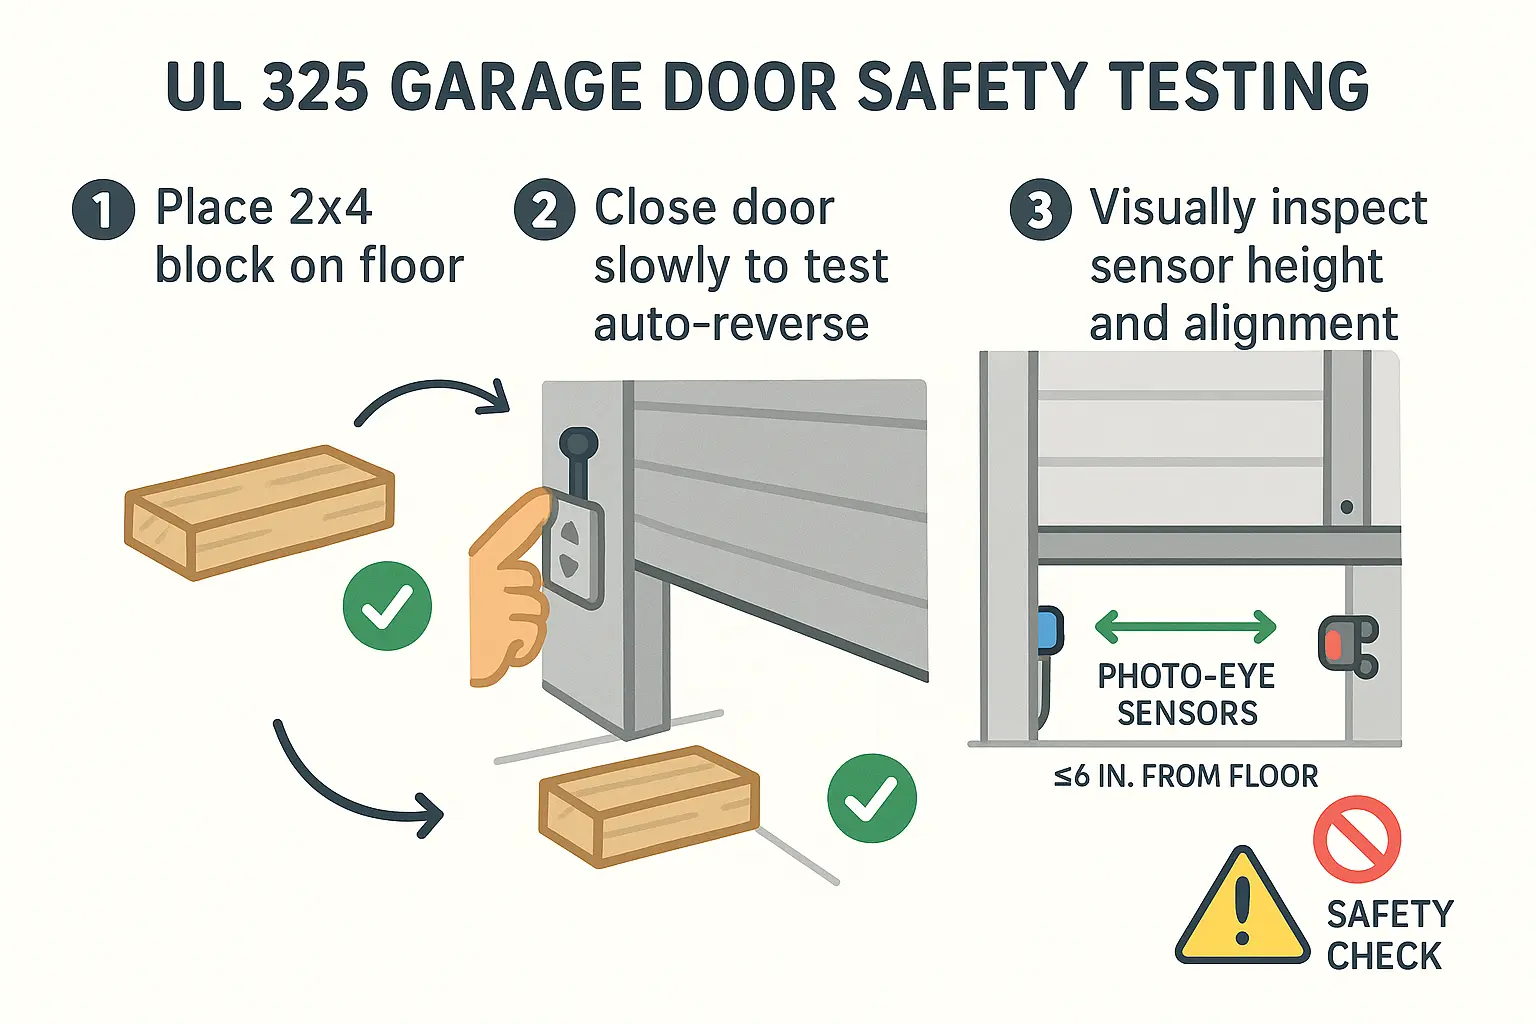
  • The Photo-Eye Test: Locate the photoelectric sensors at the bottom of the left and right vertical tracks. They must be mounted no higher than 6 inches from the garage floor to ensure they detect small pets or crawling children. To test them, close the door and pass an object, like a broom handle, through the invisible beam. The door must instantly reverse. If it does not, clean the lenses, check their alignment, or consult a professional to address a faulty garage door obstruction sensor.
  • The Force-Reversal Test: Place a solid 2×4 block of wood flat on the floor directly beneath the door’s path. Activate the door to close. When the door strikes the wood, it must detect the resistance and reverse direction within two seconds. If the door continues to press down, it indicates that the automatic force limits are set too high. This is a critical issue that can damage your door panels or inflict severe injury before an excessive force detected garage door system responds.

This diagram educates new homeowners on conducting a safe and compliant force-reversal test using a 2x4 block and proper photo-eye sensor alignment to protect children and pets.

Resolving the Post-Move Emergency Pull Cord Headache


During move-in day, many homeowners pull the red emergency release cord to open the door manually and slide heavy boxes inside. A common panic point occurs when the move is complete and the door will no longer move automatically.

Do not worry—you have not broken the system. The red cord simply disengages the trolley from the opener’s carriage. To resolve this, pull the red cord down and slightly back toward the motor unit to reset the lever. Then, manually lift the garage door until you hear a distinct clicking sound, indicating the trolley has re-engaged. Understanding how to re engage garage door mechanics will save you an unnecessary, stressful call on your first weekend in the new home.

Setting Clear Boundaries: DIY Tasks vs. Professional Intervention


While performing minor maintenance is a normal part of homeownership, you must recognize when a task crosses from simple DIY care into life-threatening territory.

Keep your maintenance safe by separating your checklist into two clear categories:

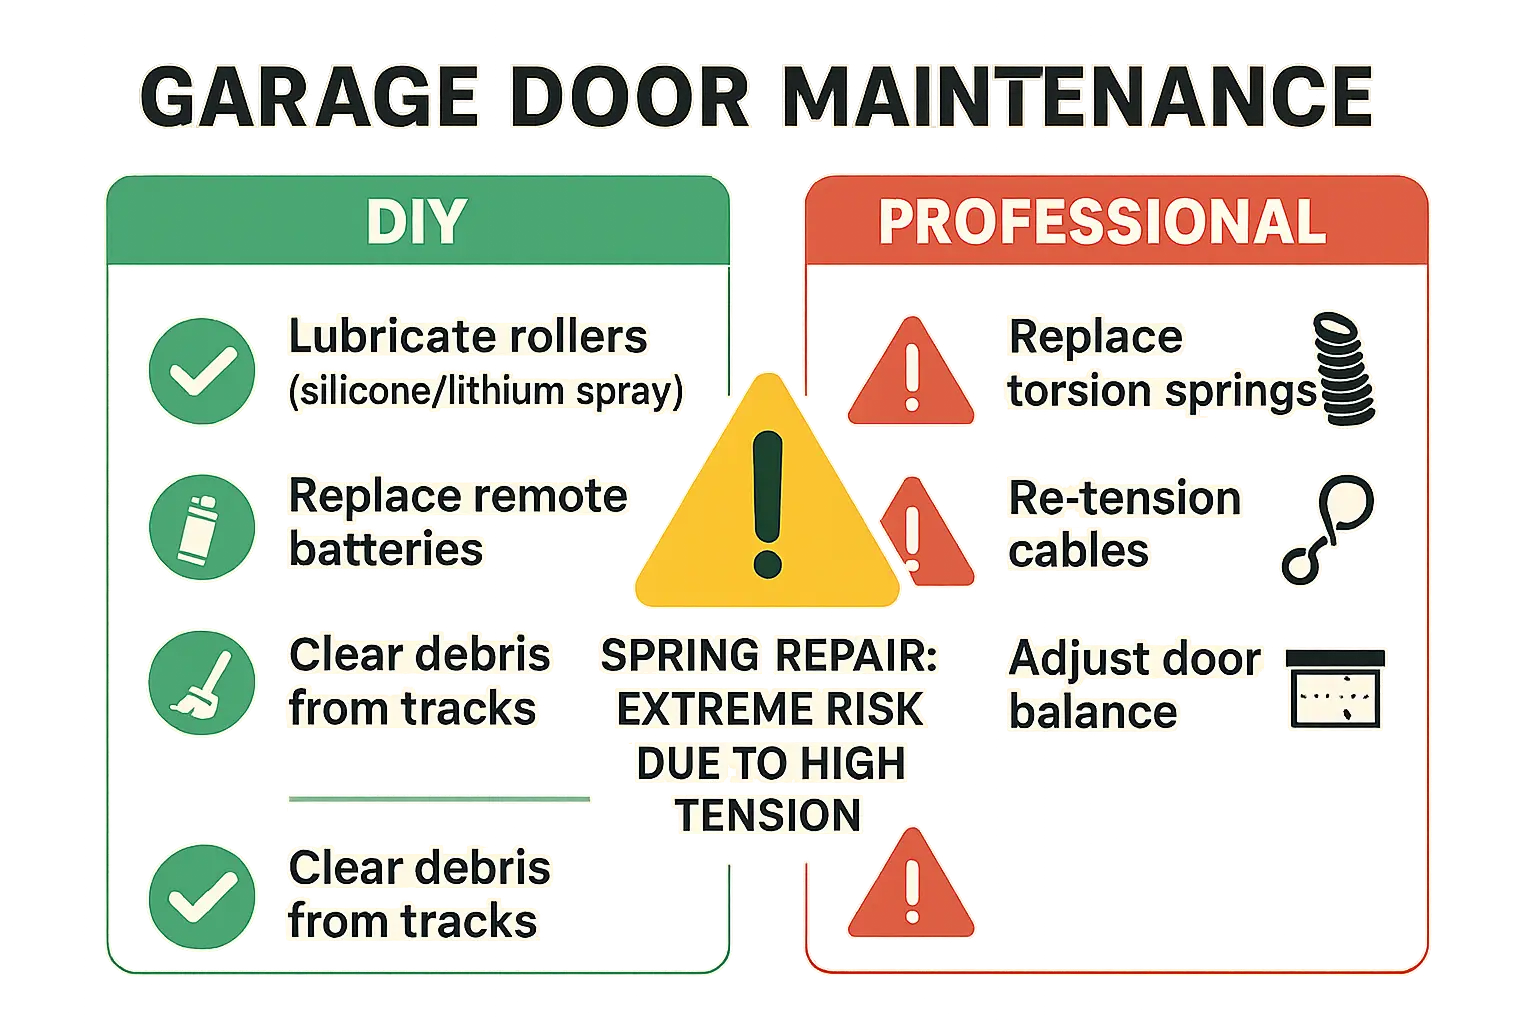
  • Safe DIY Tasks: Cleaning debris out of the tracks, wiping the photo-eyes, swapping remote batteries, and lubricating the rollers with a premium silicone or white lithium spray. Do not use WD-40, as it acts as a solvent, strips away critical internal grease, and attracts dust that clogs moving parts. Learning how to fix a noisy garage door through simple lubrication and tightening of loose hinges is highly manageable.
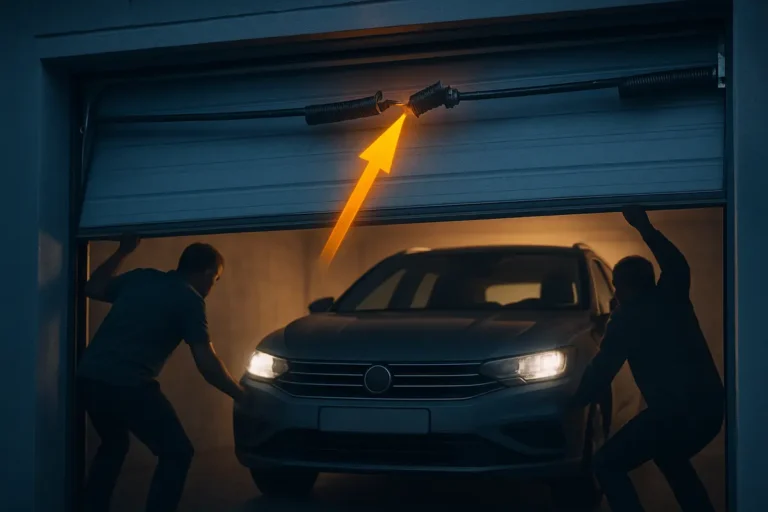
  • Strictly Professional Tasks: Any adjustment, repair, or replacement of the torsion springs, lift cables, bottom brackets, or track alignment. Torsion springs operate under immense tension—up to 20,000 PSI. If a spring snaps or a cable slips during a DIY attempt, it can release force equivalent to a projectile weapon, causing catastrophic bodily injury or property damage. If you suspect any garage door spring broken symptoms, step back and immediately call an experienced professional.

This comparison chart anchors homeowner memory to distinguish safe DIY garage door tasks from hazardous repairs that require expert professionals, emphasizing life-threatening risks of spring handling.

Modern Upgrades: Battery Backups and Smart Systems


If your initial safety audit reveals an aging opener or a door that struggles to meet modern safety requirements, consider upgrading to a system with integrated backup power and smart functionality.

Under regulations like California’s Senate Bill 969, all new residential garage door openers sold or installed must feature functional battery backups. This ensures that during a major storm, wildfire, or grid failure, residents are not trapped inside their garages. Investing in proper backup systems, while understanding your garage door opener wattage limits, ensures your family has a guaranteed exit path during emergencies.

Furthermore, integrating smart Wi-Fi technology like myQ allows you to monitor access, receive real-time alerts, and operate your door from your smartphone. This architectural garage door integration eliminates the traditional security risks of rolling codes being intercepted by hackers, giving you ultimate peace of mind over your home’s largest point of entry.

Frequently Asked Questions


Why does my garage door start to close and then immediately reverse?

This is almost always triggered by the photoelectric safety eyes. Check to see if there is an obstruction blocking the beam, such as a trash can, a stray tool, or even a spider web. If the path is clear, check the small indicator lights on both sensors; if one is flashing, the sensors are misaligned. Gently adjust them by hand until both lights glow steadily.

How often should I perform these safety and balance tests?

You should conduct the visual inspection, photo-eye test, and 2×4 force-reversal test every six months. Regular checks allow you to catch minor track misalignments, failing roller bearings, or weakening springs before they lead to a complete system failure that traps your vehicle inside.

Can I paint my garage door, and will it affect the balance?

Yes, you can paint metal or wood garage doors, but you must be careful. Adding multiple heavy coats of paint to a wooden door can add significant weight. This extra weight can throw off the tension of your springs, preventing the door from opening easily or causing it to slam down. If your door feels unusually heavy to lift manually after painting, you should have a technician adjust the spring tension.

Contact / Request a Call