Ready to get started? We’ll program your first door to HomeLink button I, and then your second door to button II.
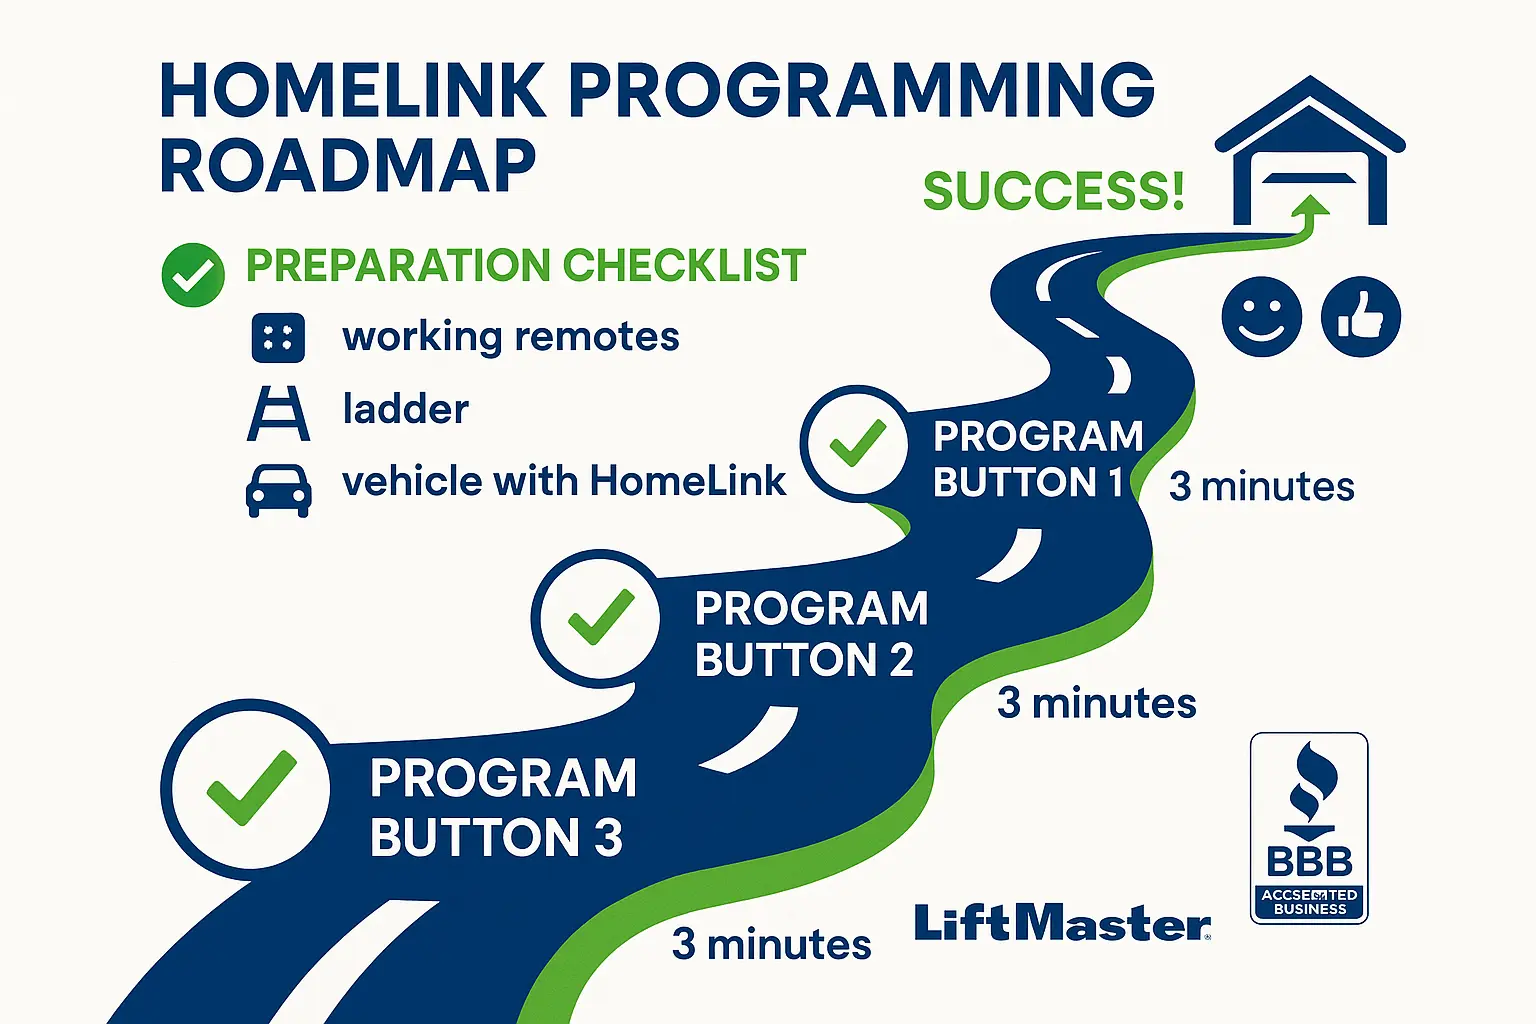
What You’ll Need
Before you begin, gather these items to make the process smooth and quick. Having everything in place first prevents you from running back and forth.
- Your Vehicle: Park it outside the garage, facing the door you intend to program.
- Your Original LiftMaster Remotes: You will need the working remote for each garage door you want to add.
- A Sturdy Ladder or Step-Stool: To safely reach the “Learn” button on your ceiling-mounted garage door opener motor.
Programming Your First Door to Button I
This part covers the standard garage door remote programming process. If you’ve already done this successfully, you can skip to Part 2.
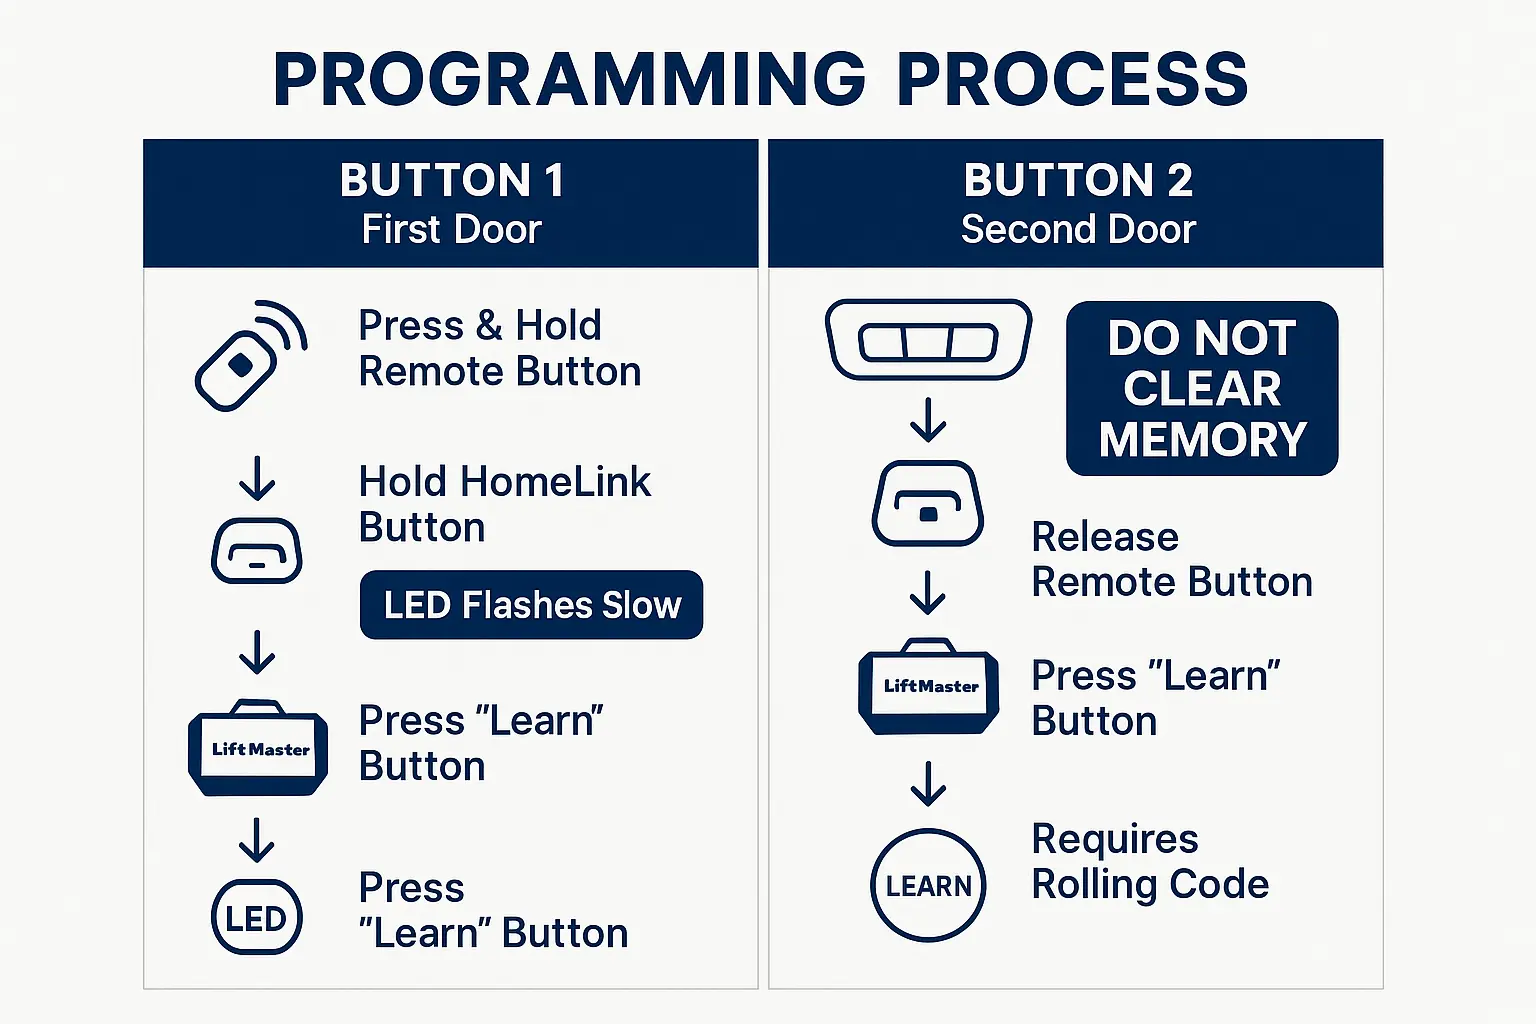
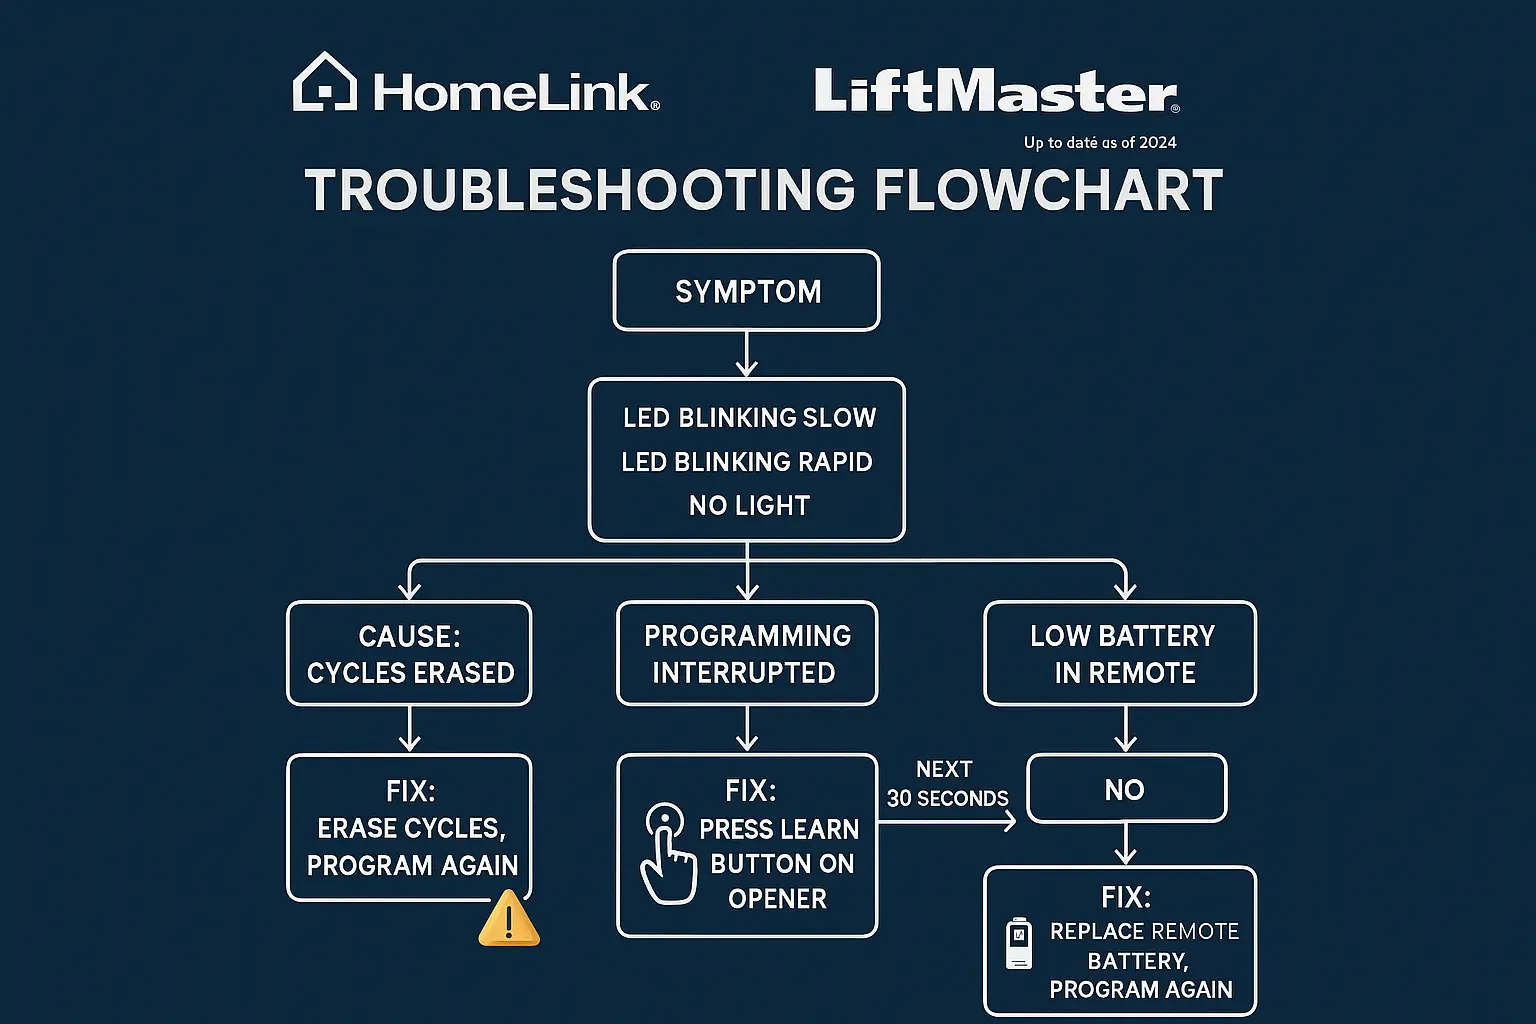
- Prepare Your HomeLink: Start with your car’s ignition turned to the “Accessory” position. If this is your first time programming any button, press and hold the two outer HomeLink buttons for about 20 seconds until the indicator light flashes rapidly. This clears any factory settings.
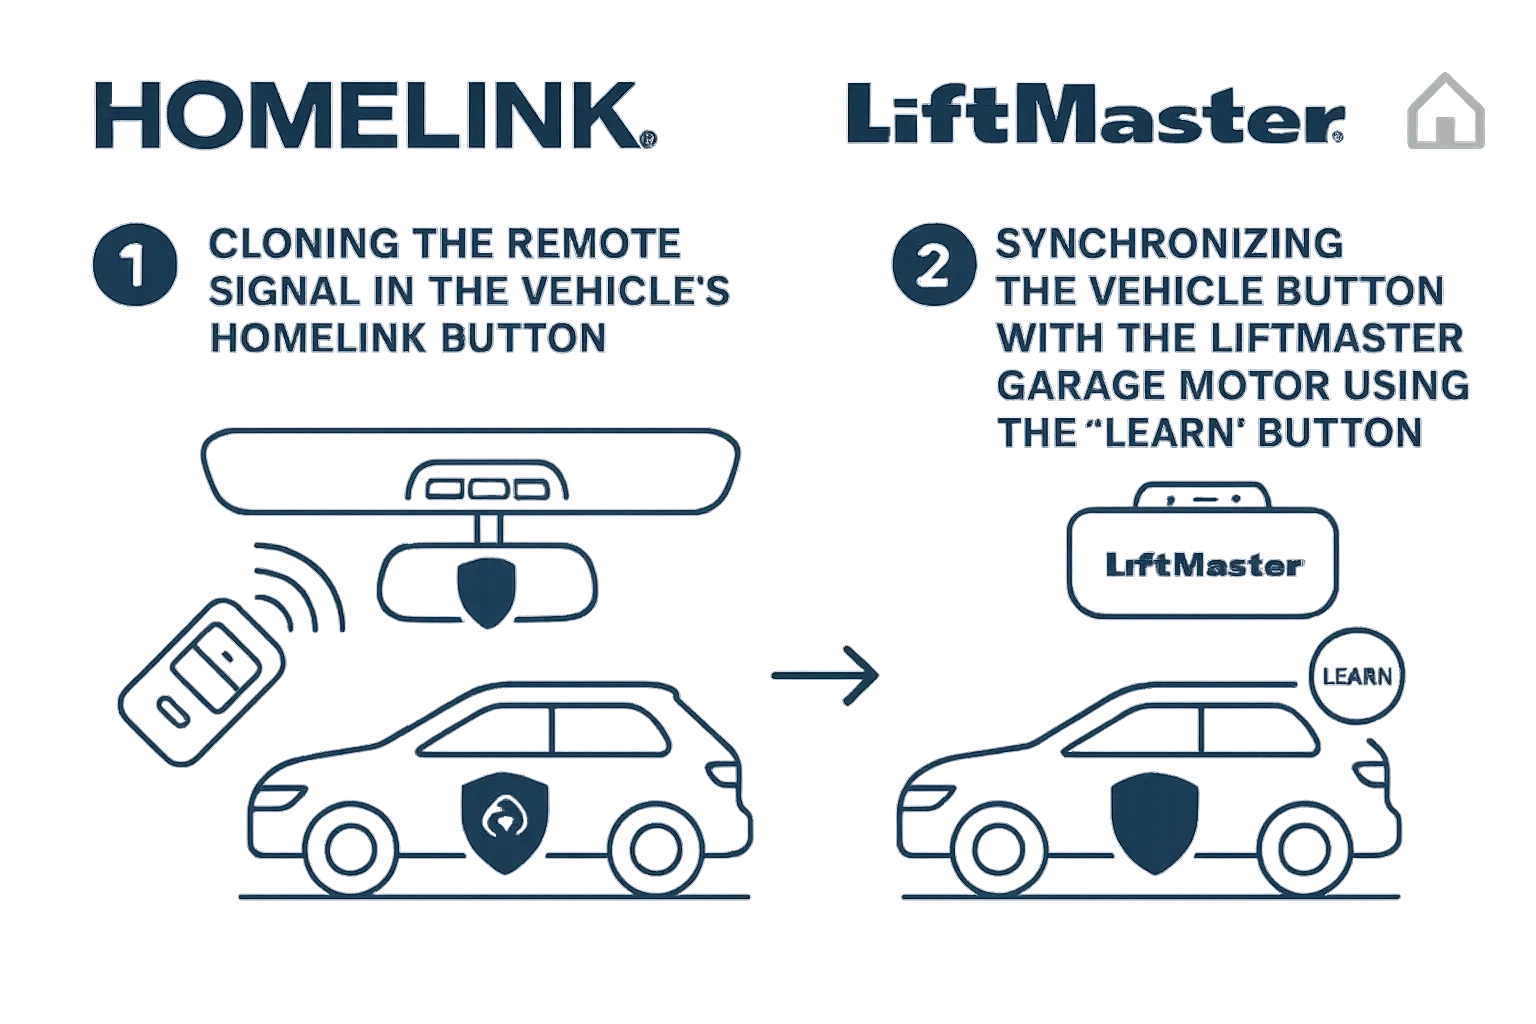
- Begin Cloning (Phase 1): Hold your first LiftMaster remote 1-3 inches from your car’s HomeLink buttons. Press and hold both the HomeLink button you want to program (e.g., button I) and the button on your LiftMaster remote simultaneously.
- Watch the Light: The HomeLink indicator light will begin to flash slowly. Keep holding both buttons until the light changes to a rapid flash. This means your car has successfully cloned the remote’s signal. You can now release both buttons.
- Authorize at the Motor (Phase 2): Go to your garage door opener motor unit. Press and release the “Learn” button (it’s often a square button, colored purple, red/orange, or yellow). The LED next to it will light up. You now have about 30 seconds to complete the next step.
- Final Sync: Return to your car and press the HomeLink button you just programmed (button I) three or four times, for two seconds each time. You should see the garage door opener lights flash or hear a click, and the door will begin to move.
Success! Your first door is now paired.
Programming Your Second Door to Button II
Here is the most important part of the entire guide. This is where most people make a critical mistake.
⚠️ Mistake Alert: To add a second door, do not repeat step 1 from Part 1. Holding the two outer buttons will erase garage door opener in car memory, deleting the button you just programmed. You will simply repeat the pairing process on a different button.
Grab the remote for your second garage door and let’s begin.
- Begin Cloning (Phase 1): With your car on, hold your second LiftMaster remote 1-3 inches from your HomeLink system. Press and hold both the HomeLink button you want to program (e.g., button II) and the button on your second remote.
- Watch the Light: Just like before, the indicator light will flash slowly, then rapidly. Once it flashes rapidly, release both buttons.
- Authorize at the Motor (Phase 2): Go to your second garage door opener motor. Press and release its “Learn” button.
- Final Sync: Back in your car, press the HomeLink button you are programming (button II) three or four times until the door activates.
That’s it! You now have two different doors programmed to two different buttons. Repeat this process for a third door using button III. This is the core of how to program multiple garage door openers to your vehicle.