main logo

Optimal Charging Cycles for Garage Door Opener Backup Batteries


Published: Jun 25, 2026

It’s a sound that can test anyone’s patience: a steady, persistent beep coming from your garage. Your first instinct is likely to search online for "how to charge my garage door opener battery," assuming it just needs a boost like your phone.

Here’s the surprising truth: you’re asking the wrong question.

The relentless garage door beeping isn't a "low battery" warning in the way you think. It's a failure signal. Your opener's backup battery doesn’t work like other rechargeable devices, and understanding how it actually functions is the key to a quiet garage and a reliable opener when you need it most.

Let's dive into what's really happening on your garage ceiling and how you can become the master of your backup battery system.

The 60-Second Explanation of Your Backup Battery


Think of your smartphone. You use it all day, run the battery down, and plug it in for a full charge. That’s called a "charging cycle." Your garage door opener's battery is different. It’s designed to stay at 100% all the time, waiting for a power outage.
To do this, your opener uses a method called float charging. It's a constant, low-power trickle of electricity that keeps the battery topped off without overcharging it. This is why you never have to "charge" it yourself. The system is fully automatic.
The beeping starts when the battery can no longer hold that float charge effectively. It’s the opener's way of telling you, "I'm trying to keep this battery ready, but it’s failing and won't be reliable in an emergency."
A comparison chart of NiMH and SLA batteries

Two Main Players: SLA vs. NiMH Batteries

Most modern openers use one of two types of rechargeable batteries. While they do the same job, their internal chemistry is different.

  • Sealed Lead Acid (SLA): This is the workhorse of the industry. It’s a smaller version of the technology used in car batteries. SLA batteries are known for their reliability and cost-effectiveness but can be sensitive to extreme temperatures.
  • Nickel-Metal Hydride (NiMH): These are less common but are found in some models. They are often smaller and lighter than SLA batteries but may have a shorter overall lifespan in a garage environment.

Decoding the Beeps and Lights

Your opener uses a combination of audible beeps and colored LED lights to communicate the status of its battery backup garage door opener system. While specific signals vary by manufacturer (always check your manual!), these are the most common patterns:
  • Beep every 2 seconds & Orange Light: The opener is running on battery power. The main power to your house is out.
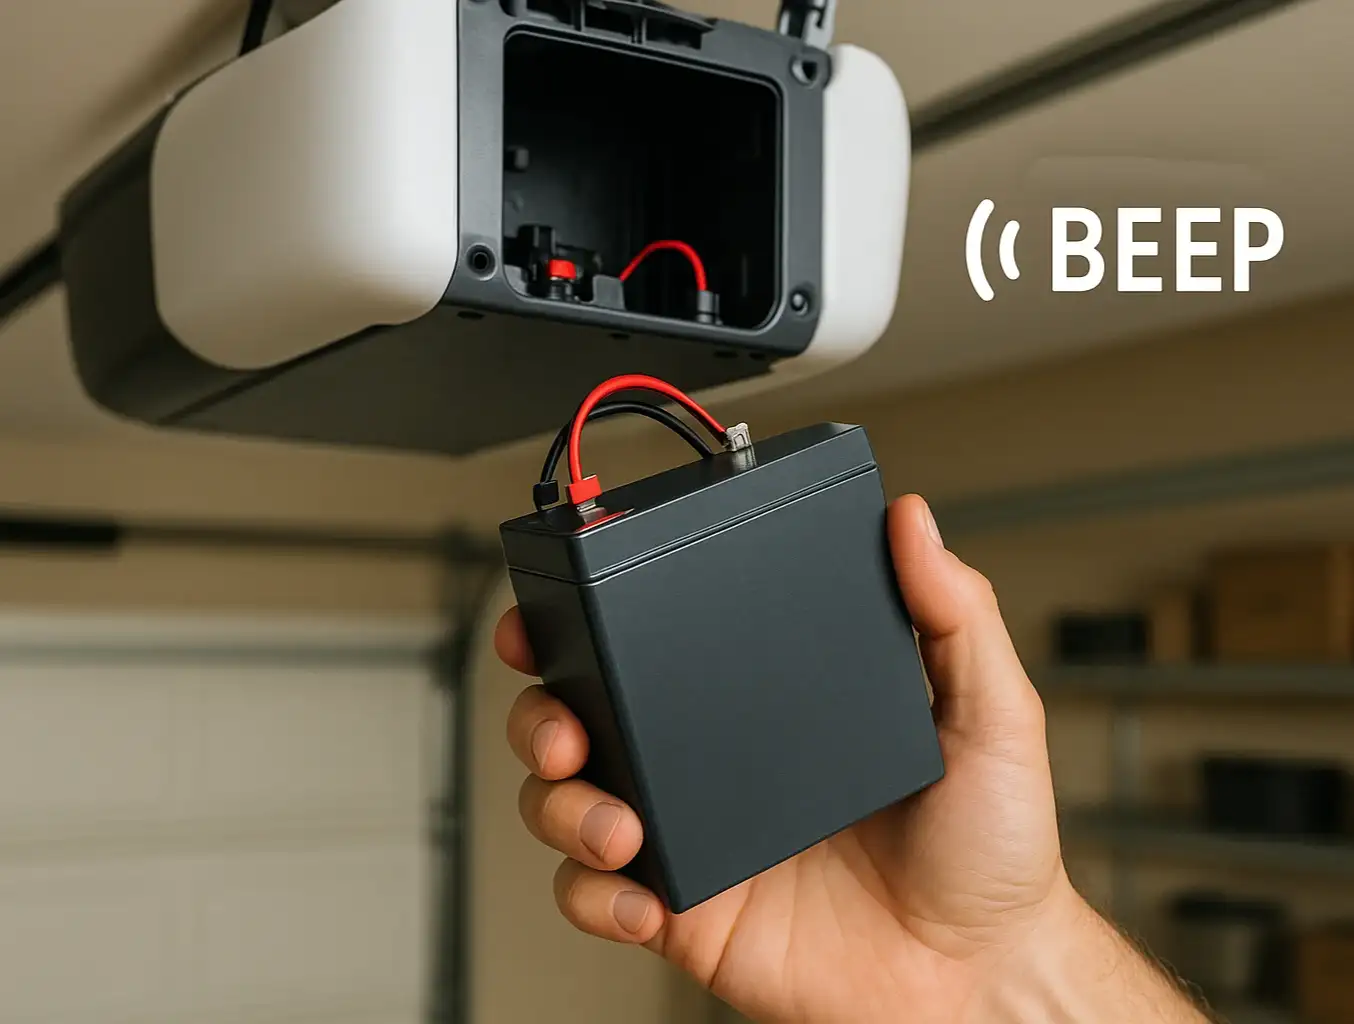
  • Beep every 30 seconds & Flashing Orange/Red Light: The battery is low and needs to be replaced. This is the most common signal homeowners encounter.
  • Solid Green Light: All systems are normal. The battery is fully charged and ready.
A comparison chart of NiMH and SLA batteries

Building: Maximizing Battery Lifespan - The 4 Key Factors


A backup battery typically lasts 1 to 3 years, but why the wide range? Its lifespan isn't determined by "charging cycles," but by four environmental and usage factors that cause its internal chemistry to break down.

Factor 1: The Invisible Toll of Temperature

Your garage is not climate-controlled. The summer heat and winter cold create a harsh environment for a battery.
  • High Heat: Accelerates the chemical reactions inside the battery, shortening its life significantly. An SLA battery that might last 3-5 years at a stable 77°F (25°C) could fail in under two years in a garage that frequently exceeds 95°F (35°C).
  • Extreme Cold: Reduces the battery's capacity, meaning it can't deliver as much power. While this effect is often temporary, repeated temperature swings put stress on the battery's components.
An infographic with four icons representing

Factor 2: The Unavoidable Reality of Age

Like a tire that slowly loses air, a battery constantly loses its ability to hold a full charge over time. For SLA batteries, this is partly due to a process called sulfation, where lead sulfate crystals build up and reduce the battery's capacity. This degradation happens even if you never have a power outage. It's simply a function of time and chemistry.

Factor 3: The Hidden Damage from Power Outages

While the battery is there to be used during an outage, each use takes a small toll. Discharging the battery deeply and then recharging it is more stressful than the constant float charge. A few power outages a year are fine, but if you live in an area with frequent, prolonged outages, you can expect your battery's lifespan to be on the shorter end of the scale.

Factor 4: The Power of a Simple Monthly Test

How do you know if your battery is still good before it starts beeping? A proactive test is the best way.

  1. Unplug the Opener: Disconnect the main garage door opener unit from the wall outlet.
  2. Operate the Door: Use your remote or wall button to open and close the garage door one full time.
  3. Assess Performance: Did the door move at its normal speed? If it was noticeably slow, struggled to move, or didn't move at all, the battery is weak and needs replacement soon.
  4. Plug it Back In: Reconnect the opener to the wall outlet. The green light should return after a few moments.
Performing this simple test once a month gives you peace of mind and helps you catch a failing battery before it surprises you.
An infographic with four icons representing

Mastery: The Complete Battery Replacement Guide


When the beeping starts and testing confirms it's time, the next step is a simple garage door opener battery replacement. This is a safe and straightforward task that most homeowners can handle in under 15 minutes.
Your Quick DIY Protocol:
A step-by-step visual guide showing the process of replacing

  1. Unplug the Opener: Safety first! Always disconnect the unit from its power source.
  2. Locate the Battery Compartment: This is usually on the side or top of the motor unit. You may need a Phillips head screwdriver to open the cover.
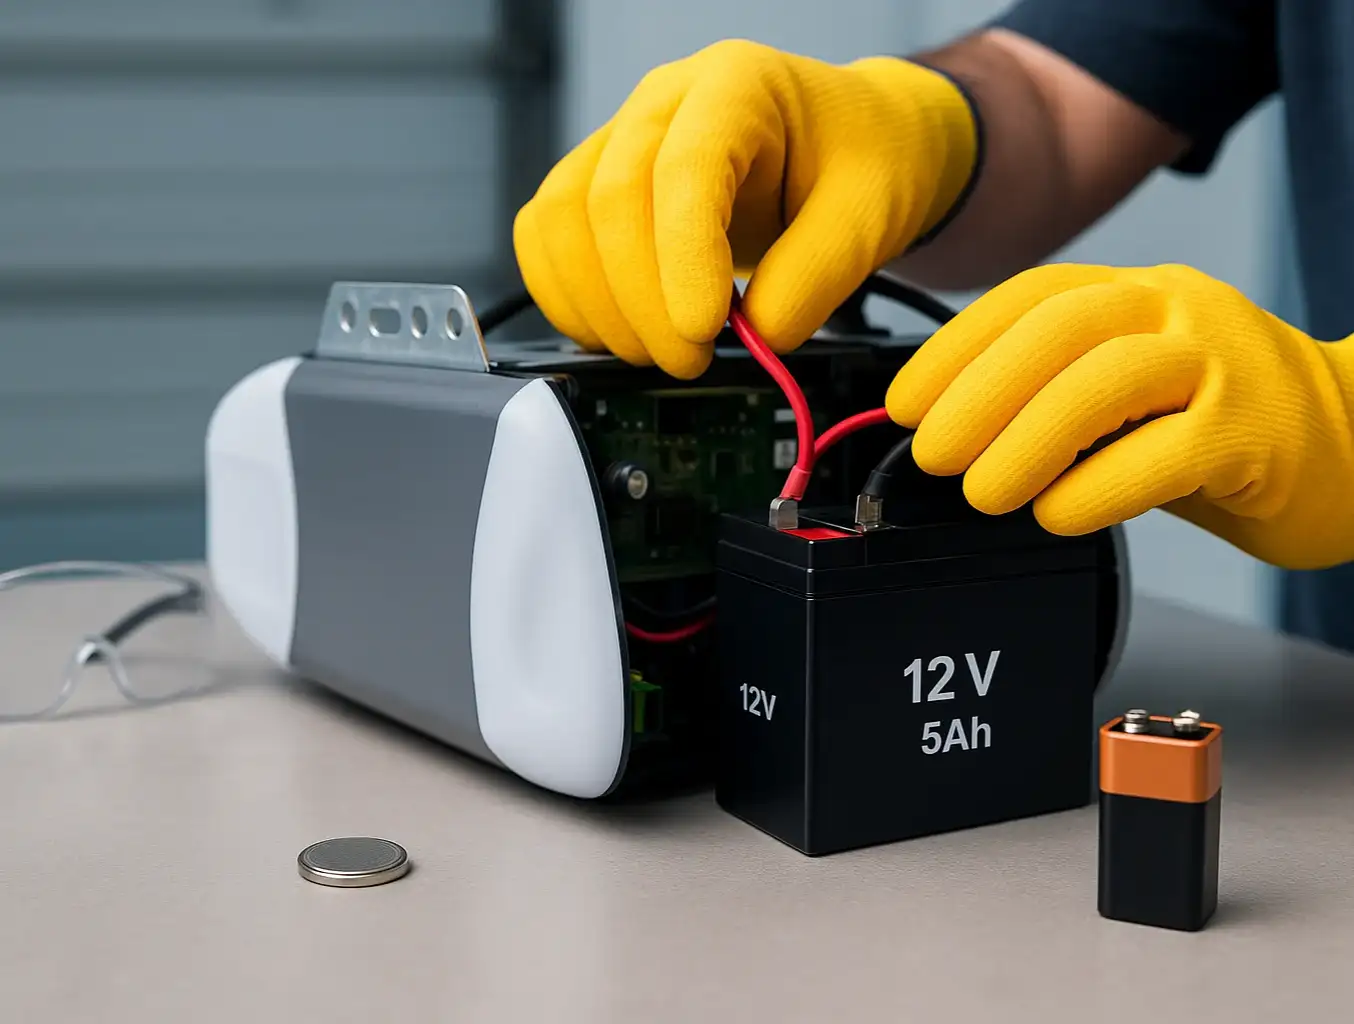
  3. Disconnect the Old Battery: Take note of which wire connects to which terminal (usually red for positive, black for negative). Gently slide the connectors off.
  4. Remove the Old Battery: Slide the old battery out of the compartment.
  5. Install the New Battery: Slide the new battery in, making sure it's oriented the same way as the old one.
  6. Reconnect the Wires: Connect the red wire to the positive (+) terminal and the black wire to the negative (-) terminal. Ensure the connections are snug.
  7. Close the Compartment: Replace the cover and secure it.
  8. Plug it Back In: Reconnect the opener to the outlet. The beeping should stop, and the LED should eventually turn solid green, indicating it's charging.
For a more detailed walkthrough, including important safety reminders, explore our guide to garage door battery backup DIY best practices.
A step-by-step visual guide showing the process of replacing

Need more information?

Frequently Asked Questions


Can I use a third-party or aftermarket battery?

Yes, as long as the voltage, amperage, and physical dimensions match the original equipment manufacturer (OEM) specifications. However, using the OEM-recommended battery ensures perfect compatibility and is often the safest bet.

How do I dispose of my old garage door battery?

Do not throw it in the trash! SLA and NiMH batteries contain materials that should not be in a landfill. Most auto parts stores or local recycling centers will accept them for free.

Will my opener work without a backup battery installed?

Absolutely. The opener will function perfectly from wall power. You simply lose the ability to open or close your garage door during a power outage.

Why did my battery only last a year?

The most likely culprit is a harsh temperature environment. If your garage gets extremely hot in the summer, it can drastically reduce the battery's lifespan, sometimes to as little as 12-18 months.

Your Path to a Quieter, More Reliable Garage


That constant beep is more than just an annoyance; it's a valuable piece of information. By understanding that your garage door opener relies on a steady float charge, not active charging cycles, you can shift your focus from "charging" to "maintaining."
You now know that temperature, age, and usage are the true factors that determine your battery's health. With a simple monthly test and the confidence to replace the battery when needed, you've taken control of your system. You've not only silenced the beep but also ensured your garage door will be there for you, even when the lights go out.

You may also like


blog photo

Changing the Backup Battery in Your Main Garage Door Opener Unit

It often starts in the middle of the night. A single, persistent beep echoing from the garage. It’s not the smoke detector, and it’s not the security system. It’s your garage door opener, and it’s trying to tell you something important. If you’ve been asking yourself, "Why is my garage door opener beeping?", you've come to the right place. That sound is almost always the unit's way of signaling that its backup battery is failing. While it might seem like a complex issue, replacing this battery is one of the most straightforward DIY tasks a homeowner can tackle. This guide will walk you through the entire process, from identifying the correct battery to safely installing the new one and understanding what to do if the beeping continues.