Tools for DIY Garage Door Opener Battery Replacement
Published: May 22, 2026
That relentless chirp from your garage door opener isn't just a nuisance—it's a signal. More often than not, it's the system's way of telling you a battery is on its last legs. While changing a battery might sound as simple as swapping AAs in a TV remote, the world of garage door openers has a few important quirks.
Tackling this yourself is a satisfying, cost-effective fix. But doing it safely is the real victory. This guide isn't just about the "how-to"; it's about the "how-to-do-it-right." We'll walk through the essential safety precautions and tools you need, transforming you from a casual browser into a confident, prepared DIYer.
Foundation: Meet the Battery Trifecta
Before you grab a screwdriver, it's crucial to understand that your garage door opener system likely relies on three different types of batteries. Confusing them is a common misstep. Let's demystify the "trifecta" so you know exactly what you're dealing with.

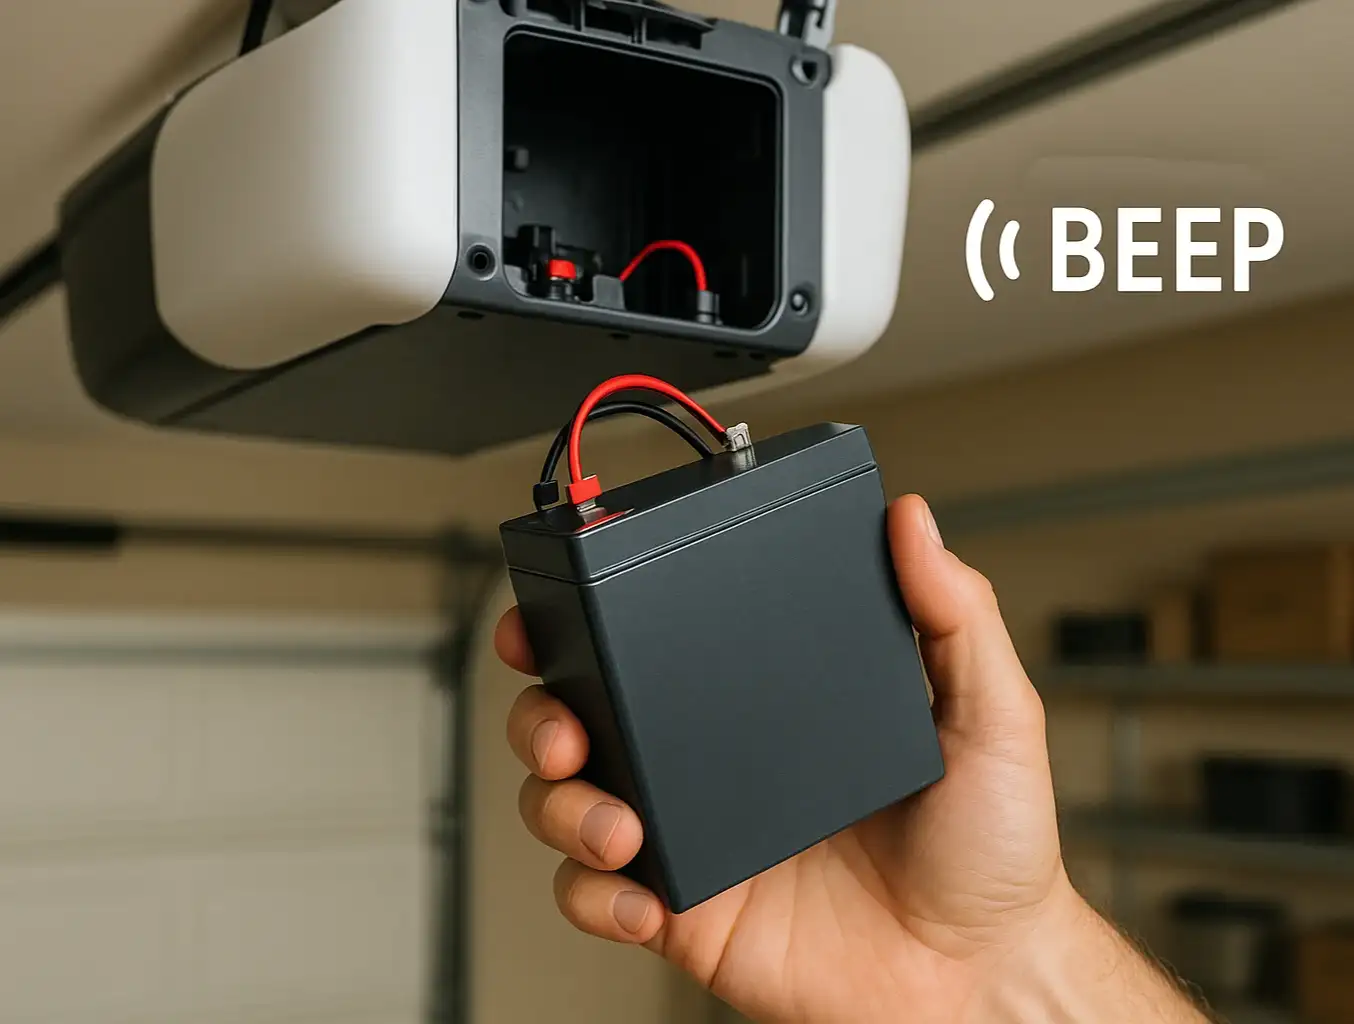
- The Powerhouse (Backup Unit Battery): This is the workhorse. Typically a 12-volt Sealed Lead-Acid (SLA) battery located inside the main opener unit, its job is to power your garage door during a power outage. This is the battery that usually beeps when it's failing.
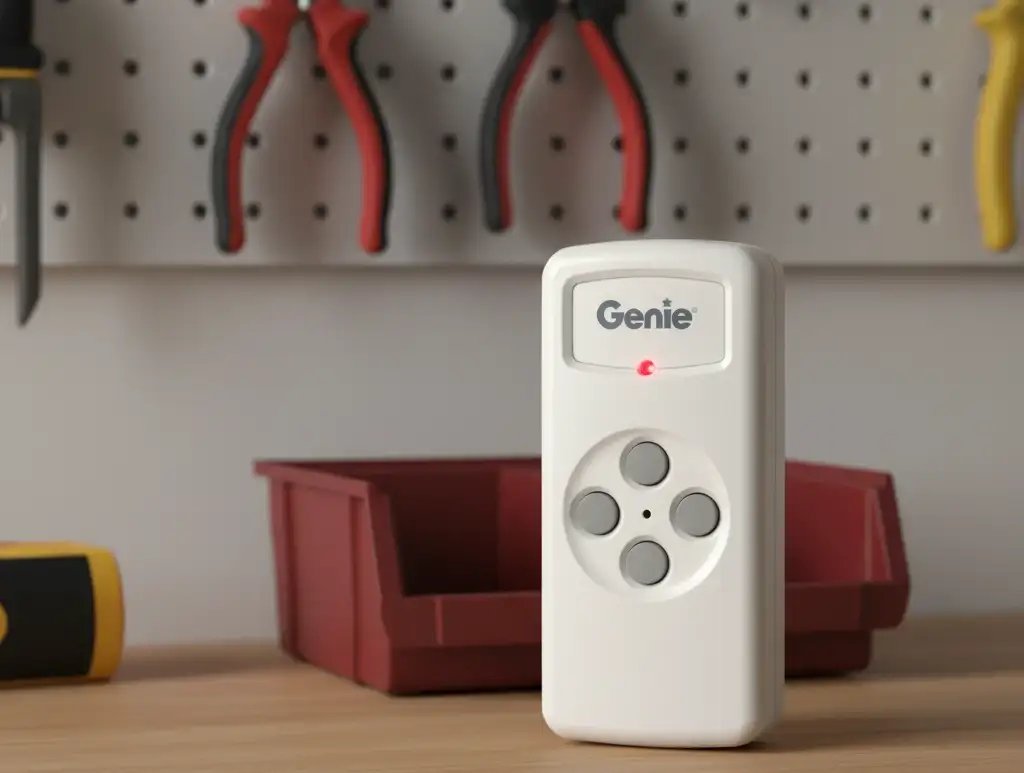
- The Trigger (Remote Control Battery): This tiny battery is all about convenience. Usually a small, flat "coin cell" battery (like a CR2032), it powers the remote you keep in your car. If your remote's range is getting shorter or it's stopped working, this is the likely culprit.
- The Access Point (Keypad Battery): This battery powers the wireless keypad mounted outside your garage. It's often a 9-volt battery or a pair of AAs/AAAs, and a failing battery here means you won't be able to open the door with your code.
Understanding which battery does what is the first step toward a safe and successful replacement.
The Universal Safety Checklist: Your Pre-Flight Briefing
No matter which of the three batteries you're replacing, safety is universal. These non-negotiable steps protect you, your family, and your equipment from preventable accidents. Think of this as your pre-flight checklist before starting any work.
Essential Tools:
- Safety Glasses
- Insulated Gloves (especially for the main backup battery)
- Screwdriver (usually Phillips head)
- The correct replacement battery (check the old one for size and voltage!)

Critical Safety Precautions:
Disconnect Power to the Main Unit. Unplug the garage door opener from the ceiling outlet.
Why It Matters: This is the single most important step. It completely removes the risk of electric shock and protects the opener's sensitive logic board from accidental shorts.
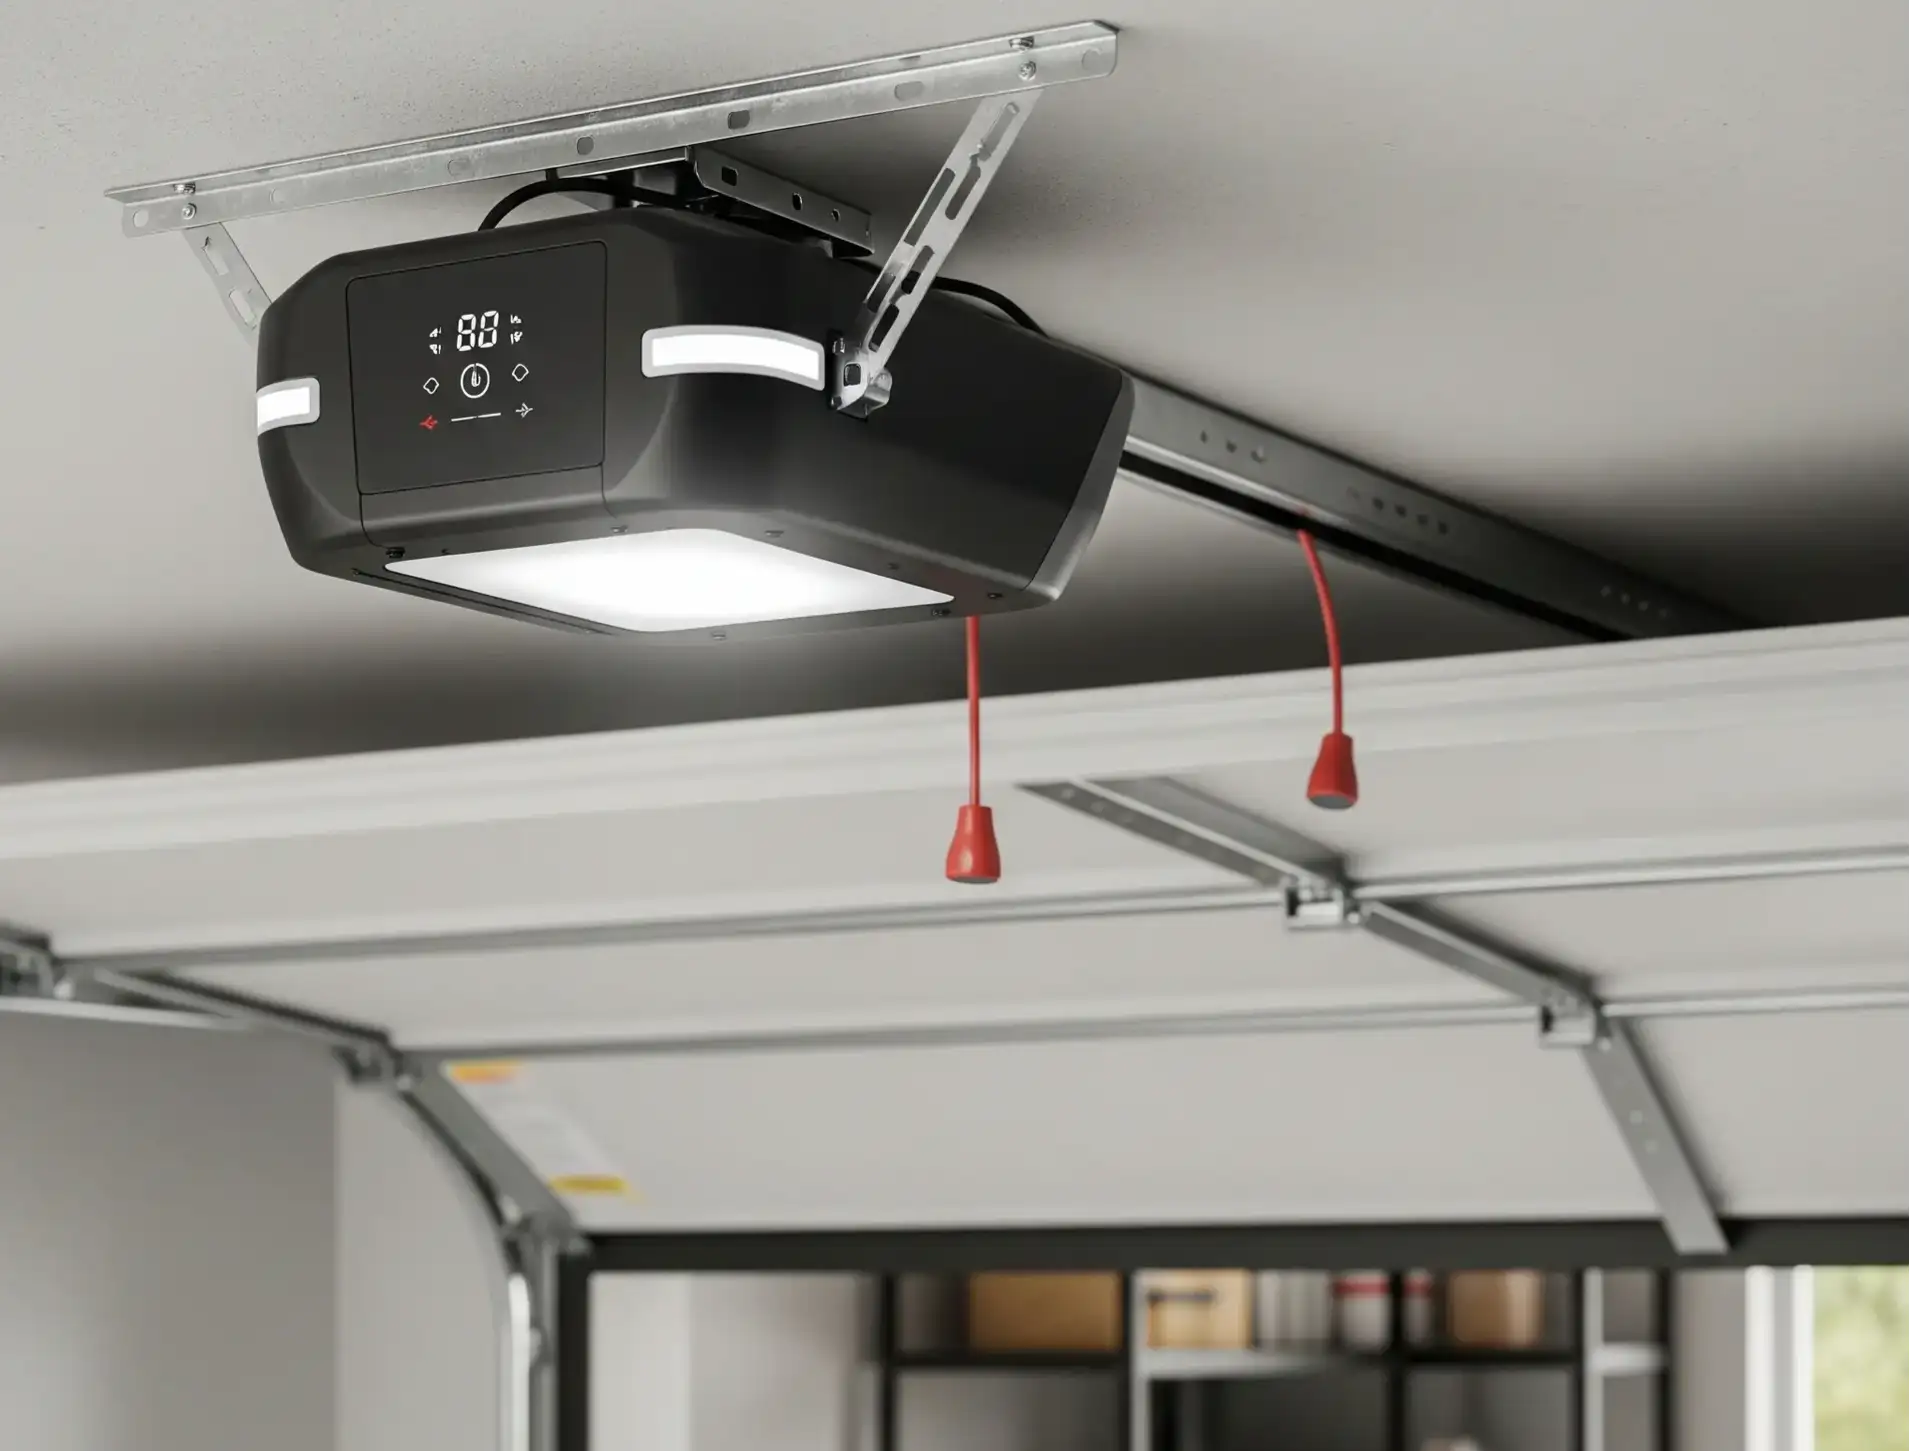
Engage the Manual Release. Pull the red cord hanging from the opener track. This disengages the door from the opener, allowing you to move it by hand.
Why It Matters: This prevents the door from unexpectedly moving while you're working, especially if you accidentally bump something.
Handle Batteries with Care. Never use metal tools to pry batteries out. For the main backup battery, avoid touching both terminals at the same time with any conductive material (like a screwdriver or wrench).
Why It Matters: Short-circuiting a battery can cause sparks, damage the opener's circuitry, and in the case of the larger SLA battery, deliver a surprising jolt.
Mastery: Step-by-Step Guides for Each Battery Type
With your safety checklist complete, you're ready to tackle the replacement.
How to Safely Replace the Main Backup Battery (The Powerhouse)
This is the most involved of the three, but it's completely manageable.
- Locate the Battery Compartment: On most models, it's a panel on the side or top of the main opener unit. You may need a screwdriver to open it.
- Identify the Terminals: You'll see two terminals on the battery: a red (positive) and a black (negative). Take a quick photo with your phone so you remember which wire goes where.
- Disconnect the Old Battery: Gently slide the black wire off the negative terminal first. Then, slide the red wire off the positive terminal.
- Remove and Replace: Lift the old battery out and set it aside for proper disposal. Place the new battery in the compartment.
- Connect the New Battery: Connect the red wire to the positive terminal first. Then, connect the black wire to the negative terminal. Ensure the connections are snug.
- Close It Up: Secure the battery compartment cover.

Common Mistake Warning: Never let your metal screwdriver touch both the red and black terminals at the same time. This will create a short circuit that can spark and potentially damage the new battery or the opener's logic board.
How to Quickly Change Your Remote Battery (The Trigger)
This one is usually a breeze.
- Find the Seam/Screw: Look for a small screw holding the remote's case together or a small slot along the seam.
- Open the Case: If there's a screw, remove it. If not, use a flathead screwdriver or a coin to gently pry the case open at the slot.
- Swap the Battery: Note the orientation of the old coin battery (+ side up or down) and pop it out. Slide the new one in, making sure it's oriented the same way.
- Snap It Shut: Click the remote case back together and replace the screw if it had one.
How to Easily Swap Your Keypad Battery (The Access Point)
This is another simple one.
- Open the Compartment: Look for a sliding cover on the bottom or back of the keypad unit.
- Replace the Battery: Unclip the old 9-volt battery or slide out the old AA/AAAs. Install the new ones.
- Close and Test: Slide the cover back on and test your code. You may need to reprogram your PIN, so consult your owner's manual if it doesn't work right away.
Action: Post-Replacement Essentials
You're almost done! Closing the loop correctly ensures your system is working perfectly and you've handled the old materials responsibly.

1. Reconnect and Test: Plug the main opener unit back into the outlet. Re-engage the garage door by pulling the manual release cord again toward the door until the trolley clicks back into the chain or belt. Test the opener with your remote, keypad, and the wall button.
2. Properly Dispose of Old Batteries: Don't just toss old batteries in the trash!
- SLA Batteries (from the main unit): These are recyclable and often contain lead. Most auto parts stores, home improvement centers, or local recycling facilities will accept them for free.
- Coin Cell & Alkaline Batteries (from remotes/keypads): Check your local regulations. Many communities have drop-off locations for these to keep them out of landfills.
Need more information?
Get a free quote
Frequently Asked Questions (FAQ)
Why is my garage door opener beeping constantly?
This is the most common sign that the main backup battery (the "Powerhouse") is failing or has reached the end of its life. The beeping is a low-battery alert designed to get your attention before you lose backup power.
Do I really need to unplug the opener to change the backup battery?
Yes, absolutely. While the battery itself is low voltage, the main unit is connected to your home's 120V electrical system. Unplugging it is the only way to guarantee your safety and prevent damage to the opener's internal components.
What happens if I use the wrong type of battery?
Using the wrong battery can lead to poor performance or permanent damage. A battery with the wrong voltage can fry the circuit board in your remote, keypad, or even the main opener. Always replace a battery with one of the exact same size, voltage, and type.
My remote stopped working after I changed the battery. What's wrong?
First, double-check that you inserted the battery correctly (+ side in the right direction). If it's correct, you may need to "resync" or reprogram your remote to the main opener unit. This usually involves pressing the "Learn" button on the opener and then pressing the button on your remote.
Your Path to a Perfectly Powered Garage
Congratulations! By following these safety-first steps, you've not only solved a common household problem but you've also done it confidently and correctly. Understanding the different components of your garage door system empowers you to handle simple maintenance, saving you time and money.
For more complex repairs or if you ever run into an issue that feels beyond a DIY fix, our team is always ready to assist. While we're proud to empower homeowners with knowledge, we also provide expert 24 hour garage door services when a problem requires a professional touch.
You may also like