main logo

Powering a Garage Door Opener with Solar Energy


Published: Apr 28, 2026

Imagine this: a powerful storm knocks out the power grid for hours. While your neighbors are fumbling with manual release cords in the dark, you press your remote, and your garage door glides open smoothly, powered by the sun it soaked up earlier that day.

This isn't a futuristic dream. It's an achievable reality for any homeowner, especially those with detached garages, off-grid workshops, or a desire for energy independence. But venturing into solar power can feel like navigating a maze of technical jargon and fragmented advice from online forums.

You've probably asked yourself: "Is this even feasible? What size panel do I need? What about batteries?" These are the right questions to ask. The good news is that with a clear understanding of four core components and one crucial calculation, this rewarding project is well within your reach. This guide will walk you through everything, transforming you from a curious browser into a confident planner.

Foundation: The 4 Core Components Explained Simply


Powering a garage door opener with solar isn't about buying a single "solar opener." It's about building a small, dedicated power system. Think of it like a team where each member has a specific job.
Tech installs solar panel, inverter, and battery for garage system

  1. The Solar Panel (The Collector): This is the most visible part of your system. Its job is simple: convert sunlight into direct current (DC) electricity. The panel's size, measured in watts (W), determines how much power it can generate under ideal conditions.
  2. The Charge Controller (The Brain): This small but vital device acts as a traffic cop between the solar panel and the battery. It prevents the panel from overcharging the battery, which can damage it, and stops electricity from flowing backward from the battery to the panel at night.
  3. The Battery (The Bank): This is where you store the energy collected by your panel. It ensures your opener works at night, on cloudy days, or whenever you need it. Battery capacity is measured in amp-hours (Ah)—the higher the Ah, the more energy it can store.
  4. The Inverter (The Translator): This is the component that often causes the most confusion. Standard garage door openers in the U.S. run on 120-volt alternating current (AC), the same as your home outlets. But solar panels and batteries produce low-voltage direct current (DC). An inverter’s job is to translate the battery's 12V DC power into 120V AC power your opener can use.
Aha Moment: If you have or purchase a specialty 12V DC-native garage door opener (often used in RVs or specific off-grid applications), you don't need an inverter! This simplifies the system and makes it more efficient, as inverters themselves consume a small amount of power just by being on. However, for most people looking to convert an existing opener, an inverter is essential.
Tech installs solar panel, inverter, and battery for garage system

Building Your Solar Opener System: A Step-by-Step Guide


Now that you know the players, let's put them to work. The success of your project hinges on accurately sizing your system, and that starts with understanding how much power your opener actually uses.

Step 1: Calculate Your True Power Needs (The Most Important Step)

This is the single most common point of failure for DIY solar projects. Many people only consider the power the opener uses when it's moving the door. But there’s a hidden energy drain that can leave your battery dead overnight: standby power.
  • Active Power Draw: This is the energy consumed for the 15–20 seconds the motor is running. A typical 1/2 HP opener might draw around 350–500 watts during this time.
  • Standby Power Draw (The "Phantom Load"): This is the small but constant amount of power your opener uses 24/7 to listen for the signal from your remote. This can be anywhere from 2 to 10 watts. It doesn't sound like much, but over 24 hours, it adds up and is the primary drain on your battery.
Chart comparing solar kits for light, average, and heavy use
To plan properly, you need to know exactly how many amps a garage door opener uses in both active and standby modes. You can find these specs in your opener’s manual or on the unit itself.

Step 2: Size Your System for Success

Once you know your daily energy needs (active + standby), you can choose the right components. You’ll also need to decide how many days of "autonomy" you want—meaning how many cloudy days in a row your system can survive on a full battery. For most regions, planning for 2–3 days is a safe bet.
To give you a starting point, here are some sample system sizes tailored to different usage patterns:

  • Light Use (1–2 daily cycles): You can typically rely on a 30–50W solar panel, a 35Ah (12V) battery, a 10A charge controller, and a 500W inverter.
  • Average Use (2–4 daily cycles): A standard setup generally requires a 100W solar panel, a 50–70Ah (12V) battery, a 10–20A charge controller, and a 1000W inverter.
  • Heavy Use (4+ daily cycles): For high-traffic garages, you will need a more robust system featuring a 150–200W solar panel, a 100Ah+ (12V) battery, a 20A charge controller, and a 1500W inverter.
Note: These are just estimates. A larger standby draw or a location with less sun will require a larger system. Always oversize your system slightly to ensure reliability.

Step 3: Installation & Wiring Basics

While you should always follow the manufacturer's instructions for each specific component, the wiring order is universal and crucial for protecting your equipment:
  1. Connect the Charge Controller to the Battery first. This allows the controller to detect the battery's voltage and configure itself correctly before receiving power from the sun.
  2. Connect the Solar Panel to the Charge Controller.
  3. Connect your load (the Inverter) to the Charge Controller (or directly to the battery, depending on your controller's specific instructions).
Chart comparing solar kits for light, average, and heavy use
Properly mounting your solar panel where it will get at least 4–5 hours of direct, unobstructed sunlight per day is just as important as getting the wiring right.

Mastery: Troubleshooting Common Solar Opener Problems


Even with perfect planning, you might run into issues. Here’s how to diagnose and fix the most common problems.

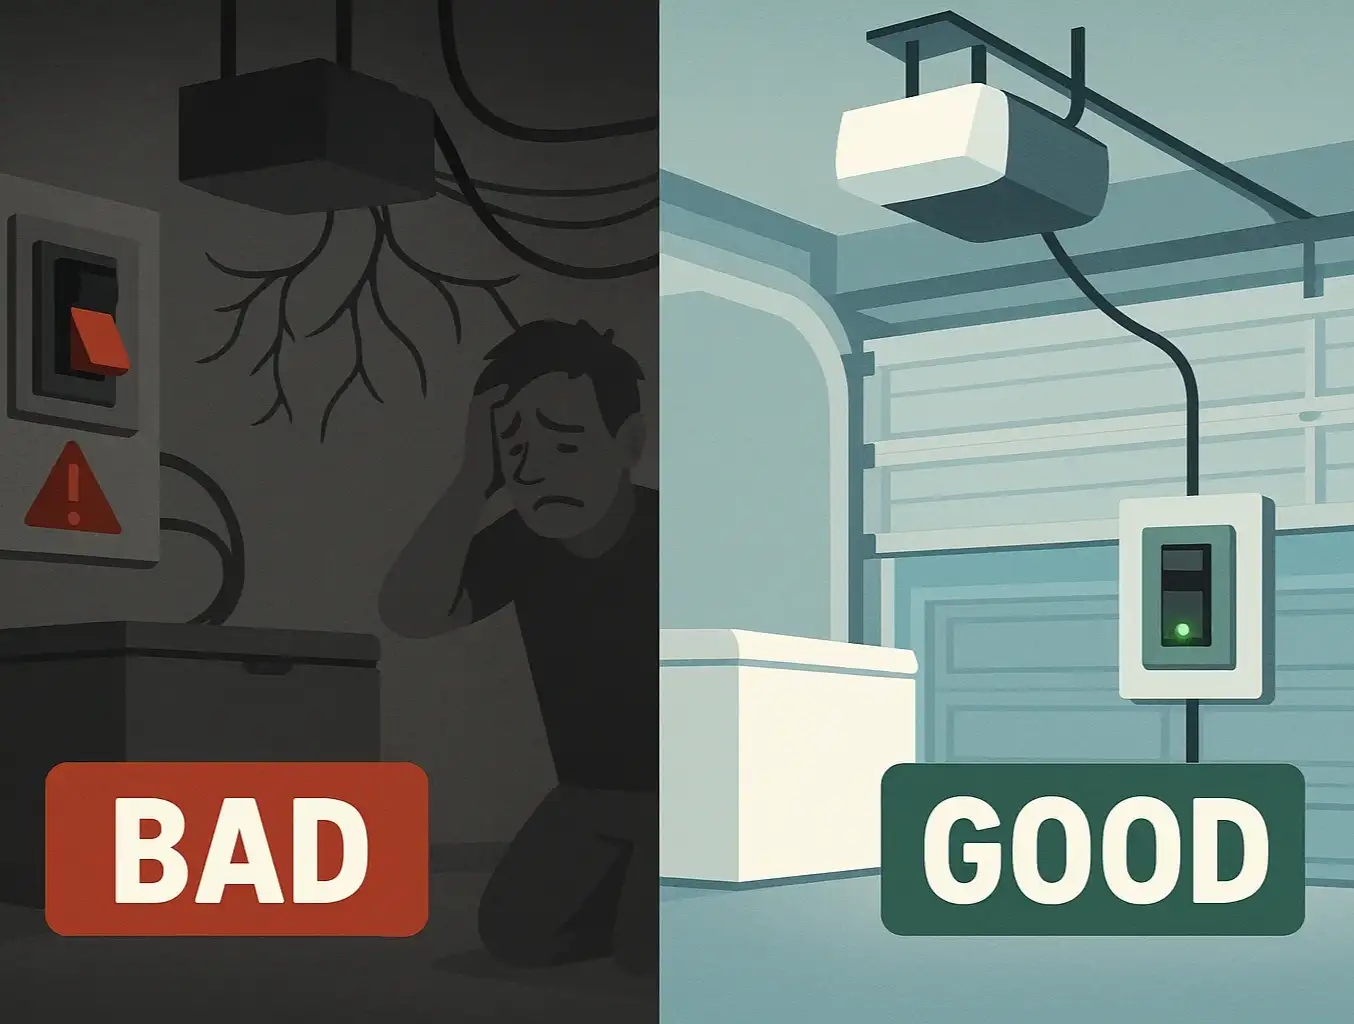
The #1 Frustration: Radio Frequency (RF) Interference

You’ve set everything up, the door opens with the wall button, but your remote suddenly works poorly or not at all. You’re likely experiencing RF interference.
Why it happens: Inverters, especially cheaper "modified sine wave" models, and sometimes even charge controllers, can generate "dirty" electricity. This creates electromagnetic noise in the same frequency range (around 315 MHz) that your garage remote uses, effectively jamming the signal.
Flowchart to troubleshoot solar garage door opener issues
How to fix it:

  • Move Components: Physically separate the inverter and charge controller from the garage door opener's motor unit and antenna as far as possible.
  • Use Shielded Wires: Ensure the wires running from the inverter to the opener are shielded to contain the electrical noise.
  • Add Ferrite Chokes: These are inexpensive clips that snap onto power cords. Add one to the inverter's AC output cord and one to the opener's power cord. They act as filters to block RF noise.
  • Upgrade Your Inverter: "Pure sine wave" inverters produce cleaner power and are much less likely to cause interference. They are more expensive but are often the ultimate solution.
Flowchart to troubleshoot solar garage door opener issues

Need more information?

Frequently Asked Questions (FAQ)


What are the main pros and cons of a solar-powered garage door opener?

The biggest pros are energy independence, backup power during outages, and the ability to power a structure without running expensive electrical lines. The main cons are the upfront cost of the components and the reliance on sunlight, which requires careful system sizing.

Can I convert my existing garage door opener to solar?

Yes, absolutely. As long as you correctly size your battery and use an inverter to convert the battery's 12V DC to 120V AC, you can power almost any standard opener.

How many cloudy days can my system handle?

This depends on your "days of autonomy" calculation in Step 2. A system sized with a large enough battery bank (e.g., the "Heavy Use" example) could potentially last 3-5 days with little to no sun, assuming it started with a full charge.

Do I need a special type of garage door opener?

No, but using a 12V DC-native opener can make your system simpler and more efficient because you won't need an inverter. However, these models can be harder to find and may lack the features of standard AC openers.

Your Path to Energy Independence


Building a solar power system for your garage door is more than just a weekend project; it's a step toward self-reliance. By understanding the core components, paying close attention to your total power needs (especially that sneaky standby draw), and knowing how to troubleshoot common issues like RF interference, you can build a reliable system that will serve you for years.
This project is a perfect gateway into the world of alternative energy. Once you have a power source in your garage, you can expand it to include other features. For example, many modern openers have a built-in battery backup, but a solar system provides a much more robust solution than the standard battery in garage door opener. And with reliable power, you can begin to explore other upgrades, like adding smart lighting for overhead garage doors to fully automate your space.
By starting with a clear, educated approach, you’re not just powering a door—you’re unlocking new possibilities.

You may also like


blog photo

Understanding Standby Power of Modern Garage Door Openers

You press a button, and your garage door opens. You press it again, and it closes. In between those moments, which total maybe 60 seconds a day, your garage door opener is completely idle, right? Not exactly. If you’ve ever looked into the "standby power" of your opener, you likely found articles about battery backups that kick in during a power outage. While that's an important feature, there’s a second, more subtle kind of standby power at play 24/7: phantom load. This is the silent, constant trickle of electricity your opener consumes just by being plugged in. It’s the energy it needs to listen for your remote, power its safety sensors, and keep its internal memory. And while it might seem small, this phantom load can add up, making the cost of waiting for a command more expensive over a year than the cost of actually opening and closing the door. Let's pull back the curtain on this hidden energy user and see what it really means for your home and your wallet.

blog photo

Dedicated vs. Shared Power: What’s Best for Your Garage Door Opener

You rush out to the garage, late for work, and hit the button on your garage door remote. Nothing happens. Or maybe you hear a faint click, the lights flicker, and then... silence. Later that evening, you realize the breaker tripped, and the chest freezer in the corner has been off all day. Sound familiar? These frustrating moments often have a hidden cause: an overloaded electrical circuit. Your garage door opener, a powerful motor in disguise, might be sharing its power line with other appliances, creating a recipe for failure and inconvenience. Understanding the difference between a shared outlet and a dedicated circuit isn't just for electricians—it's the key to ensuring your garage door works reliably every single time. Let's break down the power specs for your garage and turn you into an informed homeowner.