main logo

Duplicating a Single Garage Door Remote Signal to Multiple Buttons


Published: Jun 5, 2026

You need another garage door remote. Maybe it's for a new driver in the family, a trusted neighbor, or just a backup to keep in the house. It seems like it should be a five-minute task. You search online for "how to copy garage door remote," buy a universal remote, and an hour later, you're standing in your driveway, completely frustrated.

If this sounds familiar, you're not alone. The reason this seemingly simple task can become so confusing is that the word "duplicate" means two completely different things depending on the age and security technology of your garage door opener.

This guide is here to clear up the confusion once and for all. We'll help you identify your system in two minutes and give you the correct, step-by-step instructions to get all your remotes working perfectly.

The "Aha" Moment: Why Most People Get It Wrong


Here’s the single most important thing to understand: you can't just "copy" the signal from a modern remote to a new one like you would a key. That method, called cloning, only works on very old systems. Most openers made in the last 25 years use a technology that requires you to program (or "pair") a new remote directly to the main opener unit in your garage.

  • Cloning (Fixed-Code): This is a remote-to-remote transfer. It only works with older openers (typically pre-1993) that use a single, unchanging code. Think of it as a simple photocopy.
  • Programming (Rolling-Code): This involves introducing your new remote to the main garage door opener motor. Modern openers use "rolling-code" technology for security, where the code changes every single time you use it. This prevents criminals from capturing and replaying your signal. You can't "clone" a code that's designed to change constantly.
Trying to clone a rolling-code remote is the #1 reason for failure. Your new remote might work once, and then never again. Understanding which system you have is the key to success.

Foundation: The 2-Minute Diagnostic


Let's figure out what kind of system you have. Answering these simple questions will point you to the right set of instructions and save you a world of headache.
  1. Look at your main garage door opener unit (the motor mounted to the ceiling in your garage). Can you see a colored, squarish button labeled "Learn," "Code," or "Program"?
  2. Look at your existing, working remote. If you open the battery compartment, do you see a row of tiny, numbered switches (like light switches)?
Garage Door System Identification and Remote Setup Guide
Here’s how to interpret your findings:

  • If you found a "Learn" button on the opener unit: You have a modern Rolling-Code system. You will need to Program your new remote. Skip to the "Programming a Rolling-Code Remote" section.
  • If you found tiny switches (DIP switches) inside your remote and no "Learn" button on the opener: You have an older Fixed-Code system. You can likely Clone your remote. Continue to the "Cloning a Fixed-Code Remote" section.
Garage Door System Identification and Remote Setup Guide

Building: The How-To Sections


Now that you've identified your system, follow the correct path below.

Path A: Cloning a Fixed-Code Remote (The Old-School Method)

This method is for older systems with DIP switches. You'll need a "cloner" or universal remote designed for fixed codes.
The Easiest Way: Match the Switches
The most foolproof method doesn't involve cloning at all. Simply open your new remote and your old remote and set the DIP switches inside the new one to the exact same on/off pattern as the old one. If you're wondering, here's more on what is a dip switch garage door opener. Once the pattern matches, it should work immediately.
Remote-to-Remote Cloning Steps:
If your new remote is a "cloner" type without DIP switches, follow these general steps (consult your remote's manual for specifics):
  1. Clear the New Remote: Press and hold two specific buttons on the new remote until the LED light flashes, indicating its memory is clear.
  2. Enter Cloning Mode: Press the button combination specified in the manual to put the new remote into "listening" mode.
  3. Transmit the Code: Hold the old remote head-to-head with the new one. Press and hold the button on your old remote. The LED on the new remote should flash or change color, confirming it has copied the code.
  4. Test It: Step back and test the new remote. It should now operate your garage door.
Understanding Remote Cloning and Programming Methods

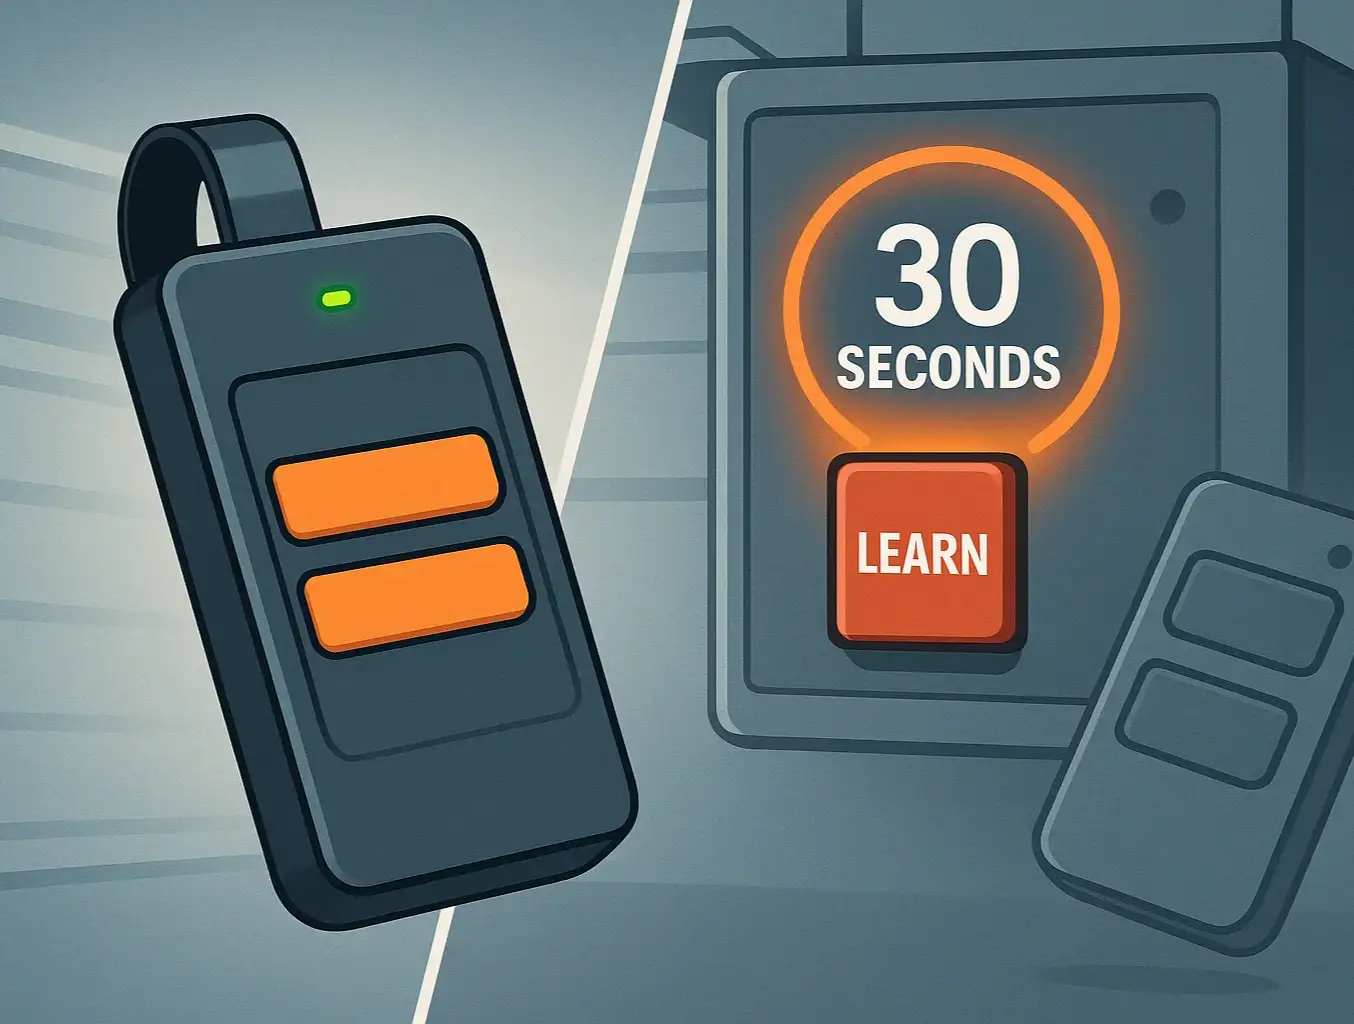
Path B: Programming a Rolling-Code Remote (The Modern Method)

This is the most common process for openers made after 1993. You will need a stepladder and access to your main opener unit.
Step-by-Step Programming Guide:
1. Locate the "Learn" Button: On the back or side of your garage door opener motor, find the "Learn" button. It's usually a square button next to a small LED light. It might be purple, red, orange, green, or yellow.
2. Get Your New Remote Ready: Decide which button on your new remote you want to use to open the door.
3. Press and Release the "Learn" Button: Briefly press and immediately release the "Learn" button on the opener motor. The LED light should turn on and stay solid for about 30 seconds.
CRITICAL WARNING: Do NOT hold the "Learn" button down. Holding it for more than 6 seconds will erase the memory of ALL your remotes, and you'll have to reprogram every single one.

  1. Program the Remote: Within those 30 seconds, press and hold the button on your new remote that you want to use.
  2. Confirm the Pairing: Watch for the main lights on the garage door opener to blink or listen for an audible click. This confirms the remote has been successfully programmed. Release the button on your remote.
  3. Test It: Press the newly programmed button on your remote. The garage door should operate.
While a few select models allow you to learn how to program a garage door remote from another remote, the "Learn" button method is the most universal and reliable approach for modern systems.
Understanding Remote Cloning and Programming Methods

Mastery: Comprehensive Troubleshooting FAQ


Even with the right instructions, things can go wrong. Here are some common problems and how to solve them.
Fixing Garage Door Remote Duplication Problems

Why did my new remote only work one time?

This is the classic symptom of trying to use a "cloner" remote with a rolling-code system. The opener accepted the first code but rejected the second because it was expecting a new, "rolled" code. You need a rolling-code compatible remote and must use the Programming method.

Why won't my remote program at all?

There are a few possibilities. If your garage door remote is not working, start by checking the battery in the new remote and ensure you've pulled any plastic protective tabs. Also, check if your opener is in "Lock" or "Vacation" mode, which deactivates remotes.

Is it possible the opener's memory is full?

Yes, most openers have a limit on how many devices they can remember. To find out how many remotes can be programmed to my garage door, you may need to consult your opener's manual. If it's full, you'll need to erase all codes (by holding the "Learn" button for 6+ seconds) and then reprogram each remote you wish to keep.

My remote only works when I'm very close to the garage. What's wrong?

This points to a signal strength issue. The antenna on your opener unit might be dangling; ensure it's hanging straight down. Interference from LED light bulbs in or near the opener can also drastically reduce remote range. If you're still having trouble, you may need to learn how to fix garage door remote signal problems in more detail.

Fixing Garage Door Remote Duplication Problems

Action: Making the Right Purchase


Garage Door Remote Comparison for Homes and Businesses
Choosing the right replacement remote from the start can prevent a lot of frustration. Here’s a quick breakdown of your options.

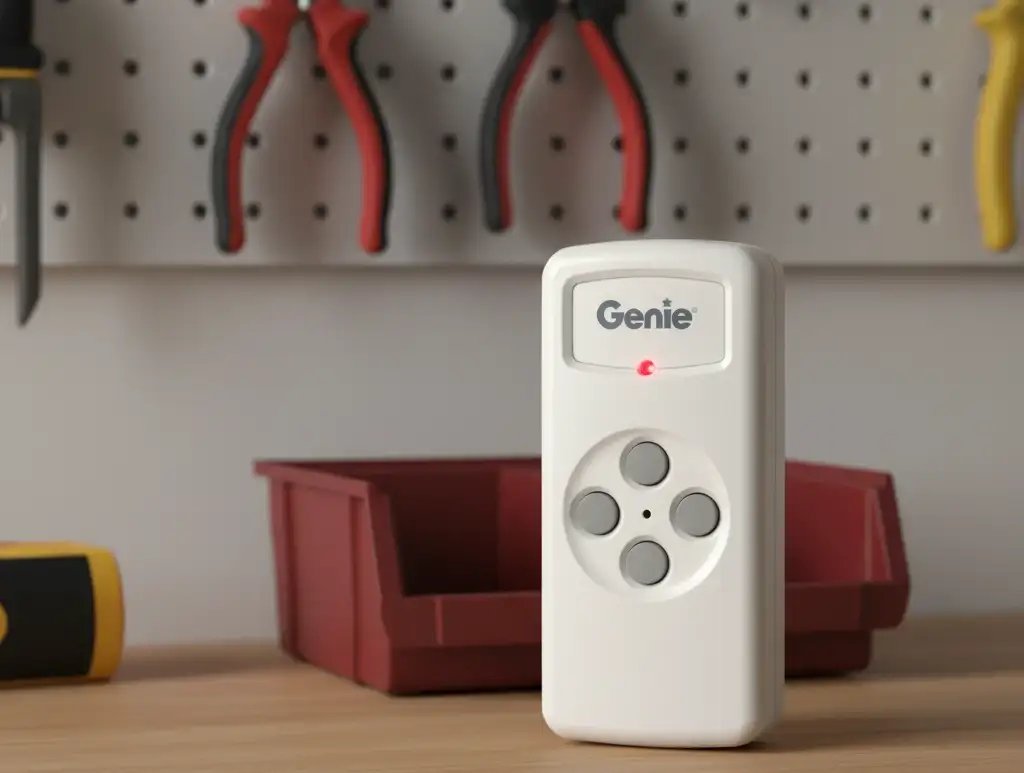
  • OEM (Original Equipment Manufacturer) Remote: This is a remote made by the same company as your opener (e.g., LiftMaster, Genie). It's guaranteed to be compatible and is often the most reliable choice.
  • Universal Remote: These are designed to work with many different brands. They can be a great, cost-effective option, but you must check the packaging to ensure it's compatible with your opener's specific brand and technology (fixed-code or rolling-code).
Garage Door Remote Comparison for Homes and Businesses

Need more information?

Your Path to Remote Control Mastery


Congratulations! You now understand more about your garage door opener than 99% of people. The key takeaway is simple: Identify your system first, then choose the correct method. By knowing whether you need to clone or program, you can confidently add new remotes for your entire family or business without the trial and error.
By taking a moment to diagnose the technology you're working with, you've turned a potentially frustrating task into a simple, straightforward process.

You may also like


blog photo

Programming a Universal Garage Door Remote

Have you ever found yourself juggling a collection of remotes for different garage doors? Or maybe you've faced the frustration of a lost or broken remote, only to be daunted by the prospect of programming a new one. It feels like a task that should be simple, but the fragmented instructions and confusing jargon found online often turn it into a headache. You’re not alone. Many homeowners get stuck trying to sync a new universal remote, running back and forth from the garage to their computer, piecing together advice from forums and clunky manufacturer websites. What if you could skip all that? This guide is your single, all-in-one resource. We’re going to walk through this process together, step-by-step, transforming industry jargon into plain English and highlighting the common pitfalls before you encounter them. Let's make this simple.