Network Setup Checklist for Smart Garage Systems
Published: Jun 12, 2026
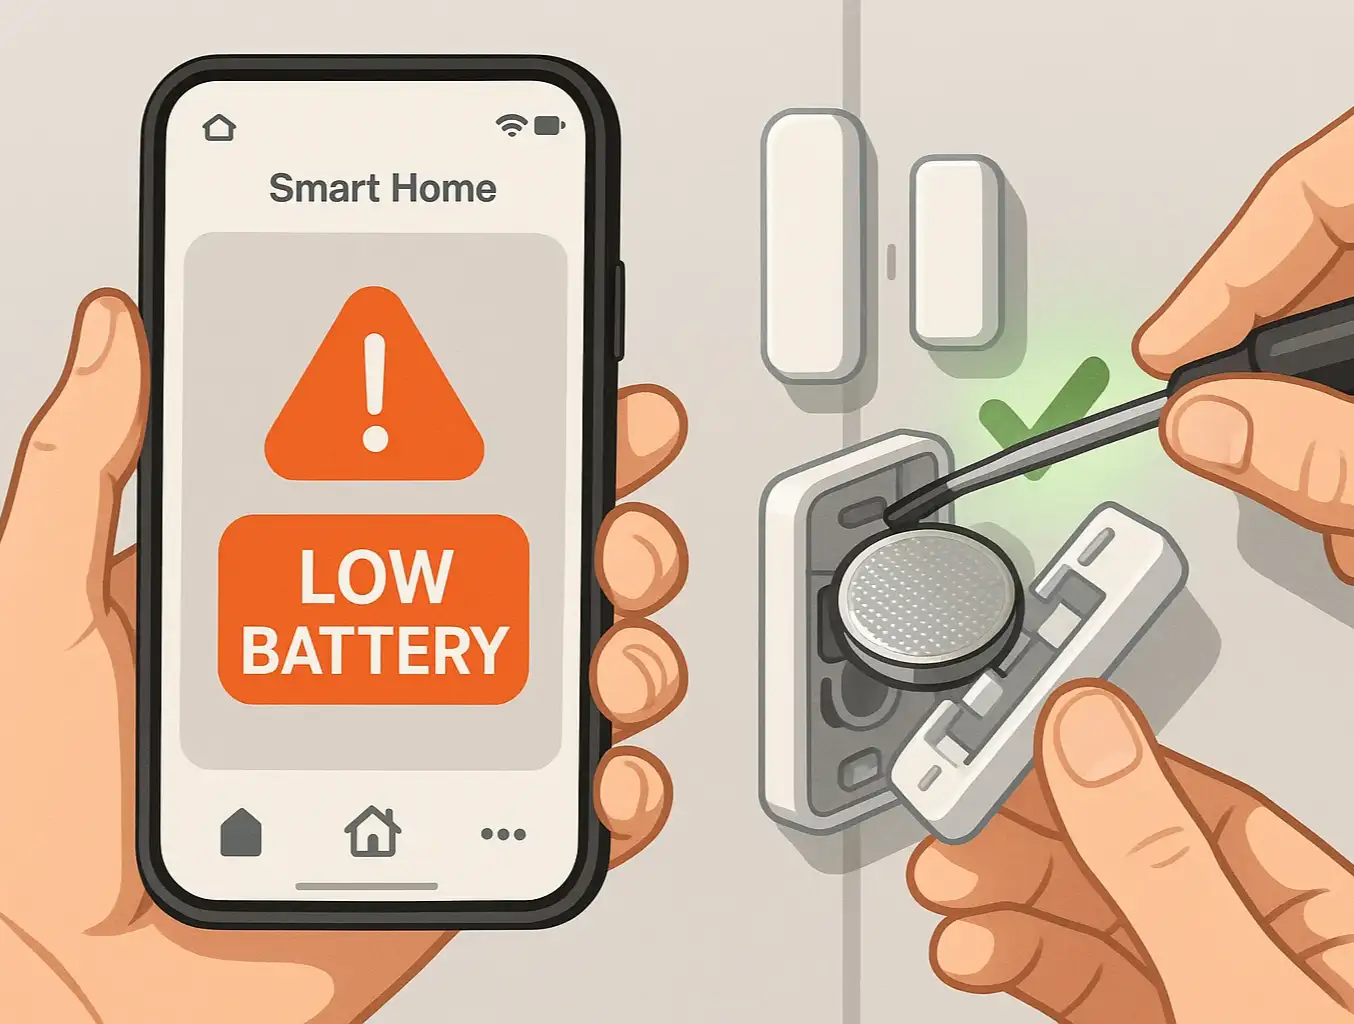
You’ve got the box. You’re excited about the convenience of opening your garage from anywhere and getting delivery notifications. You set aside an hour for what should be a straightforward installation. But then it happens: the dreaded "Connection Failed" error. The blinking lights mock you. The app won't find the device. An hour of excitement turns into an evening of frustration.
Sound familiar? It's a surprisingly common story. Most setup failures for smart garage openers have nothing to do with a faulty device. They stem from a home Wi-Fi network that wasn’t quite ready for its new job.
This is the 5-minute pre-flight check that can save you that hour of frustration. Before you even open the box, let's walk through a few simple steps to ensure your network is perfectly prepared, making your installation a breeze.
Foundation: Your Garage Opener's Three Simple Wi-Fi Needs
- 1. A Strong, Stable Signal: The opener needs to reliably "hear" your Wi-Fi router.
- 2. The "Right Kind" of Wi-Fi: It needs to connect to the specific Wi-Fi frequency it was designed for.
- 3. An Open Door: Your router settings must allow the new device to join the network.

Here’s an "aha moment" that makes it simple:
- 5 GHz Wi-Fi is like a race car: It’s incredibly fast and can handle a ton of data (great for streaming 4K movies), but it has a short range and is easily blocked by walls and concrete.
- 2.4 GHz Wi-Fi is like a tractor: It’s slower, but it's a workhorse. It has a much longer range and is far better at penetrating through obstacles—like the walls between your router and your garage.
Because reliability and range are more important than raw speed, nearly all smart home devices, including your garage opener, are designed to work exclusively on the 2.4 GHz band.
Building: Your 2-Step Pre-Connection Checklist
Check Point 1: Measure Your Wi-Fi Signal Strength (The Right Way)
"Have a strong signal" is vague advice. Let's make it measurable. Wi-Fi strength is measured in decibel-milliwatts (dBm), which you’ll see as a negative number (e.g., -55 dBm). The closer the number is to zero, the stronger the signal.
- Excellent: -30 to -60 dBm
- Good: -61 to -67 dBm
- Unreliable: -68 dBm or lower
, Wi-Fi Band (highlighting 2.4 GHz), and Router Settings (showing a settings gear icon).")
- 1. Download a free Wi-Fi analyzer app: on your smartphone (like "Wi-Fi Analyzer" for Android or "AirPort Utility" for iOS—be sure to enable the Wi-Fi scanner in the iOS settings).
- 2. Stand right where your garage door opener motor will be.: Don't just stand in the garage; get on a ladder and hold your phone next to the motor unit.
- 3. Open the app and find your 2.4 GHz network.: Look at the dBm reading.
Check Point 2: Identify Your 2.4 GHz Network
- Two separate networks: One named "MyWiFi" and another named "MyWiFi\_5G" or "MyWiFi-5GHz". In this case, it’s simple—just make sure you know the password for the regular "MyWiFi" network.
- One single network name: Many modern routers use a feature called "band steering" that combines both bands under one name and automatically assigns devices to a band. While smart, this can sometimes confuse simpler devices like garage openers.
Mastery: Solving Problems Before They Happen
•Problem: My Wi-Fi signal is weaker than -67 dBm.
- Easy Fix: Try moving your router to a more central location in your home, away from thick walls or large metal objects (like a refrigerator). Even moving it a few feet can make a difference.
- Better Fix: Install a Wi-Fi extender or a mesh Wi-Fi node in a room closer to the garage. This is the most effective way to ensure a strong, stable signal. Understanding the advantages of Wi-Fi-enabled garage door openers often starts with ensuring your network is robust enough to support them.
• Problem: My 2.4 GHz and 5 GHz networks have the same name.
- Easy Fix: As mentioned, log into your router and create a dedicated 2.4 GHz "Guest Network" just for the setup process. You can name it "GarageSetup" to make it obvious. Connect your phone and the opener to this network. You can disable it after setup is complete.
• Problem: A firewall or parental control is blocking the connection.
- Easy Fix: Most firewalls won't block a new device, but some with high-security settings might. If you suspect this is an issue, you can temporarily lower the firewall security level during the 5-minute setup process and then raise it back up immediately after.
If you’ve run through these checks and still encounter issues, it's possible the problem lies with the opener itself. For those situations, a quick troubleshooting guide can help you diagnose hardware-specific issues.

Need more information?
Get a free quote
Action: You're Cleared for Connection!
By taking these few extra minutes to prepare, you've turned a potential point of frustration into a smooth and successful setup. And if you decide you’d rather leave the setup to the pros, a professional garage door opener installation service can ensure everything is configured perfectly from day one.
, Identify 2.4 GHz Network, Verify Router Settings (DHCP On, MAC Filtering Off), and a final checkmark for \"Ready to Connect!\".")
FAQ: Your Smart Garage Network Questions Answered
Why do smart garage openers use 2.4 GHz instead of the faster 5 GHz?
What's a good Wi-Fi signal strength for my garage?
My Wi-Fi signal is weak in the garage. What's the easiest fix?
Will a smart garage opener slow down my internet?
What if I follow all these steps and it still won't connect?
You may also like