Connecting Your New Garage Door Opener: Professional Integration with Smart Home Hubs
Published: Jun 23, 2026
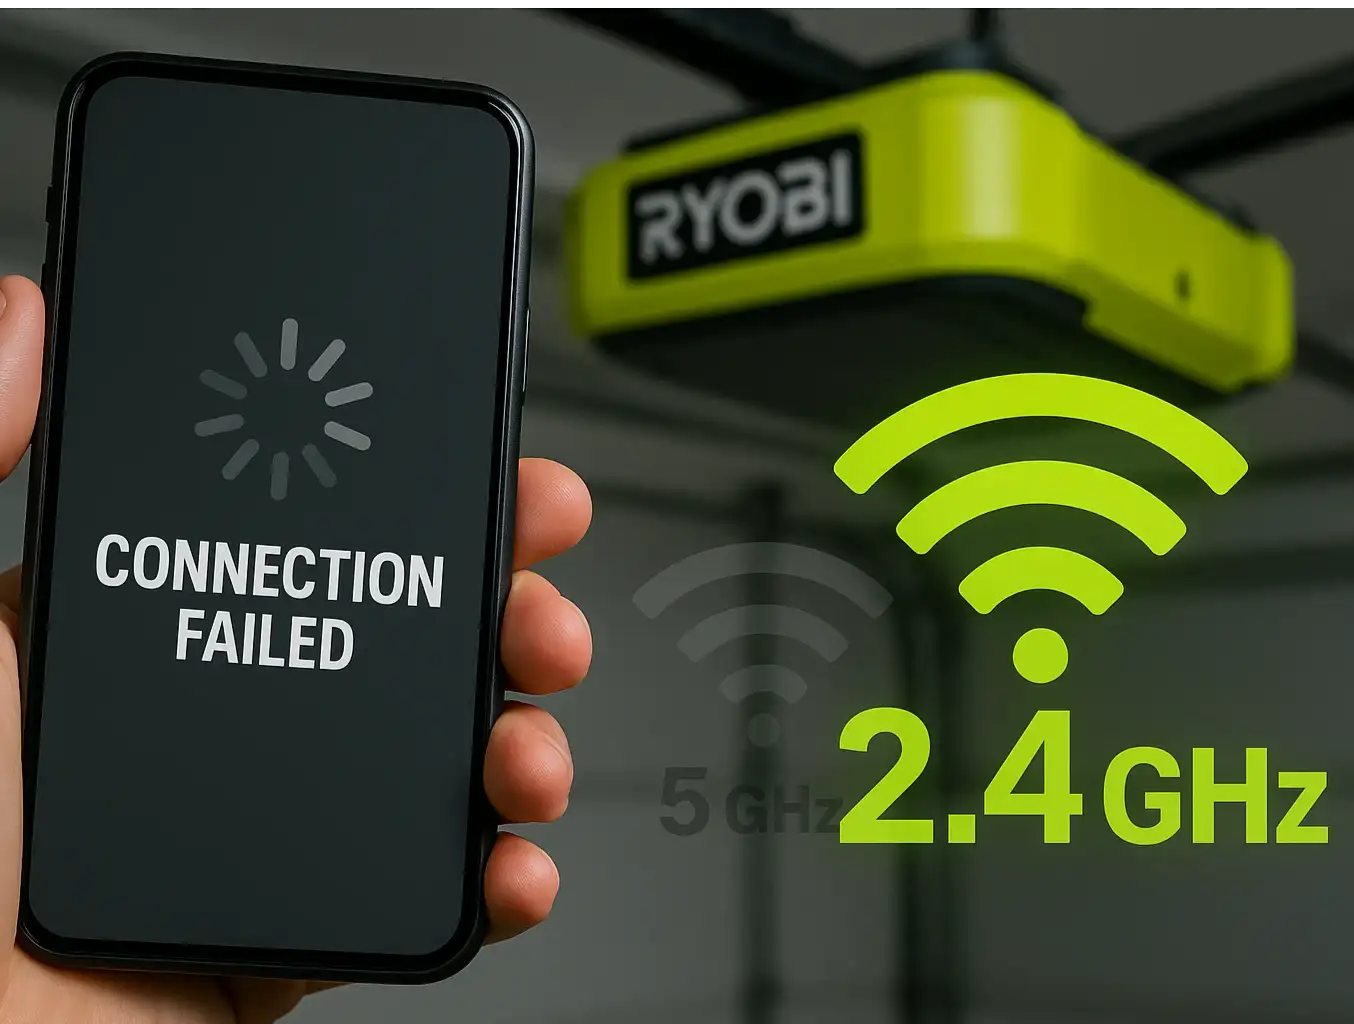
You’ve just installed a new, feature-packed smart garage door opener. You’re picturing the convenience: opening the door with a simple voice command, checking its status from your office, and getting alerts when it opens. You open your Google Home or Alexa app, ready to connect it to your digital ecosystem, but... nothing. It won't connect, or the integration feels clunky and unreliable.
If this scenario sounds familiar, you're not alone, and it’s almost certainly not your fault. You’ve just run into the most common and frustrating roadblock in the smart garage world: the great compatibility divide.
Let's pull back the curtain on why this happens and, more importantly, how to get the seamless, truly smart garage experience you were promised from the start.
Foundation: The "Why" Explained
The simple, honest answer is this: It's not a bug; it's a feature.
Chamberlain Group, the parent company of MyQ, intentionally ended its broad, native integration with many third-party smart home platforms. Citing security and a desire for a more controlled user experience, they shut down the API (Application Programming Interface) access that allowed hubs like Google Home to speak directly to their devices.
This created a critical distinction that every homeowner needs to understand:

- Native Integration: This is like two people speaking the same language fluently. The device (your garage opener) and the hub (Google Home, Alexa, HomeKit) are designed to work together directly. Commands are instant, reliable, and secure. You get full functionality without any go-betweens.
- Third-Party Workarounds: This is like using a clumsy, outdated translation app. These methods (like the now-defunct IFTTT integrations) rely on a middleman service to relay commands. They are often slow, prone to breaking when companies update their software, and can expose you to security vulnerabilities.
The Definitive Compatibility Guide

Mastery: Step-by-Step Integration Guides
While every model is slightly different, the general process for a successful smart garage door opener setup looks like this:

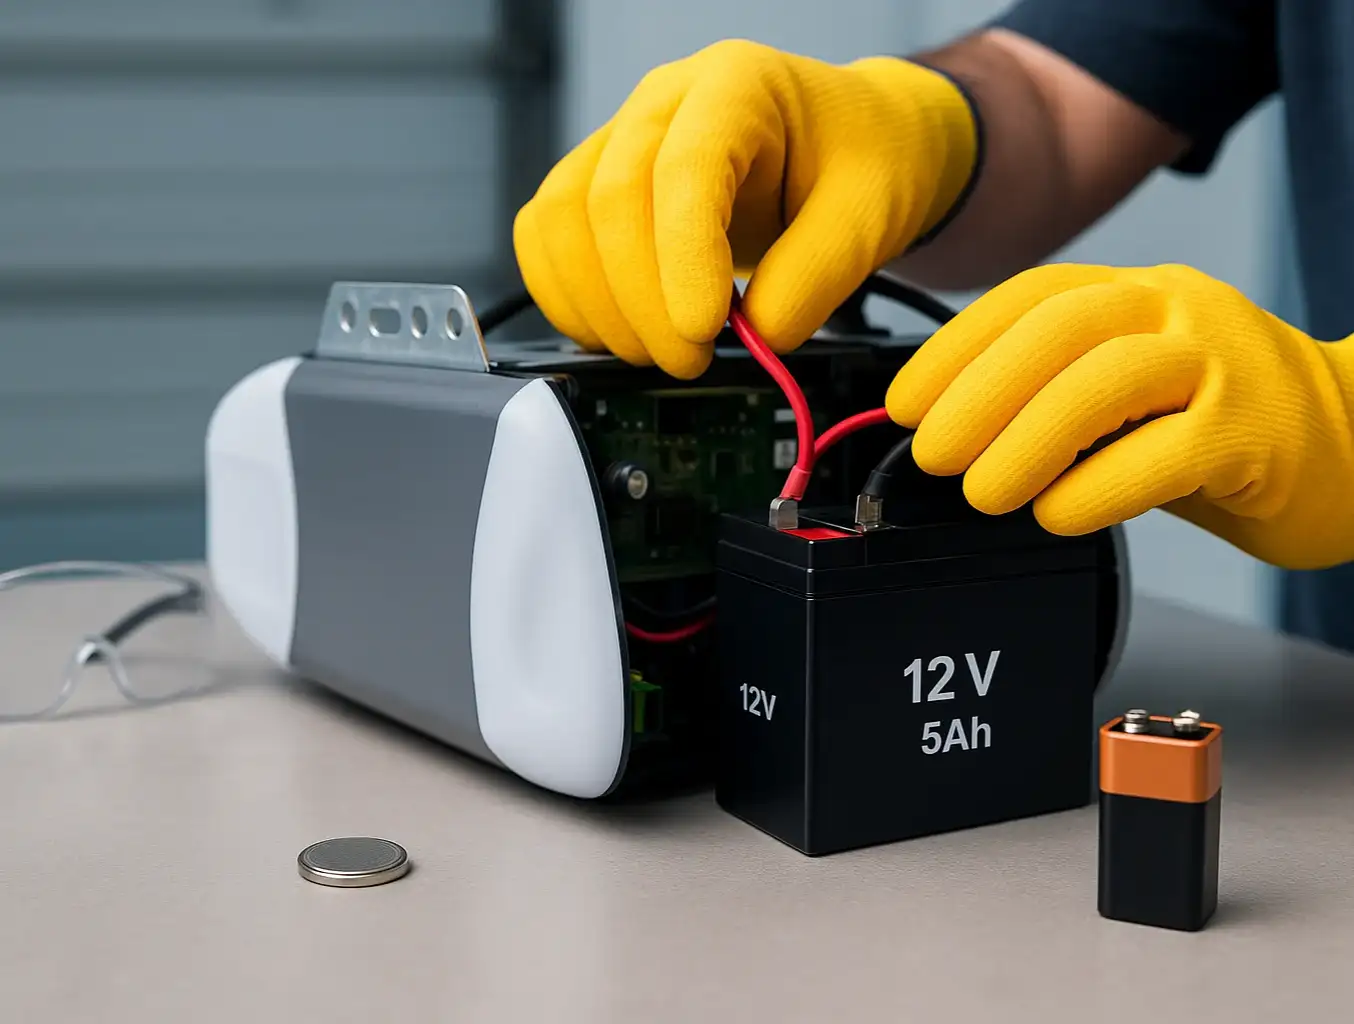
- Mount the Controller: Find a spot on or near your opener motor unit to mount the small controller box.
- Connect the Wires: This is the part that intimidates some, but it's often as simple as connecting two small wires from the controller to the same screw terminals on your opener where the wall button is connected.
- Attach the Sensor: Most kits come with a sensor (and a magnet) to attach to the garage door itself. This is how the controller knows if the door is actually open or closed. The quality of these smart garage door sensors is crucial for security and accurate status updates.
- Power Up & Pair: Plug in the controller and follow the manufacturer's app instructions to connect it to your Wi-Fi and then link it to your preferred smart home hub (Google, Alexa, etc).
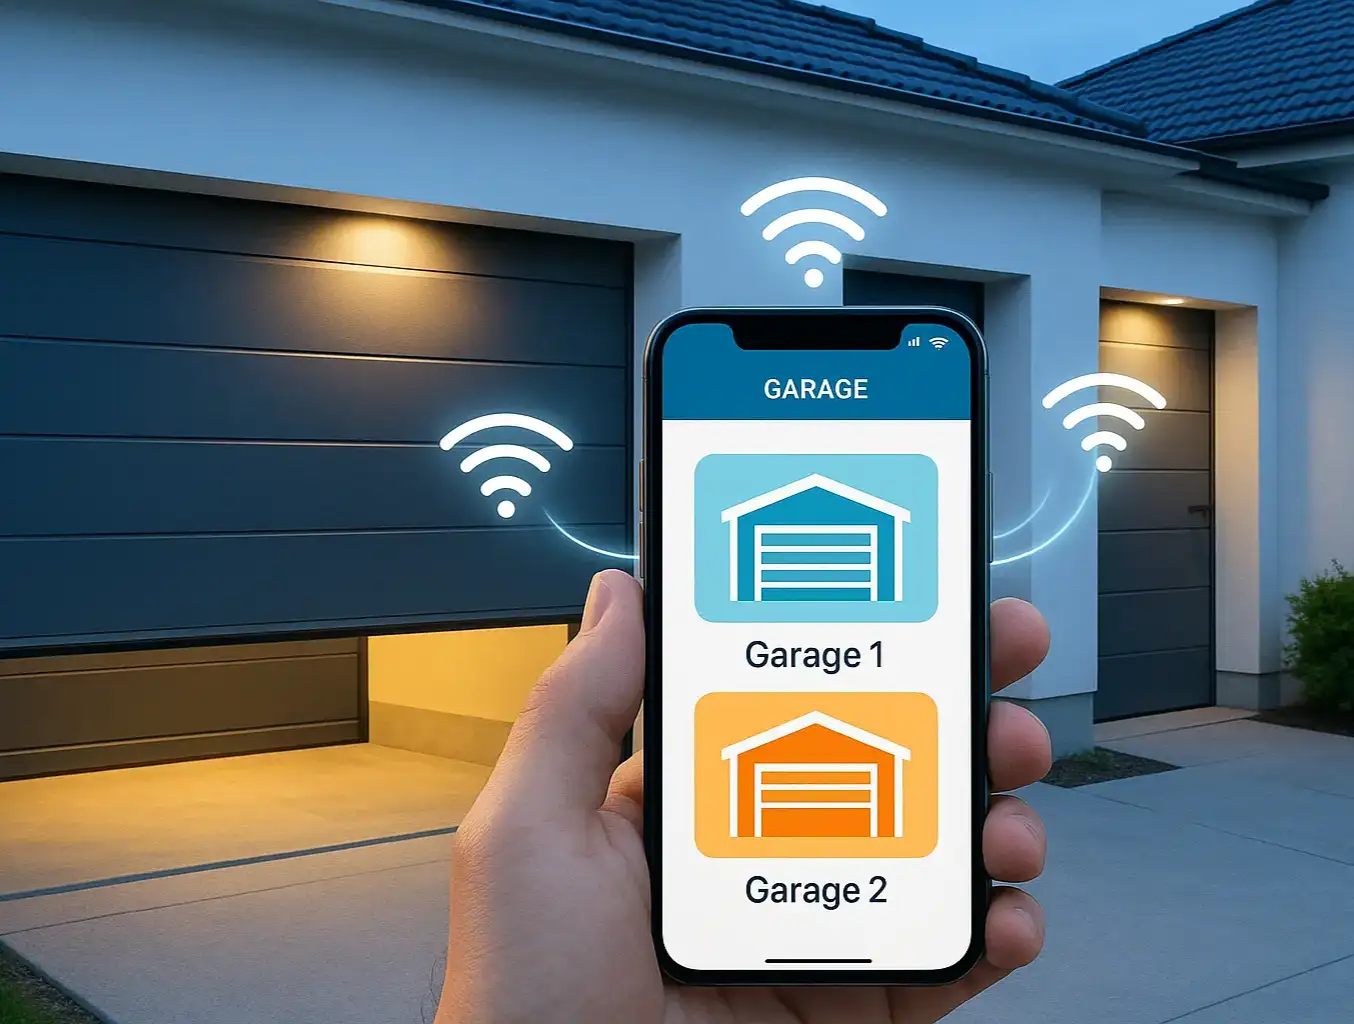
At this point, you should be able to say, "Hey Google, open the garage door," and watch it happen smoothly.
Action: Making the Right Choice
Consider your comfort level with DIY projects and whether you need compatibility with your existing car garage door opener buttons.

Your Path to a Seamlessly Smart Garage
Whether you're installing a brand-new system or upgrading an old-faithful opener, understanding the landscape of connectivity is the most important step. It ensures your investment works for you, not against you, creating a truly smart and seamless extension of your home.
Common Questions & Troubleshooting (FAQ)
What's the difference between a smart opener and a smart controller?
Can I make my 15-year-old garage door opener smart?
Are smart garage doors secure?
What if my opener stops working after I install the controller?
Can I connect my smart opener to other devices like lights?
You may also like