main logo

Why Your Car's Garage Door Opener Isn't Programming Successfully


Published: May 21, 2026

You’ve followed the manual. You’re sitting in your driveway, pointing your garage door remote at your car's rearview mirror, pressing the buttons in what feels like a dozen different combinations. Ten minutes later, the only thing you’ve accomplished is a sore thumb and a growing sense of frustration.

If this sounds familiar, you're not alone. Programming a car's built-in garage door opener, like HomeLink®, can sometimes feel like trying to solve a puzzle with a missing piece. The good news? That missing piece is usually a simple, overlooked detail.

This guide is your diagnostic roadmap. Forget the confusing jargon. We’re going to walk through this together, from the five-minute fixes to the hidden culprits that most manuals never mention.

The 3 Core Reasons Your Car's Opener Fails to Program


Before we dive into the step-by-step process, let's understand the landscape. Nearly every programming failure falls into one of three categories. Getting a handle on these will transform you from a frustrated button-pusher into a confident troubleshooter.
Garage opener programming issues: sync, signals, and setup errors

  • Simple Mistakes: These are the most common issues, often related to the sequence of steps, the vehicle's status, or the original remote itself.
  • Sync & Security Issues: This is where the concept of "rolling codes" comes in. Modern openers use advanced security that requires an extra step to sync your car directly with the opener unit on the ceiling.
  • Hidden Problems: These are the sneaky issues that are rarely obvious, like radio signal interference from an unexpected source or the opener’s memory being full.
Now, let's use this knowledge to diagnose the problem.
Garage opener programming issues: sync, signals, and setup errors

Your Step-by-Step Diagnostic Flowchart


Work your way down this list. Start with the simplest checks and move to the more complex ones. The solution is likely just a few steps away.

Step 1: The Quick-Fix Checklist (5-Minute Solutions)

Let’s rule out the easy stuff first. These simple oversights account for a surprising number of programming headaches.
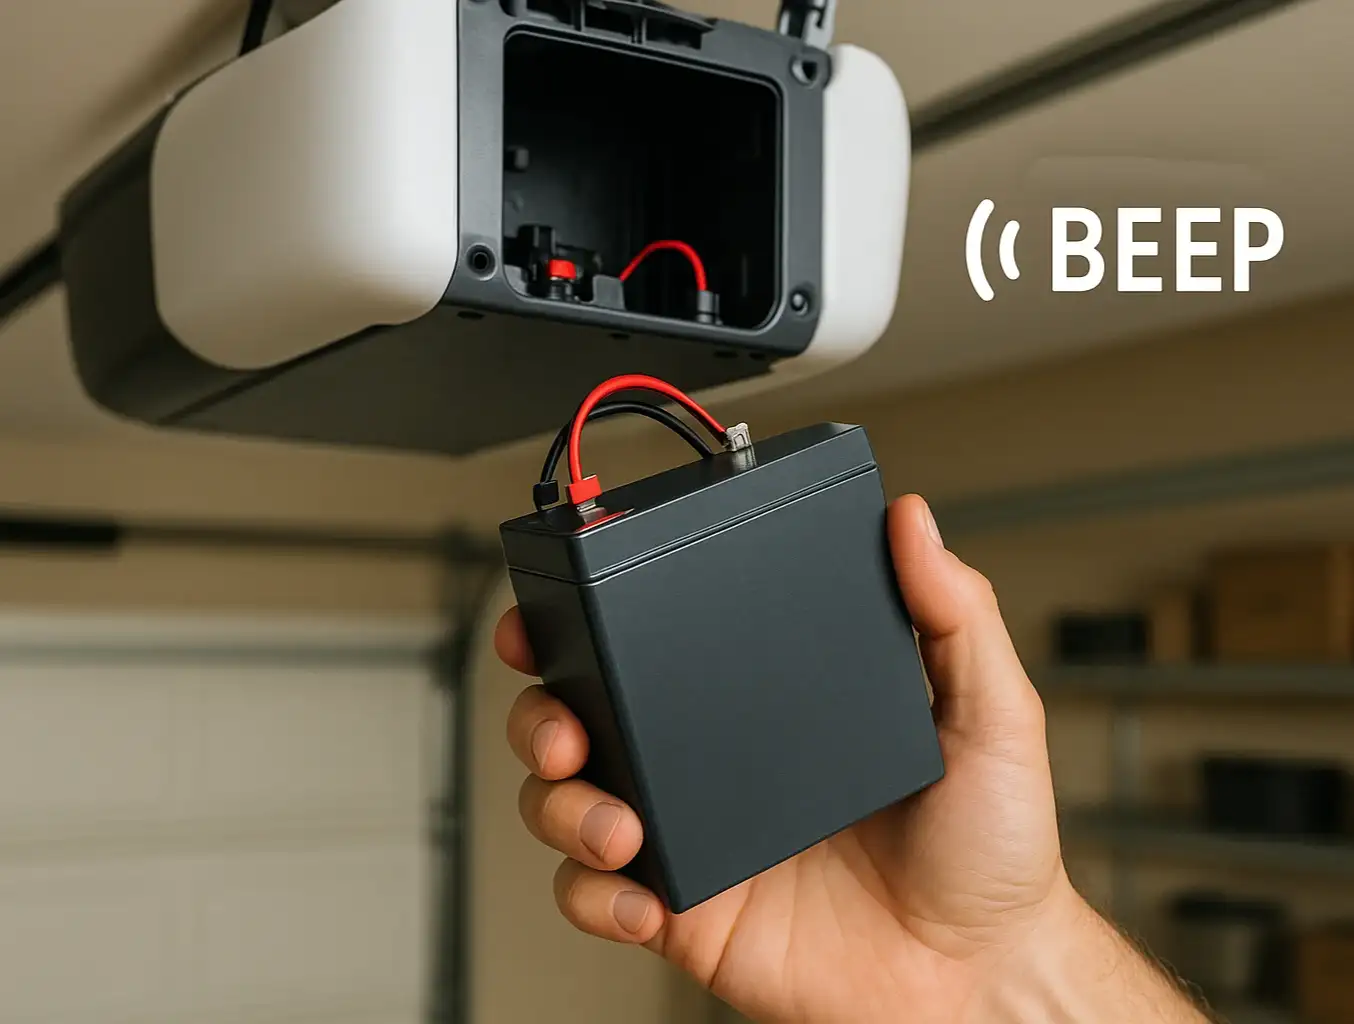
  • Check the Original Remote: Is the battery in your handheld remote fresh? The signal needs to be strong for your car to learn it. If you suspect my garage door remote stopped working, a new battery is the first thing to try.
  • Vehicle Ignition Position: Ensure your car is on, or at least in the "accessory" position. The built-in opener system needs power to enter learning mode.
  • Clear the Slate: Erase any previous attempts. Most cars require you to press and hold the two outer HomeLink buttons for about 20 seconds until the indicator light flashes. This gives you a fresh start.
  • Check the Wall Panel "Lock" Button: Some garage wall control panels have a "Lock" or "Vacation" button. When activated, it disables all remote signals. Make sure this isn't turned on.
  • Get Closer: When training your car with the handheld remote, hold it 1-3 inches away from your car's HomeLink buttons for the strongest signal.
Car garage opener troubleshooting flowchart for programming issues

Step 2: The Rolling Code Conundrum

If the quick fixes didn't work, you almost certainly have a "rolling code" garage door opener. This is the single biggest point of confusion in the programming process.
What is a rolling code?
Think of it like a secret handshake between your remote and your opener that changes every single time you use it. It’s a fantastic security feature that prevents thieves from capturing your signal. However, it means you can't just teach your car the handshake from an old remote; you have to introduce your car to the opener itself so it can learn the next secret handshake in the sequence.
This introduction is done using the "Learn" button on the motor unit in your garage.
The Correct Two-Part Process for Rolling Codes:
Part 1: Train Your Car. This is the step you've likely already done. You hold your existing remote near the car's buttons and press them until your car's indicator light changes from a slow blink to a rapid one (or solid, depending on the model).
⚠️ Common Mistake: Many people think they are done at this point. But if you have a rolling code system, the rapidly flashing light is simply your car's way of saying, "Okay, I've copied the basics. Now, please introduce me to the main opener unit!"
Part 2: Sync Your Car with the Opener. This step is time-sensitive. You have about 30 seconds to complete it.

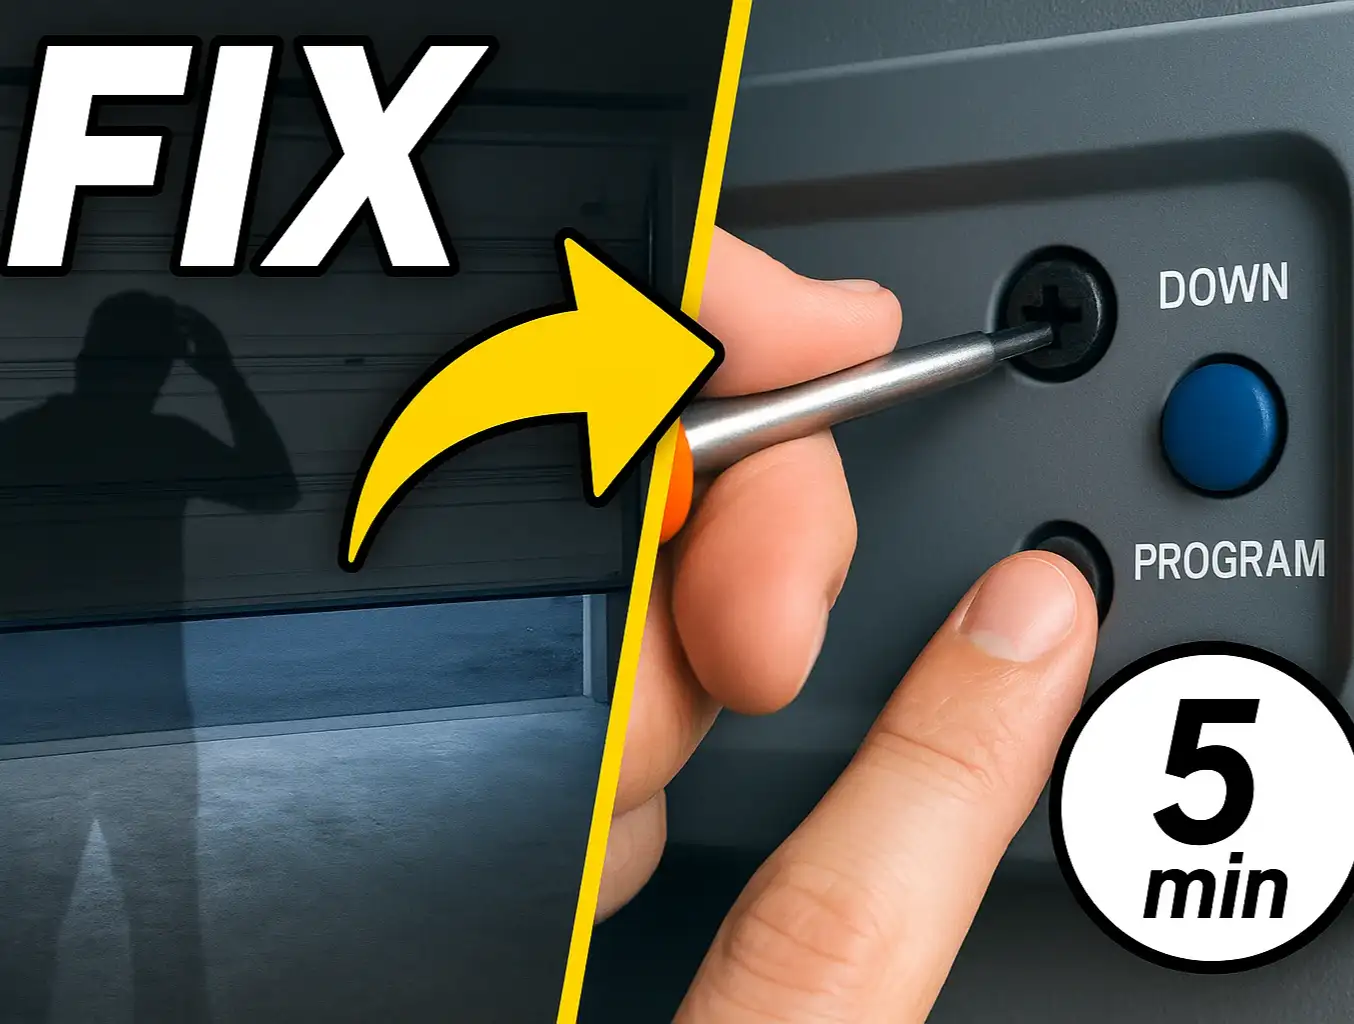
  • Safely get on a ladder and press (but don't hold) the "Learn" button on the back of your garage door opener motor. A light will usually turn on or start blinking. If you're not sure where is the learn button on garage door opener, it's typically a square button next to an LED light.
  • Quickly return to your car and press and hold the button you just trained. Press it for two seconds, release, press for two seconds again, and repeat up to three times.
  • The garage door should activate. Success!
If you've followed this two-part process and it still fails, it's time to investigate the hidden killers.

Step 3: The "Hidden Killers" of Programming

Sometimes, the problem isn't the process; it's an invisible force interfering with the signal.
The LED Interference Test
This is the "aha moment" for many frustrated homeowners. Certain LED light bulbs—especially low-quality or older ones—can emit radio frequency interference (RFI) that jams the signal from your car.
The Test: Simply unscrew the LED bulbs from your garage door opener unit and try the programming process again.
The Solution: If this works, replace the bulbs with "garage door opener compatible" LEDs, which are shielded to prevent RFI. Finding a way to how to fix garage door remote signal issues often comes down to identifying these invisible barriers.
The Full Memory Wipe
Your garage door opener's logic board can only remember a certain number of remotes (usually 5-7). If you've lived in your home for a long time and have programmed multiple remotes and keypads, the memory might be full.
The Solution: You'll need to clear the opener's memory. This is usually done by pressing and holding the "Learn" button for about 6-10 seconds until the indicator light goes out. Warning: This will erase all connected remotes and keypads. You will have to reprogram every device you want to use, but it ensures your car has a spot in the opener's memory.

Step 4: Advanced Problems and Compatibility

In rare cases, the issue is a fundamental incompatibility.
  • Newer Openers (MyQ/Security+ 2.0): Some newer Chamberlain, LiftMaster, and Craftsman openers with advanced security features may require a "compatibility bridge" to work with older HomeLink systems in cars.
  • Older Cars: Conversely, a very new garage door opener might not be backward-compatible with a HomeLink system from a car that's over a decade old.
Car garage opener troubleshooting flowchart for programming issues

Brand-Specific "Learn" Button Quick Reference


Garage opener learn button colors and brand comparison chart
Locating the "Learn" button is a critical step. While its location varies, the color is often a key indicator of the type of technology your opener uses.

Garage opener learn button colors and brand comparison chart

Need more information?

Still Not Working? When to Call a Professional


If you’ve gone through this entire guide—checked for LED interference, cleared the memory, and correctly performed the two-part rolling code sync—and it's still not working, there may be a deeper issue. It could be a faulty logic board in the opener or a problem with the HomeLink transmitter in your car.
At this point, save yourself the frustration and contact a professional. A trained technician can diagnose complex signal and hardware issues quickly and safely.

Frequently Asked Questions (FAQ)


Why do I need my original remote to program my car?

Your car's system is a "learning" device. It needs an original, working signal to copy first. It captures the unique frequency and initial code from your handheld remote before it can be synced with the main opener unit. This is often the first step in learning how to program a garage door remote from another remote.

How do I know for sure if I have a rolling code system?

The easiest way is to look for the "Learn" button on the motor unit. If it has one, you have a rolling code opener. These systems became standard after 1993, so almost any opener made in the last 25 years uses this technology.

I lost my original remote. Can I still program my car?

This is a tricky situation. Without a remote to copy, the process is more challenging. However, there are methods that sometimes work, especially with certain brands. For a detailed walkthrough, you can explore our guide on how to program garage door to car without remote.

You may also like


blog photo

Changing the Backup Battery in Your Main Garage Door Opener Unit

It often starts in the middle of the night. A single, persistent beep echoing from the garage. It’s not the smoke detector, and it’s not the security system. It’s your garage door opener, and it’s trying to tell you something important. If you’ve been asking yourself, "Why is my garage door opener beeping?", you've come to the right place. That sound is almost always the unit's way of signaling that its backup battery is failing. While it might seem like a complex issue, replacing this battery is one of the most straightforward DIY tasks a homeowner can tackle. This guide will walk you through the entire process, from identifying the correct battery to safely installing the new one and understanding what to do if the beeping continues.

blog photo

Step-by-Step Guide to Resetting Garage Door Opener Travel

The power flickers back on, your clocks are blinking "12:00," and you breathe a sigh of relief. But then you hit the button for your garage door, and it starts behaving strangely. It closes part-way and then reverses, or it stops short of the floor, leaving an annoying gap. If this sounds familiar, you're not alone. It’s one of the most common issues homeowners face after a power outage. Here’s the simple explanation: Your garage door opener is essentially a small computer with a memory. It remembers exactly where to stop when opening (the "up limit") and where to stop when closing (the "down limit"). When the power cuts out, this memory gets scrambled. It’s like your alarm clock—it knows it has a job to do, but it has forgotten the specific settings. The good news? Fixing it is usually a simple calibration that you can do in about five minutes. This guide will walk you through every step, transforming you from a frustrated homeowner into a confident DIYer.