You did everything right. The app on your phone flashed a “Low Battery” warning for your smart garage door sensor. You went to the store, bought the correct little silver coin battery, popped open the sensor casing, and swapped the old one for the new one. Mission accomplished.
But then you look at your phone, and the warning is still there.
You open and close the garage door. Still there. You restart the app. Still there. It’s a common and incredibly frustrating moment—one that makes you question if you did something wrong. Here’s the good news: you probably didn’t. The real secret isn’t in the battery swap itself, but in what comes after.
This guide is here to walk you through the entire process, from identifying the right battery to performing the one step most people miss: forcing the sensor to report its new, healthy status to your smart home system.
Replacing Batteries in Smart Garage Door Sensor and Monitoring Devices
Published: May 26, 2026 | Updated: Jul 28, 2026
Why the Warning Lingers: The Digital Handshake
Think of your smart sensor and your garage door opener’s main hub like two people having a conversation. To save energy, they don’t talk constantly. The sensor only “wakes up” and sends a signal when something changes—namely, when the garage door moves from vertical (closed) to horizontal (open), or vice versa.
When the battery is low, the sensor sends a “low battery” status report during one of these “wake-up” events. Your hub receives this message and displays the warning. After you replace the battery, the hub doesn’t automatically know. It’s still holding onto the last message it received. You need to trigger a _new_ conversation—a digital handshake—so the sensor can send an updated “all clear” status. That’s the key to making the warning disappear for good.
When the battery is low, the sensor sends a “low battery” status report during one of these “wake-up” events. Your hub receives this message and displays the warning. After you replace the battery, the hub doesn’t automatically know. It’s still holding onto the last message it received. You need to trigger a _new_ conversation—a digital handshake—so the sensor can send an updated “all clear” status. That’s the key to making the warning disappear for good.
Step 1: Prep Work - Your Sensor, Its Battery, and The Tools You'll Need
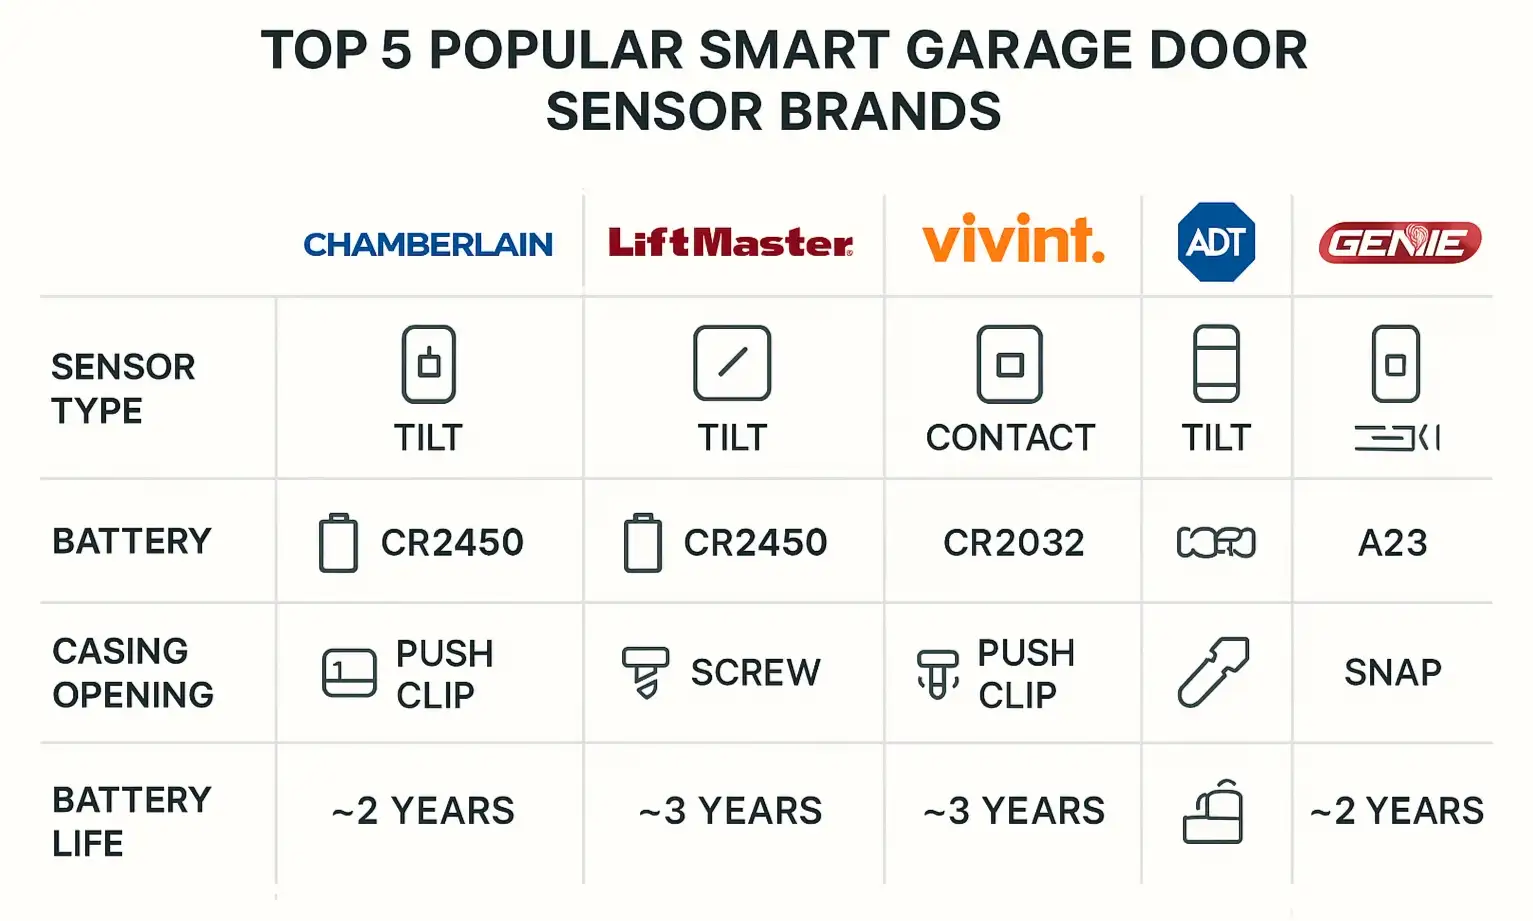
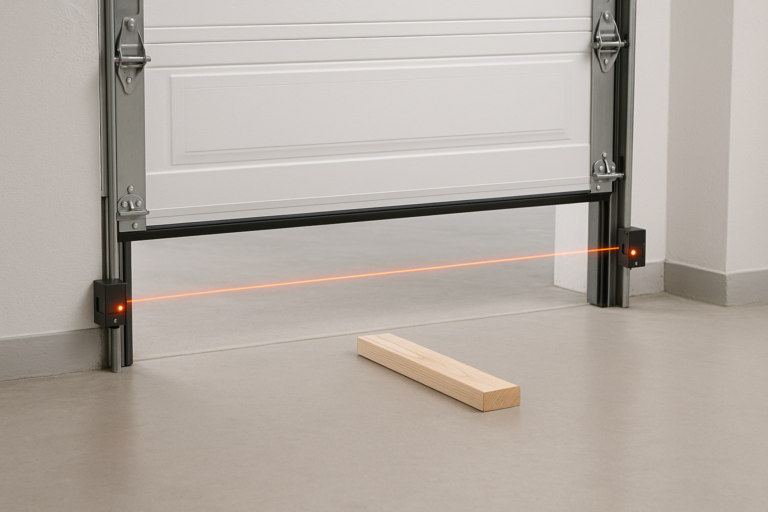
Before you can change the battery, you need to know what you’re working with. Most smart garage door monitoring systems use a small sensor that attaches directly to the garage door panel. This is different from the garage door security sensor beams located near the floor.
Here’s a quick breakdown of the most common types:
Here’s a quick breakdown of the most common types:
Your 1-Minute Toolkit:
Step 2: The Physical Swap - A 30-Second Task
This is the easy part. The process is very similar across brands like myQ, Vivint, and ADT.
You’ve now completed the physical garage door opener battery replacement. But as we know, the job isn’t done yet.
Step 3: Mastery - The Ultimate Guide to Clearing the Low Battery Warning
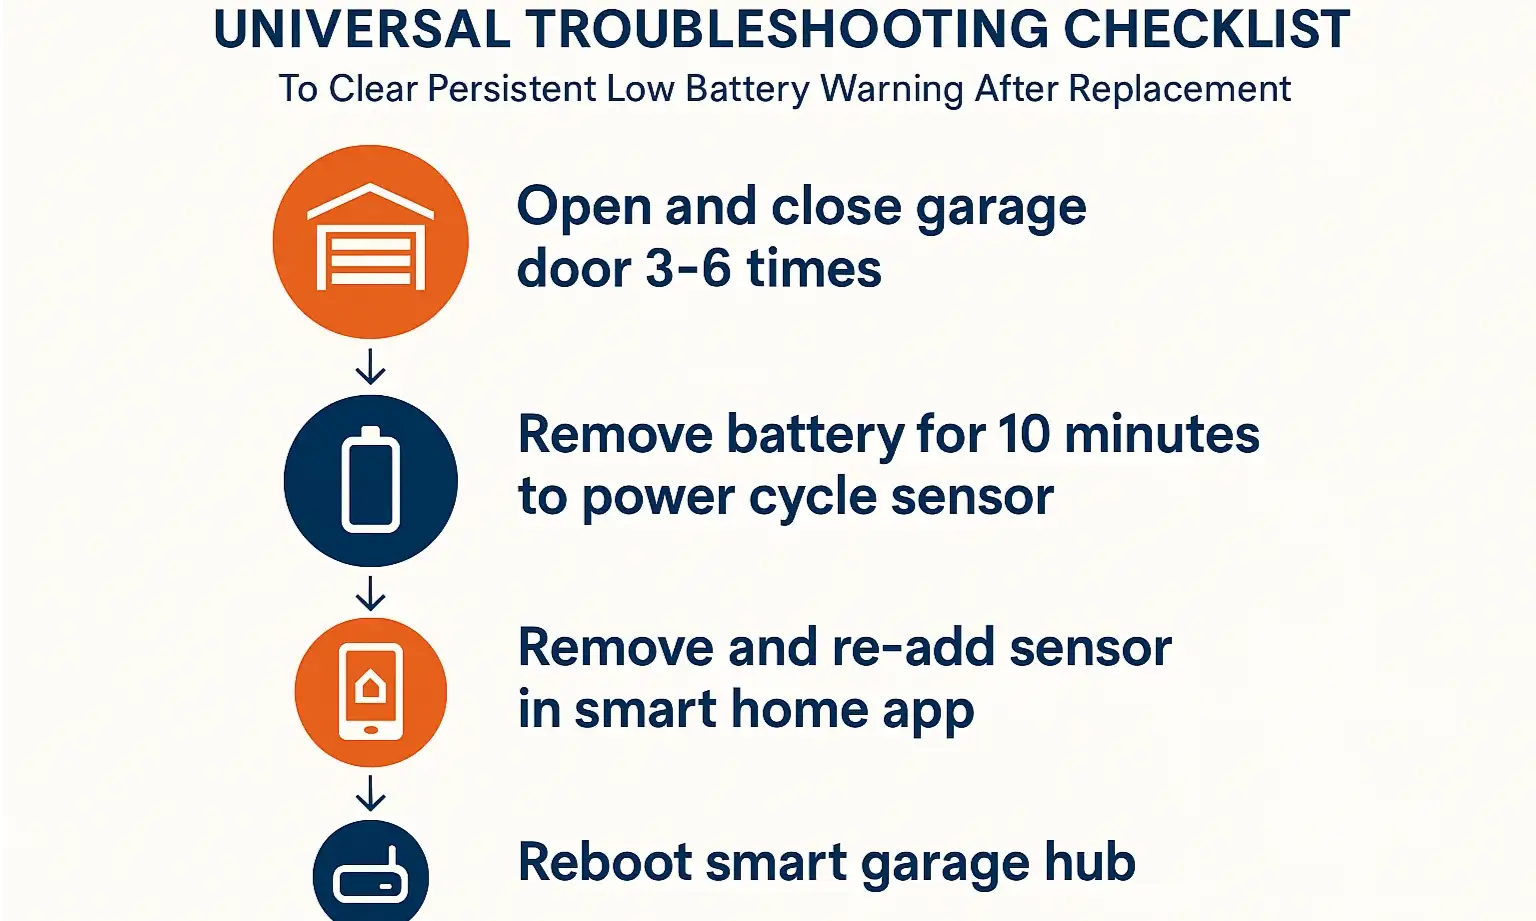
If you’ve replaced the battery and the low battery notification is still staring back at you, don’t panic. This is where most people get stuck, but the solution is usually simple. Work your way through this troubleshooting flowchart to force that digital handshake.
Level 1: The Standard Fix (Works 80% of the time)
Level 2: The Hard Reset
Level 3: The Re-Pairing
Action: If the warning persists, you may need to re-establish the connection from scratch.
Step 4: Action - Confirming Everything Works
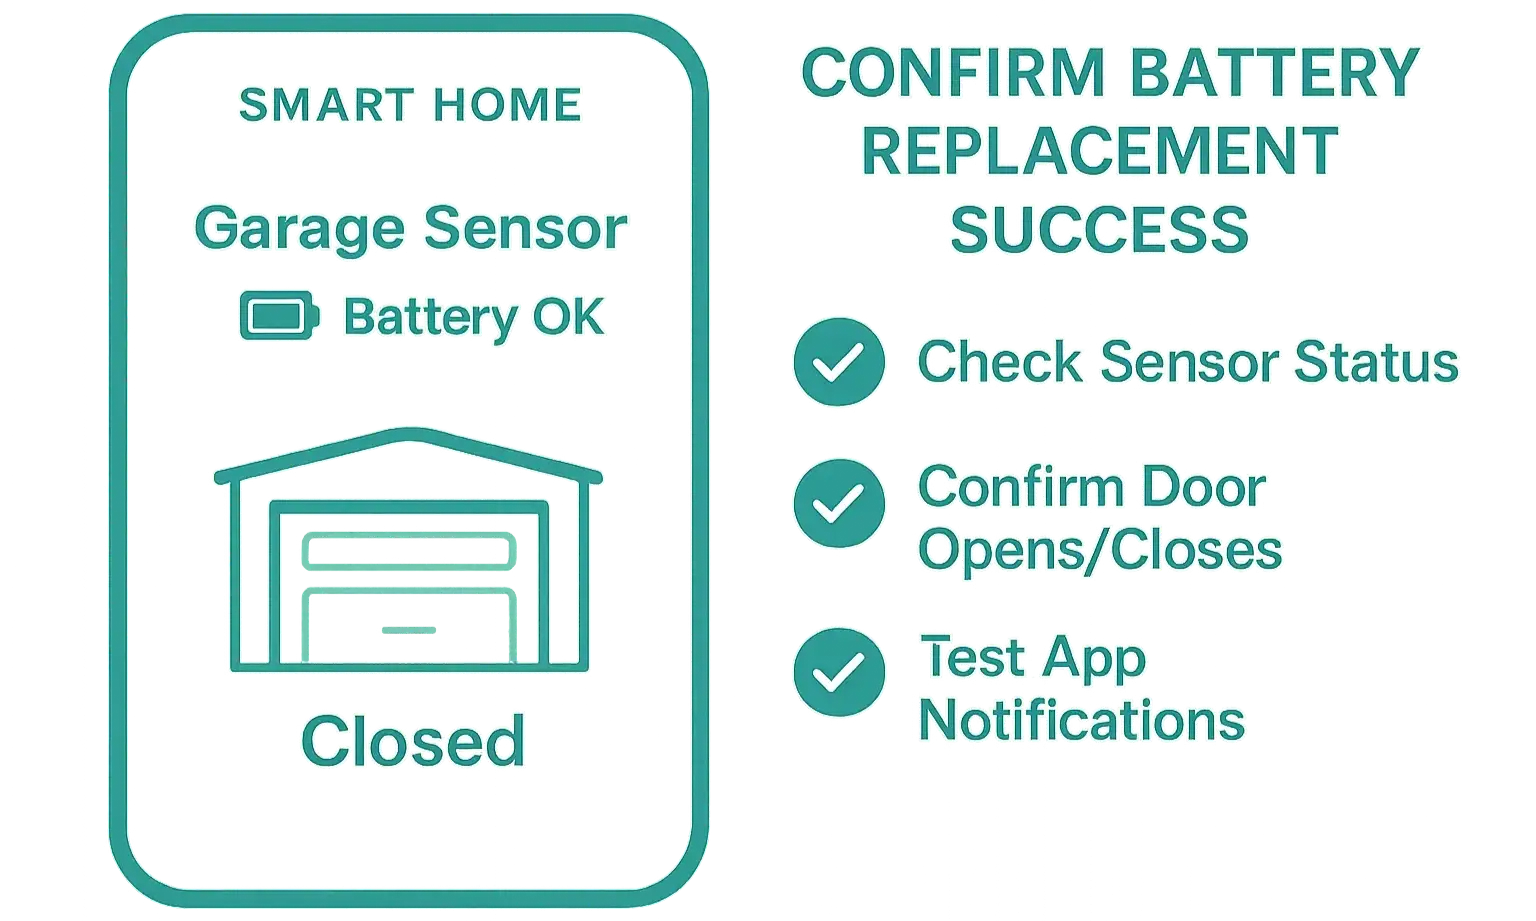
Once the low battery warning is gone from your app, it’s time for a final confirmation. You want to be sure your smart garage door sensors are not just powered, but communicating correctly.
If the app’s status mirrors the door’s actual position, your battery replacement and re-sync were a complete success.
Frequently Asked Questions (FAQ)
How often do I need to replace my smart garage sensor battery?
Typically, the lithium coin batteries used in these sensors last between 1 to 2 years, depending on usage and environmental conditions like extreme cold. Most apps will give you a warning well in advance.
Can I use a different coin battery if it fits? (e.g., a CR2032 instead of a CR2450)
It’s highly recommended to use the exact replacement specified by the manufacturer. While another battery might fit, it could have a different voltage or capacity, leading to poor performance or a much shorter lifespan.
My garage door opener itself is beeping. Is that related to the sensor battery?
Usually not. A garage door opener beeping is often an indicator that it’s operating on its own garage door battery backup, or it could signal a different type of error. The sensor battery warning will almost always appear in your smartphone app.
What if the garage sensor light is not on?
The door position sensors we’re discussing (like the myQ tilt sensor) do not have a constant “on” light to save power. They only have a small LED that may flash when it’s actively communicating (i.e., when you press a test button or during setup). If you’re having issues where the main safety garage sensor light is not on, that refers to a different issue with the safety beams near the floor.
Is it time to upgrade my whole system?
If you’re dealing with constant connectivity issues, it might be worth exploring how modern residential smart garage door openers have this technology built-in, offering a more streamlined and reliable experience.
By understanding the “why” behind the process, you can tackle this simple DIY task with confidence and keep your smart home running smoothly.
Frequently Asked Questions
How often do I need to replace my smart garage sensor battery?
Typically, the lithium coin batteries used in these sensors last between 1 to 2 years, depending on usage and environmental conditions like extreme cold. Most apps will give you a warning well in advance.
Can I use a different coin battery if it fits? (e.g., a CR2032 instead of a CR2450)
It’s highly recommended to use the exact replacement specified by the manufacturer. While another battery might fit, it could have a different voltage or capacity, leading to poor performance or a much shorter lifespan.
My garage door opener itself is beeping. Is that related to the sensor battery?
Usually not. A garage door opener beeping is often an indicator that it’s operating on its own garage door battery backup, or it could signal a different type of error. The sensor battery warning will almost always appear in your smartphone app.
What if the garage sensor light is not on?
The door position sensors we’re discussing (like the myQ tilt sensor) do not have a constant “on” light to save power. They only have a small LED that may flash when it’s actively communicating (i.e., when you press a test button or during setup). If you’re having issues where the main safety garage sensor light is not on, that refers to a different issue with the safety beams near the floor.
Is it time to upgrade my whole system?
If you’re dealing with constant connectivity issues, it might be worth exploring how modern residential smart garage door openers have this technology built-in, offering a more streamlined and reliable experience.