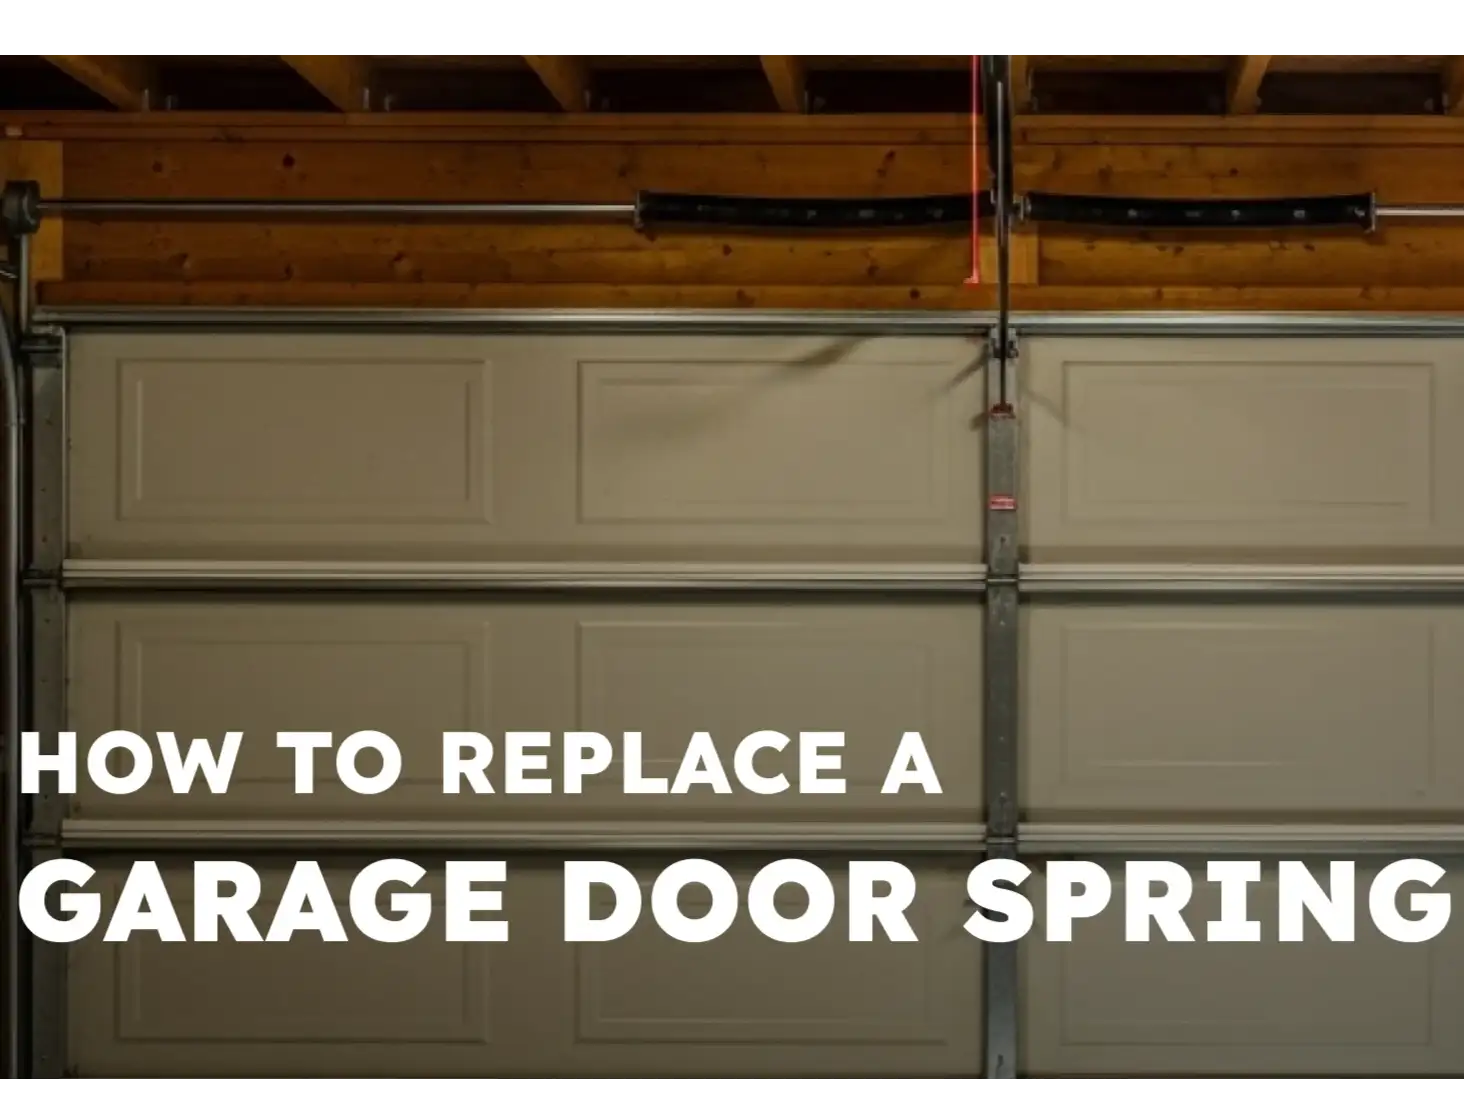
How to Replace a Garage Door Spring Cable the Right Way
Published: Mar 12, 2026
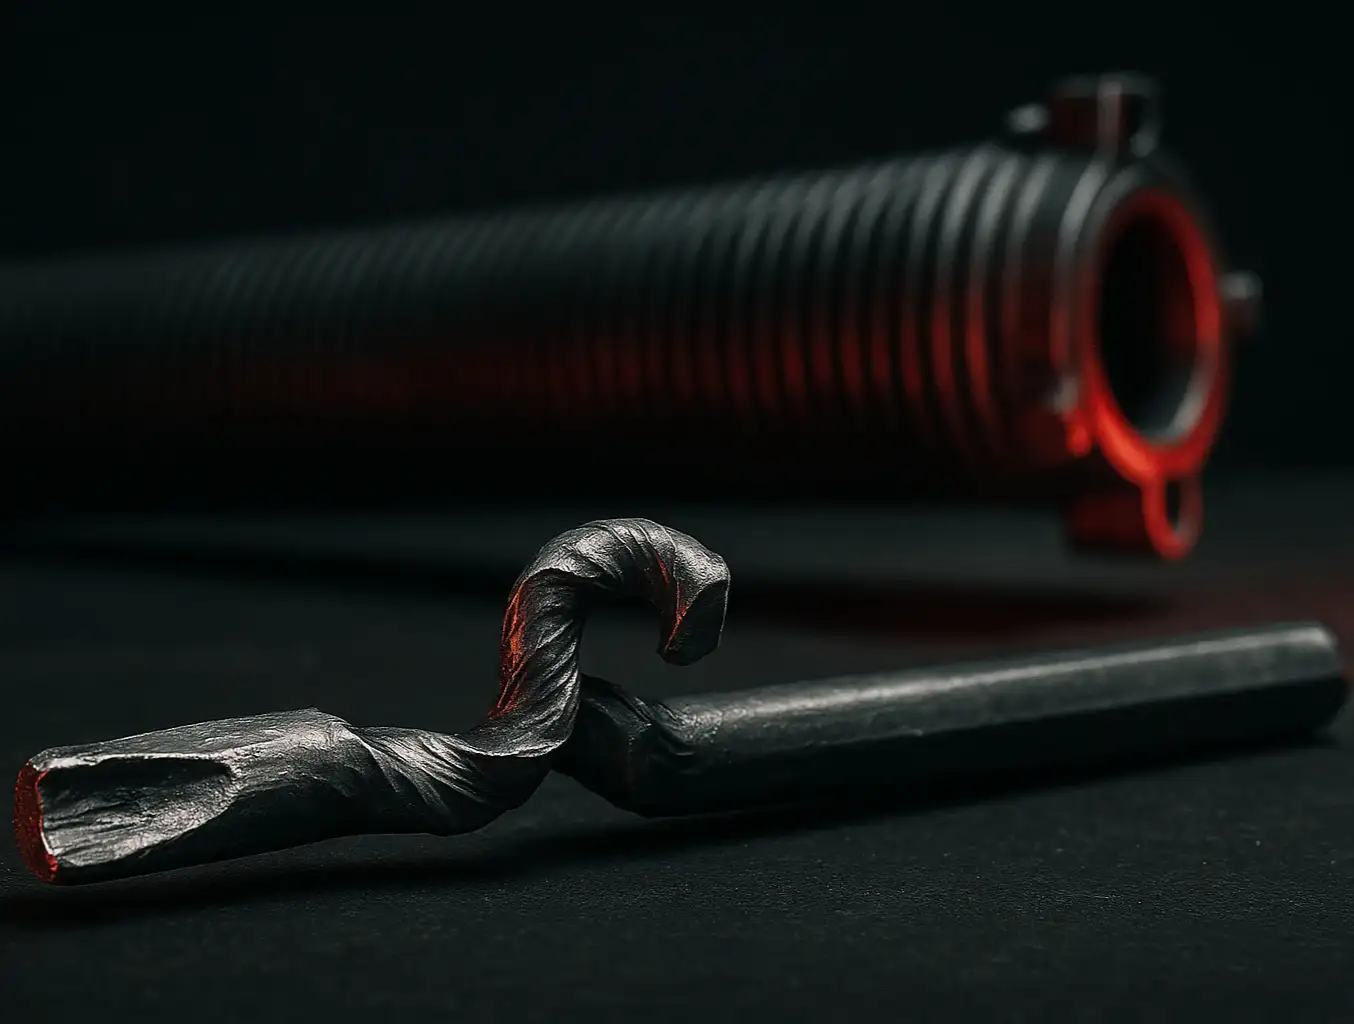
A broken garage door spring cable can suddenly stop your door, posing a serious safety risk. These hardworking parts operate with your springs, linking the door to its lifting system. They carry heavy weight, in order to, keep your door opening and closing smoothly and safely. Over time, cables can fray, rust, or even snap, throwing the entire system out of balance. With safety as a top priority, this guide from 24H Garage Doors, offers clear directions on how to replace your garage door spring cable.
What to Know Before You Touch the Springs

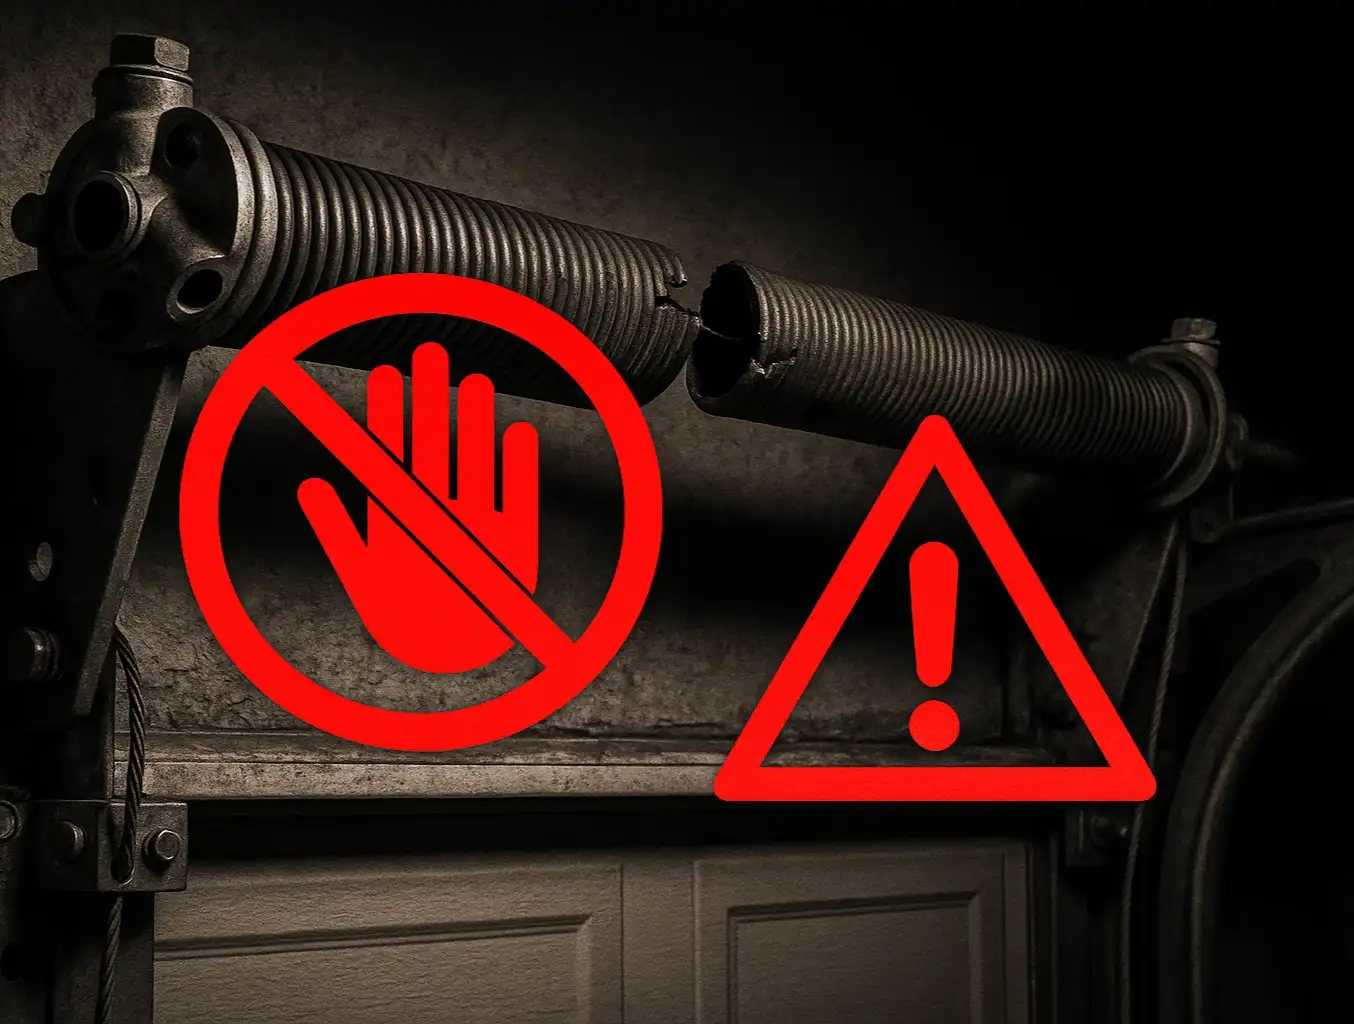
Garage door springs and cables can be extremely dangerous because they are under immense tension. Before you try any repairs, make sure you have the proper tools and fully understand the safety steps.
First, unplug the garage door opener from its power source. This prevents any chance of the door moving while you’re working. Then, put on safety glasses and gloves, and keep children and pets far from the area.
If you feel , at any point, or if the task seems beyond your skill level, contacting professionals is always a smart choice. The trusted team at 24H Garage Doors has the right tools and knowledge to get the job done without needless risk.
How to Replace the Spring Cable on a Garage Door the Smart Way
Thinking about how to replace the spring cable on your garage door yourself? This quick guide explains the basic steps. Just keep in mind: garage door springs are under high tension. If you’re not completely confident with tools or safety steps, it’s safer to contact a trained garage door technician who can handle the job.
Disable the Opener and Secure the Door
Unplug the garage door opener to prevent accidental movement. Then, clamp locking pliers just below the rollers to keep the door securely in place while you work.

Release Spring Tension
If your door uses torsion springs, use winding bars to slowly and carefully release the tension. For extension springs, fully open the door and clamp it to relieve pressure on the cables.
If you’re unsure how to do this, or if you’re also wondering how to replace the garage door spring, it’s best to call an experienced professional. Spring tension can be dangerous if handled incorrectly.
Take Off the Existing Cable
Unhook the old cable from the bottom bracket and unwind it from the drum. Take note of how it was routed, which makes it easier to install the new one correctly.
Install the New Spring Cable
Attach the new cable to the bottom bracket. Then run it up to the drum, following the same path as the old one. Make sure the cable sits properly in the grooves, without any slack or overlap.
Reapply Spring Tension (Torsion Springs Only)
If you’re working with torsion springs, you’ll need to wind them to the correct tension using winding bars. This step requires accuracy and care. If you’re not completely sure how to install garage door springs cable or how many turns to make, it’s safer to leave this step to an experienced professional, as incorrect tension can be very dangerous.
Test the Door
Remove all clamps, restore power to the opener, and test the door several times. It should open and close smoothly, without jerking, unusual sounds, or uneven movement.
A Smart Upgrade: How to Install Garage Door Spring Safety Cables
While you are working on your garage door cables, it is also a good time to think about installing garage door spring safety cables if your system does not yet have them. Safety cables are a very important addition, especially for doors with extension springs. These cables run right through the middle of each spring and attach at both ends. If a spring snaps, the cable prevents it from flying across the garage, which could cause serious injury or damage.
Let’s look at how to install garage door spring safety cables:

- Open the Garage Door: Fully lift the door to release tension on the extension springs.
- Thread the Safety Cable: Run the cable through the center of each spring, from one end to the other.
- Anchor Both Ends: Attach one end to the same bracket as the spring, and the other to a secure point near the pulley or frame.
- Tighten the Cable Slightly: Keep it snug but not overly tight — it should move freely with the spring.
- Double-Check Everything: Make sure both cables are secure, evenly routed, and firmly in place.
Summing Up
Successfully replacing a garage door spring cable restores your door’s safety. This guide shows key steps for how to replace the garage door spring cable, but remember the serious risks involved. For any broken cable issue or if the job seems too challenging, calling experts is the best choice. 24H Garage Doors makes sure your system is safe and reliable. Getting expert help can save you much worry and ensure the job is completed correctly and safely.
You may also like