How to Replace a Garage Door Opener Remote Control: Simple DIY Guide
Published: Jul 31, 2025
It’s easy to lose or break a garage door opener remote control, but fixing the problem does not have to be a hassle. If you’re wondering how to replace a garage door opener remote control, this simple DIY guide from 24H Garage Doors will walk you through the process quickly and confidently. Follow a few easy steps and get back to your routine without the hassle.
Identify Your Garage Door Opener for a Compatible Remote
Replacing a garage door opener remote starts with a little preparation. Before you buy a new one, make sure it is compatible with your current opener. Check the label on your garage door opener for the brand and model number — it is usually located near the motor. Take a photo with your phone for quick reference. Some garage door opener remotes are compatible with multiple brands, while others are more specific, so this information can make finding a match easier and more accurate.
Choose the Right Garage Door Remote Replacement
Once you have your garage door opener brand and model, it is time to shop for a garage door opener remote control that works with your system. You can check with the manufacturer, visit a hardware store, browse online retailers, or consult 24H Garage Doors as a local professional.
If your opener is an older model, a universal garage door opener remote might be your best option. Just be sure it supports your specific opener before making a purchase. Choose a remote that is dependable and easy to use so you can restore the convenience of daily garage access.
How to Program Your Garage Door Opener Remote

Part of understanding how to replace a garage door remote is knowing how to program the new one to work with your opener. Fortunately, the process is quick and easy:
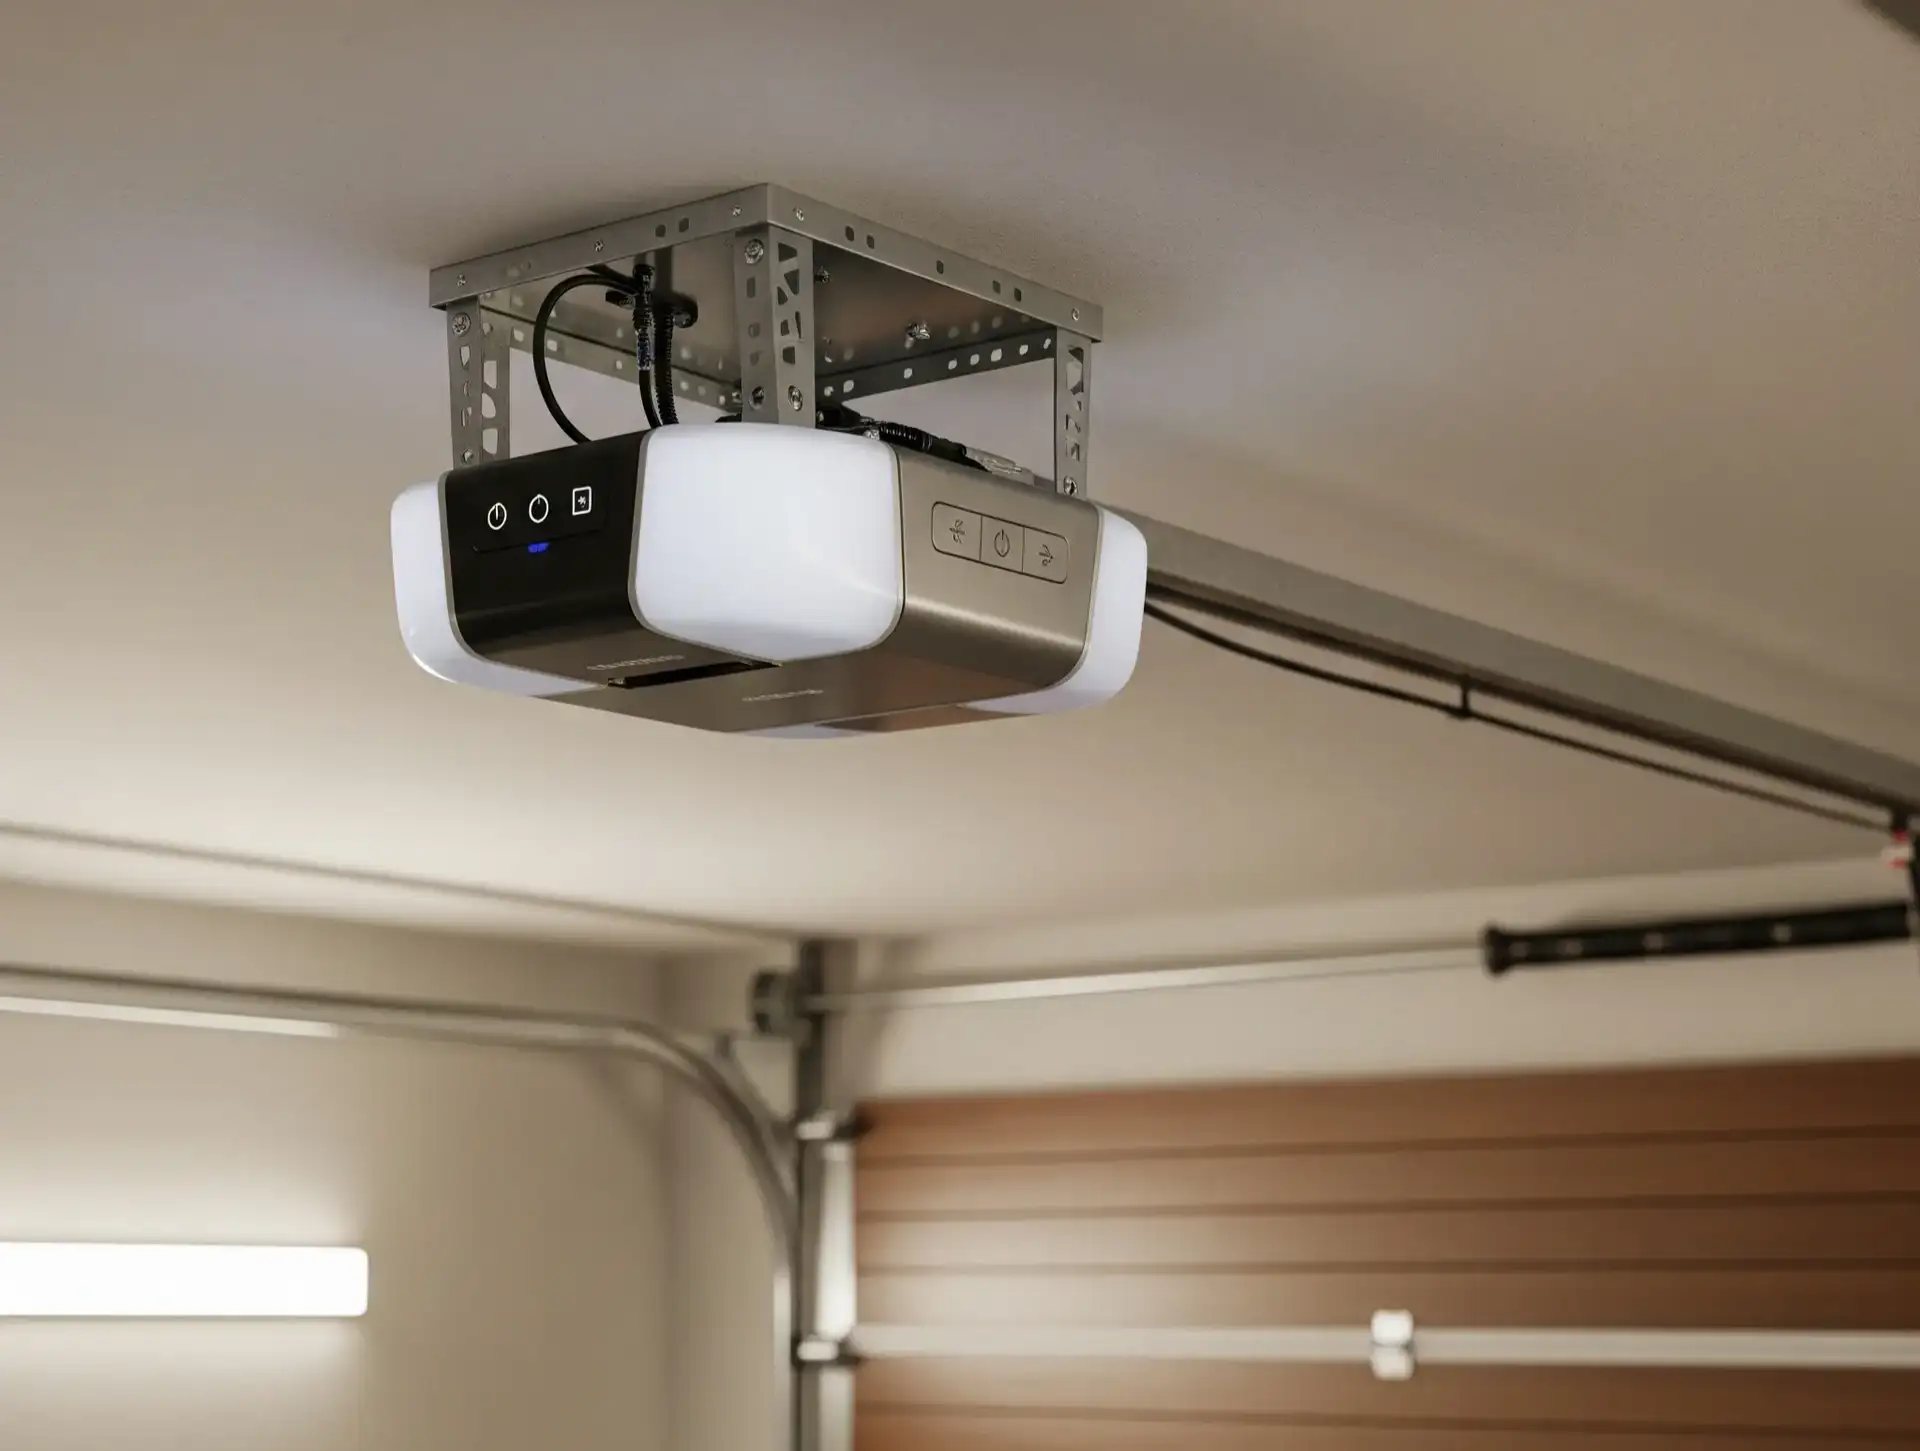
- Find the “Learn” or “Program” button. Usually, it’s a small button located near the garage door motor’s antenna.
- Press it once and wait for the light to blink.
- Press the main button on your new garage door opener remote control within 30 seconds.
- When the light blinks again or turns solid, the pairing is complete.
Test the remote after pairing to confirm it is working properly. If it does not respond, refer to the user manual or check the manufacturer’s support page for troubleshooting help.
What to Do When Your Garage Door Opener Remote Is Not Working

If your new garage door opener remote doesn’t work right away, start with the basics — check the batteries and confirm compatibility with your system. In some cases, resetting the opener or clearing out old remote codes can resolve the issue quickly.
If those steps do not solve the problem, there may be an issue with the opener itself. In that case, replacing the unit may be your best option. You can learn more in our guide on how to change a garage door opener. If you would rather leave it to a professional, the team at 24H Garage Doors is ready to diagnose the problem and restore full functionality to your system.
Summing Up
You do not need to be an expert to learn how to replace a garage door opener remote — it only takes a few clear steps and a compatible remote. Whether your old one is broken or simply missing, the process is straightforward: identify your opener model, choose a matching remote, and program it properly.
If the new remote still does not respond, or if the issue appears to be with the opener itself, professional garage door opener repair can prevent unnecessary delays and confusion. 24H Garage Doors is ready to provide fast service and honest guidance whenever you need support.
You may also like