How to Remove a Garage Door Opener: Step-by-Step DIY Guide
Published: Oct 7, 2025
Wondering how to remove a garage door opener that’s no longer working or has become outdated? You’re in the right place. Whether you're planning an upgrade or clearing space during a renovation, this guide from 24H Garage Doors makes the process clear and easy to follow.
Tools You Need to Remove a Garage Door Opener
It’s always easier when you’re prepared. Before getting started, make sure to gather these essential tools:
- Ladder: To access ceiling-mounted components.
- Screwdrivers: Both flathead and Phillips.
- Wrenches: Adjustable or socket set.
- Pliers: For gripping and disconnecting wires.
- Safety gear: Gloves and safety glasses.
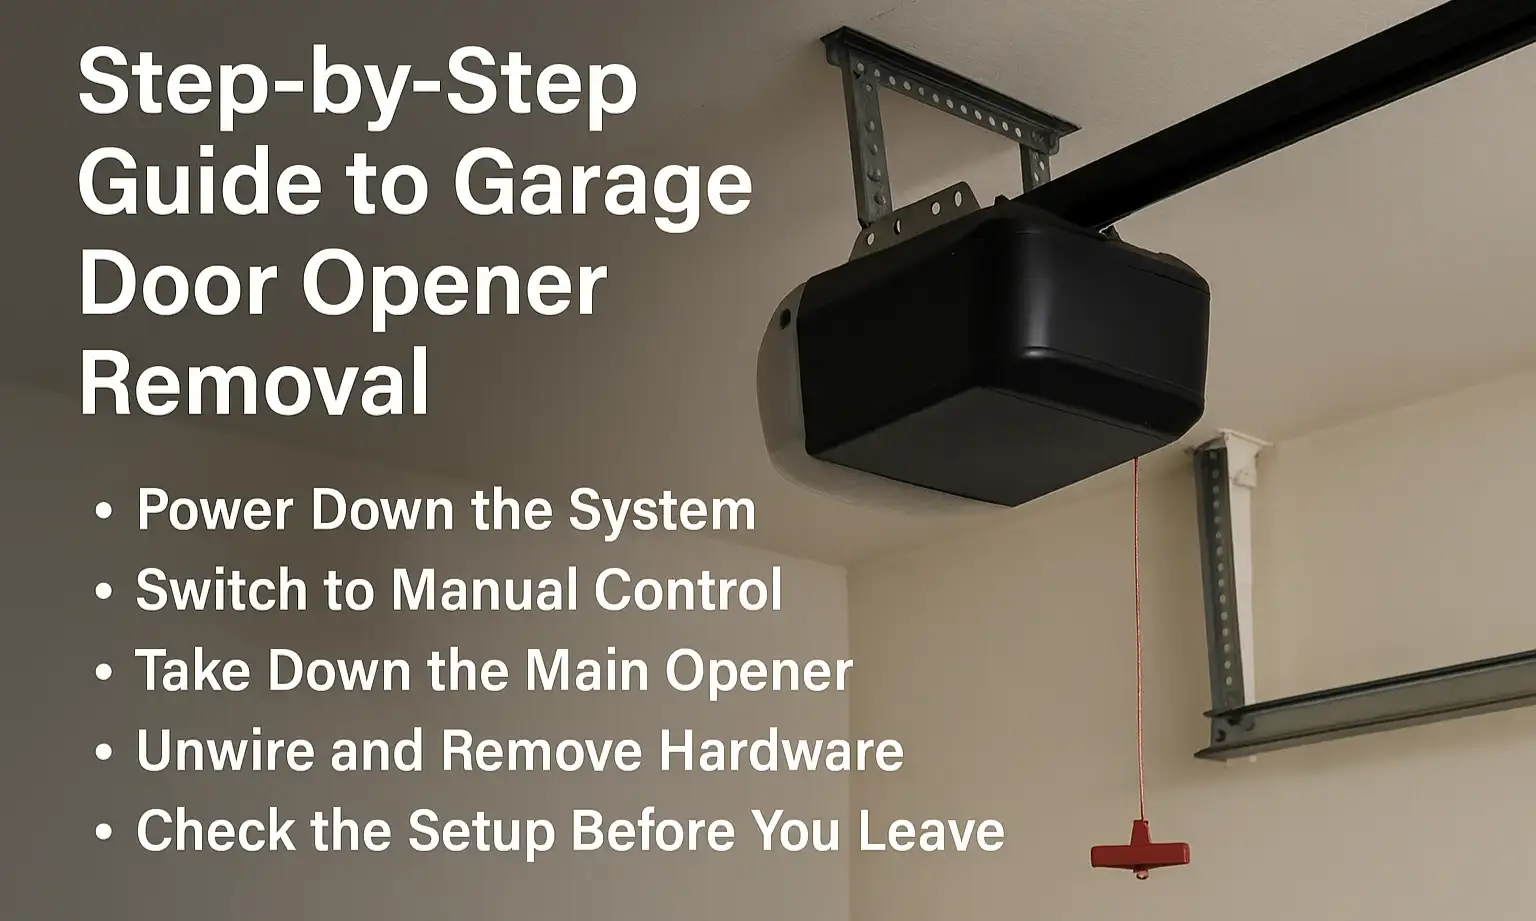
Step-by-Step Guide to Garage Door Opener Removal
If you’re ready to take out your existing system, here’s a simple, step-by-step look at how to take off garage door opener components:
Power Down the System
Unplug the garage door opener or turn off the breaker that powers it. Cutting electricity to the unit is essential for staying safe before moving forward.

Switch to Manual Control
Pull the red emergency release cord — typically located on the center rail — to disconnect the door so you can move it manually during the rest of the process.
Take Down the Main Opener
- Place a solid surface or ladder underneath the opener to support its weight.
- If your opener is heavy, having a second person assist can make this step safer and easier.
- Use your wrench to unbolt the mounting brackets.
- Slowly lower the opener once it’s detached.
Unwire and Remove Hardware
- Disconnect wires from wall controls and safety sensors. Label the wires you plan to reuse.
- Unscrew and remove any remaining mounting brackets or hardware from the ceiling or walls.

Check the Setup Before You Leave
Take a moment to inspect the garage door area for damage, wear, or any loose wires. This is a good time to handle any repairs or prepare the space for your next garage door opener installation.
Upgrading Your Opener System
Once you’ve learned how to remove old garage door opener units, upgrading to a modern system is a logical next step. Whether you’re looking for quieter operation, added smart features, or improved long-term reliability, many homeowners choose to install a new unit themselves.
If you’re doing it yourself, our blog on how to change a garage door opener has practical advice and step-by-step instructions. However, if you’d rather not take on the installation yourself, 24H Garage Doors is available all the time to handle everything from removal to complete setup.
Summing Up
Now that you know how to remove a garage door opener safely and efficiently, you’re ready to move forward — with the right tools, a little patience, and this guide, most homeowners can do it themselves. Stay focused, follow each step, and prioritize safety. If you’re looking for a professional garage door opener installation service, 24H Garage Doors is available 24/7 to handle it — quickly, safely, and professionally.
You may also like


