How to Safely Wind Garage Door Torsion Springs: A Step-by-Step Guide


Published: Jul 31, 2026

Imagine trying to lift your car with one hand. It sounds impossible, but that’s the kind of power your garage door’s torsion spring handles every single day. This tightly coiled piece of steel is an unseen giant, holding hundreds of pounds of potential energy in balance. When it works, it’s magic. When it needs to be adjusted or replaced, it becomes one of the most dangerous DIY projects a homeowner can attempt.

This isn’t to scare you—it’s to prepare you. Understanding the physics, procedures, and non-negotiable safety rules for winding and unwinding a torsion spring is the difference between a successful repair and a trip to the emergency room. This guide will walk you through the process, not just telling you what to do, but explaining why each step is critical.

First, Understand the Anatomy of Your Torsion System


Before you touch a single tool, you need to speak the language. Familiarizing yourself with the components of your torsion spring assembly will make instructions clearer and help you identify potential issues.

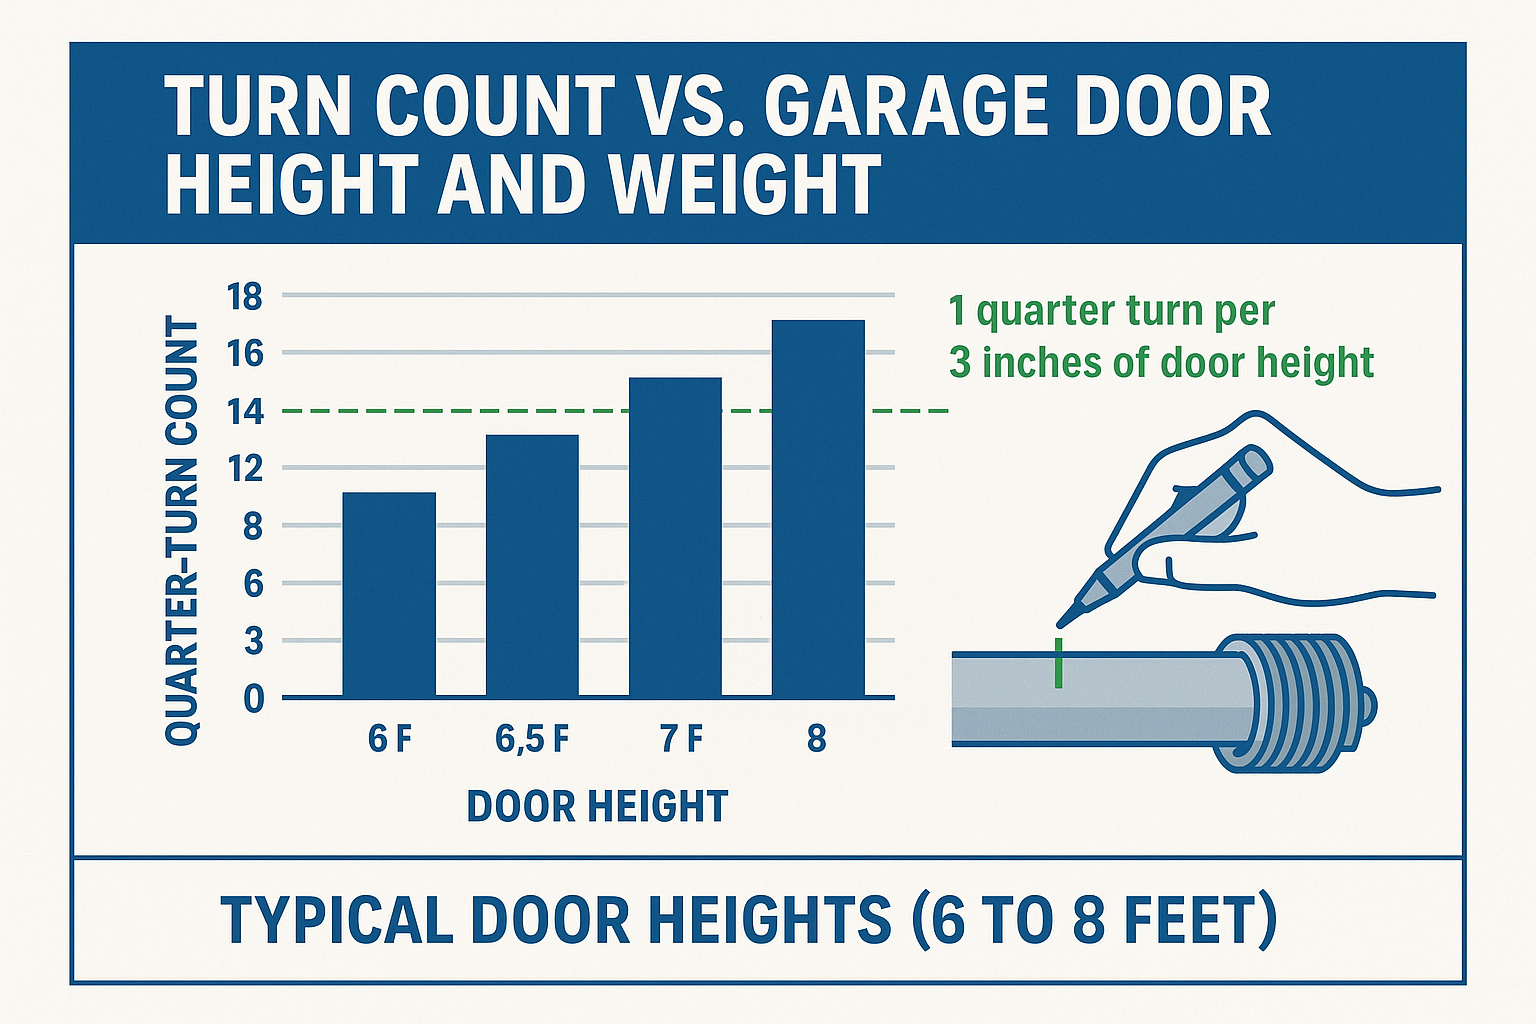
Turn Count VS Garage Door Height And Weight

  • Torsion Tube: The hollow shaft that runs across the top of the door, holding the springs and cable drums.
  • Torsion Spring(s): The large, coiled springs that provide the lifting force. Most residential doors have one or two.
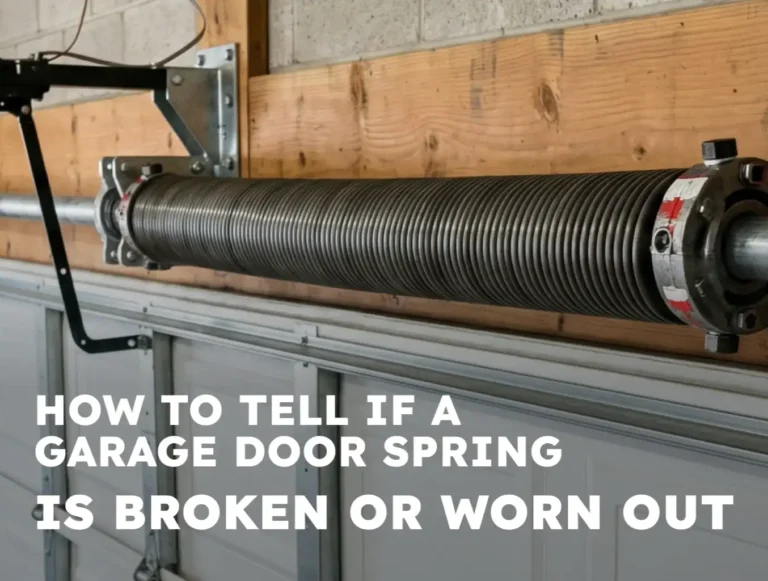
  • Winding Cone: The cone at the end of the spring with four holes for winding bars. This is where adjustments are made. It’s attached to the spring and the torsion tube with set screws.
  • Stationary Cone: The cone at the other end of the spring that is bolted to the center bracket, anchoring the spring in place.
  • Cable Drums: Grooved drums on each end of the torsion tube that the lifting cables wind onto.
  • Lifting Cables: Steel cables that connect the bottom of the door to the cable drums, transferring the spring’s force to lift the door.

The Only Tools for the Job: Your Non-Negotiable Toolkit


When it comes to this task, “good enough” isn’t good enough. Using the wrong tools is the single most common cause of catastrophic failure and serious injury. This isn’t a place to improvise.

Why Screwdrivers and Rebar are a Recipe for Disaster

You might see a hole and think anything that fits will work. This is a life-threatening mistake. People have tried using screwdrivers, pieces of rebar, or large ratchet extensions, often with devastating consequences.

Here’s the “aha moment”: The force exerted on the tool in a winding cone isn’t just a simple push. It’s immense rotational force, or torque. A screwdriver shaft is designed to resist twisting, not the massive shearing force of a torsion spring. Using one is like trying to stop a rolling car with a broomstick—the tool will bend or snap, launching itself with incredible velocity.

Proper winding bars are made of hardened steel, designed specifically to withstand this unique type of force without deforming.

Selecting and Testing Your Winding Bars

Your most important tools will be a pair of solid steel torsion spring winding bars. Here’s what you need to know:

  • Diameter: The standard is 1/2 inch.
  • Length: A length of 18 to 24 inches provides the necessary leverage to control the spring safely.

The Critical Fit Test: Before you even begin, you must check the fit of your winding bars in the winding cone. A bar with too much “play” or “wobble” can slip out under tension.

  1. Insert one winding bar into a hole on the winding cone.
  2. Gently wiggle it. It should feel snug, with very minimal movement.
  3. If the bar feels loose or sloppy, do not proceed. You may have the wrong size bar or a worn-out cone.

The Step-by-Step Process: Acknowledging the Risks


Before diving into the mechanics, it is essential to understand the complete garage door spring safety protocol. Every step is designed to mitigate risk, but the inherent danger cannot be eliminated entirely.

Before You Begin: The Danger Zone and Critical Prep

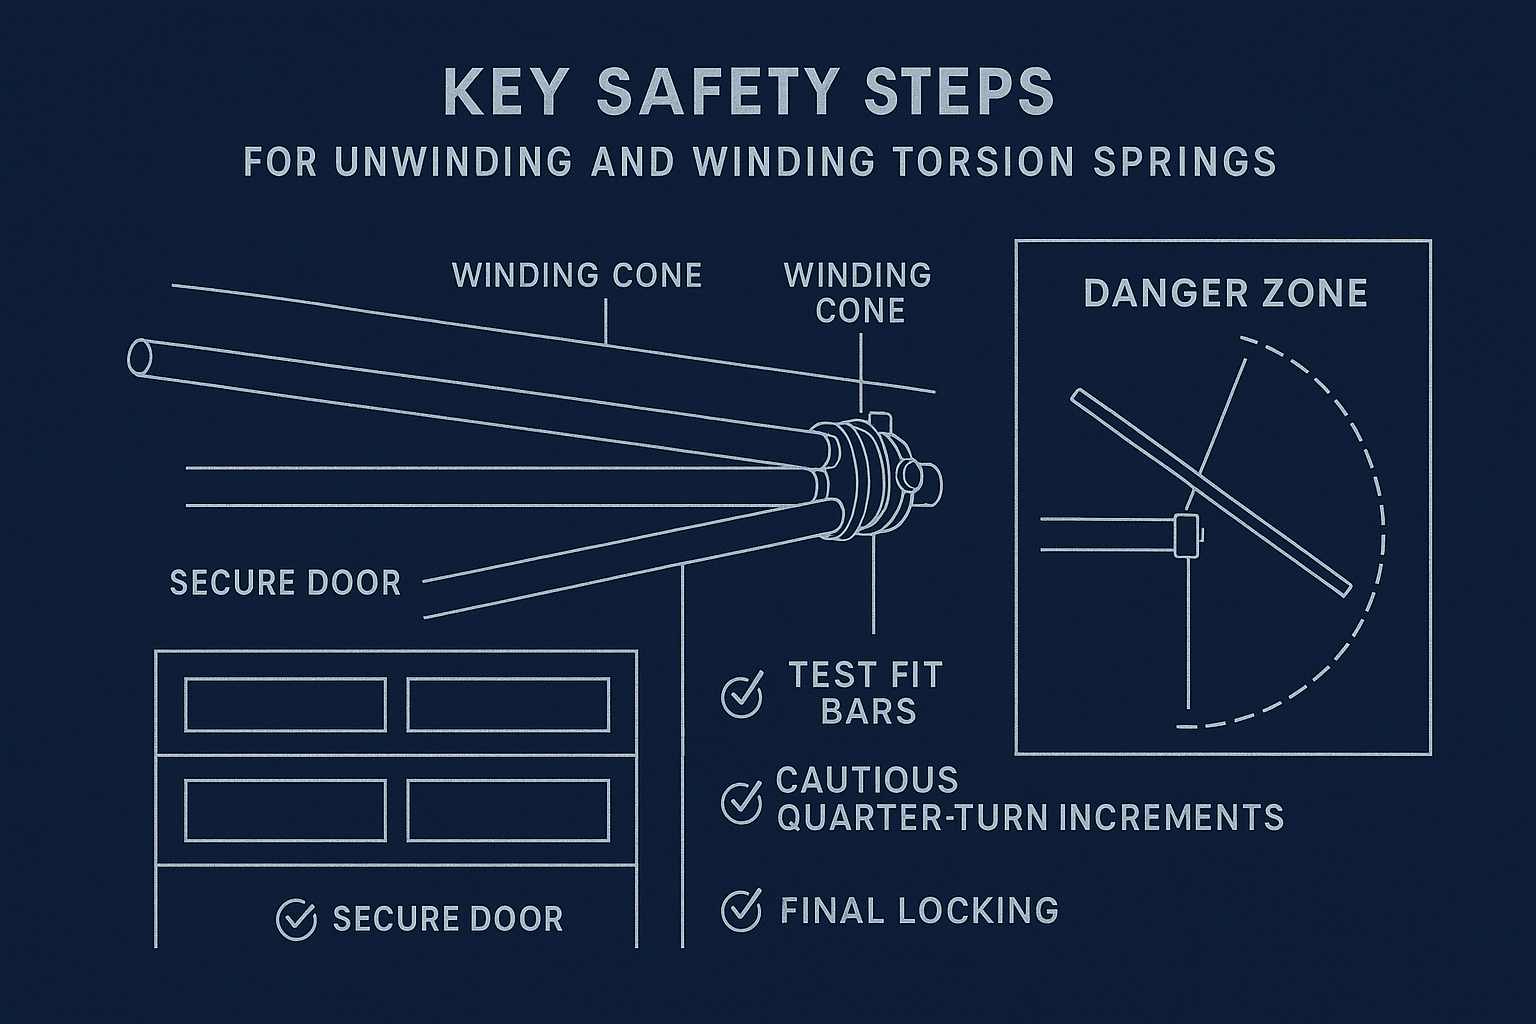
First, establish your “Danger Zone.” This is the potential trajectory of a winding bar or spring if it were to break or slip. Never place your head or body directly in this path.

Key Safety Steps

Preparation Checklist:

  1. Close the Garage Door: All spring adjustments must be done with the door fully closed. This takes the weight off the springs.
  2. Unplug the Opener: Disconnect the garage door opener from its power source to prevent accidental activation.
  3. Secure the Door: Place a C-clamp or locking pliers tightly on the garage door track just above one of the rollers. This acts as a failsafe to prevent the door from flying open if you lose control of the spring.

How to Safely Unwind the Old Torsion Spring

Unwinding a spring is just as dangerous as winding one. You are releasing hundreds of pounds of stored energy and must control it every step of the way.

  1. Loosen Set Screws on the Winding Cone: Locate the two set screws on the winding cone. They are what lock the spring to the torsion tube. Loosen them about a half to a full turn.
  2. Insert the First Winding Bar: Firmly insert one winding bar into a hole at the bottom of the cone (around the 6 o’clock position).
  3. Take Control: Hold the bar securely and push it up toward the 9 o’clock position. You will feel the full tension of the spring. Hold it steady.
  4. Insert the Second Bar: While holding the first bar firmly, insert the second bar into the next available hole (now at the 6 o’clock position).
  5. “Walk” the Spring Down: This is the crucial motion. Let the top bar move down slowly until it rests against the garage door. You are now holding the tension with the bottom bar.
  6. Repeat: Remove the top bar (which is now free of tension) and insert it into the next hole down. Repeat this walking motion, releasing tension one quarter-turn at a time, until the spring is completely loose and has no more tension.

Safety Check: Has the spring spun freely and is all tension gone? Are the set screws loose? Only then is it safe to proceed with the full garage door spring replacement process.

How to Wind the New Spring with Proper Tension

Winding the new spring is where you apply controlled force. The key is understanding how many turns to apply. This isn’t a guess; it’s a calculation based on your door’s height.

The Quarter-Turn Formula: The industry standard is to give the spring one full turn for every foot of door height, plus an additional half turn.

  • A 7-foot tall door would require 7.5 full turns.
  • An 8-foot tall door would require 8.5 full turns.

Since you’ll be working in quarter-turns, the math is simple:

  • 7-foot door: 7.5 turns x 4 = 30 quarter turns.
  • 8-foot door: 8.5 turns x 4 = 34 quarter turns.

The Winding Process:

  1. Mark the Tube: Use a marker or chalk to draw a line on the torsion tube before you start. This will be your visual guide to count full rotations.
  2. Start Winding: Insert a winding bar and begin winding the spring upwards, one quarter-turn at a time, using the same “walking” motion you used to unwind, but in reverse.
  3. Count Every Turn: Count each quarter-turn out loud. It’s easy to lose track.
  4. Final Tension and Tightening: Once you’ve completed the required number of turns, hold the final bar in place and tighten the set screws on the winding cone firmly against the torsion tube.

For a detailed walkthrough, you can learn more about how to rewind a garage door spring to ensure the tension is perfect.

Final Checks: Balancing and Testing Your Work


After the new spring is wound, you need to test the door’s balance.

  1. Remove the C-clamp and winding bars.
  2. Manually lift the door to about halfway up and let go.
    • If it stays put, the balance is perfect.
    • If it drifts down, it needs more tension (add a quarter-turn).
    • If it flies up, it has too much tension (remove a quarter-turn).
  3. Make small adjustments until the door is properly balanced.
  4. Lubricate the new spring with a garage door lubricant to ensure smooth and quiet operation.

The Final Word: Know Your Limits


This guide provides the knowledge, but it cannot provide the hands-on experience or the feel for the forces involved in a full garage door spring installation. This is a task that demands respect, patience, and an unwavering commitment to safety.

If at any point you feel uncertain, or if the immense tension feels uncontrollable, it is always the right decision to stop and call a professional. A successful DIY project is one you walk away from safely. For complex issues or emergency situations, a 24 hour garage door spring replacement service has the trained technicians and specialized tools to do the job right.

Frequently Asked Questions


What are torsion spring winding bars?

They are specialized tools made of hardened steel, typically 1/2″ in diameter and 18-24″ long, designed exclusively to withstand the torque required to safely adjust garage door torsion springs.

What can I use instead of winding bars?

Absolutely nothing. There is no safe substitute. Using tools like screwdrivers or rebar is extremely dangerous and can result in the tool breaking and becoming a projectile, causing severe injury or property damage.

How many times do you wind a torsion spring?

The general rule is one full turn for every foot of door height, plus an extra half turn. A standard 7-foot door requires 7.5 full turns (30 quarter-turns).

Which way do you wind a torsion spring?

Most springs are color-coded. Springs with a red winding cone are “right-wind” and are typically on the left side of the door; they are wound upwards. Springs with a black winding cone are “left-wind,” found on the right side, and are also wound upwards. Always wind in the direction that tightens the coils.

Contact / Request a Call